What is Weird and Wonderful?
Weird and Wonderful can fall into many different categories, many examples of this can be:
-Dreams
-Nightmares
-Surrealism
-Magic
-Fairy tales
-Superhero powers
I am going to choose surrealism as I like the style. In the google dictionary it is mentioned that the aim of surrealism art and photography is to "resolve the previously contradictory conditions of dream and reality." This simply means that the work should show a mix or illusion between reality or the real world compared to a made up world that is either inhumane or doesn't follow the rules or laws of the world for example gravity or physics.
Surrealist Photographers
Martin Stranka
www.martinstranka.com
|
BiographyMartin Stranka is a professional photographer and he is self-taught , born on April 1984 and based in Czech Republic. He has won over 50 major photography awards including Professional Photographer of the Year and also from Nikon, Sony, EISA and some in which he has won consecutively. HIs work is featured throughout the world; America, Europe, and Asia. His work has been presented within many galleries and his work has been featured beside other famous photographers. He has created covers for huge book and music publishers and also artists from around the world.
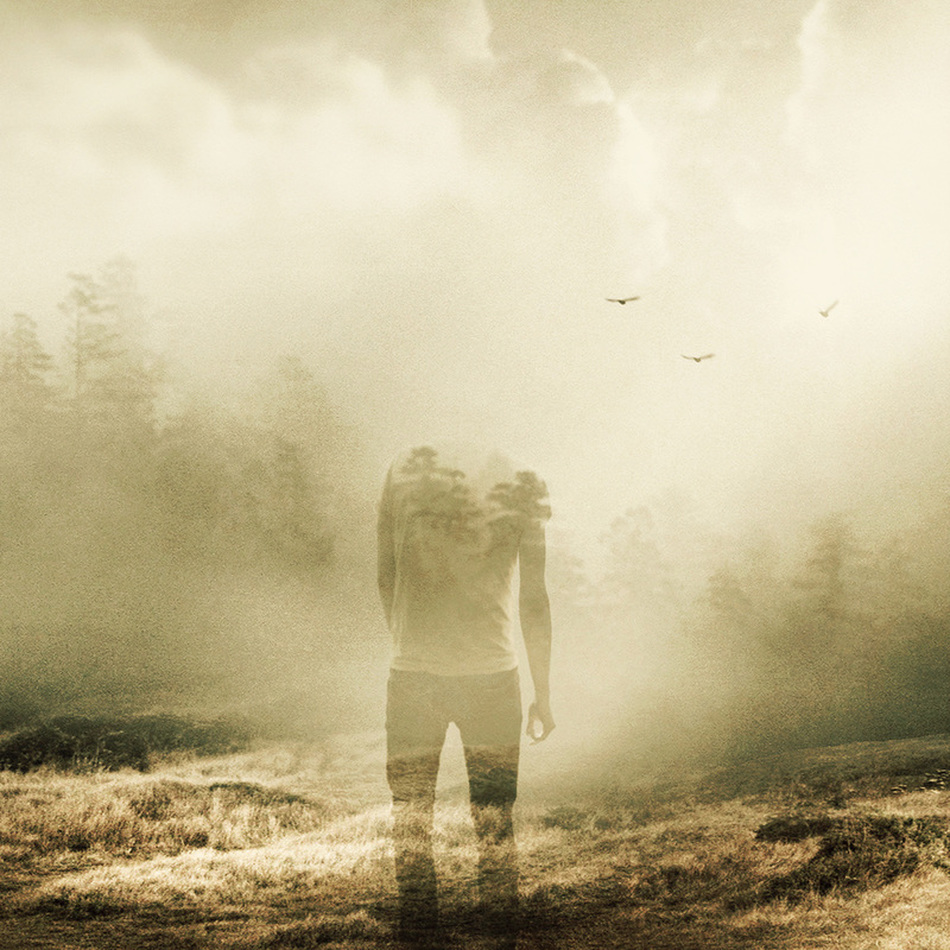
My OpinionI personally quite like his work and the style he works in. He really shows off how good surrealism photography can look and his surrealist work is my favourite from the rest. I like how he uses exposure to his advantage as in some areas he overexposes some areas in some places which adds a great effect to the main object. I also like how he keeps the whole of the main object in focus and always keeps it centered.
|
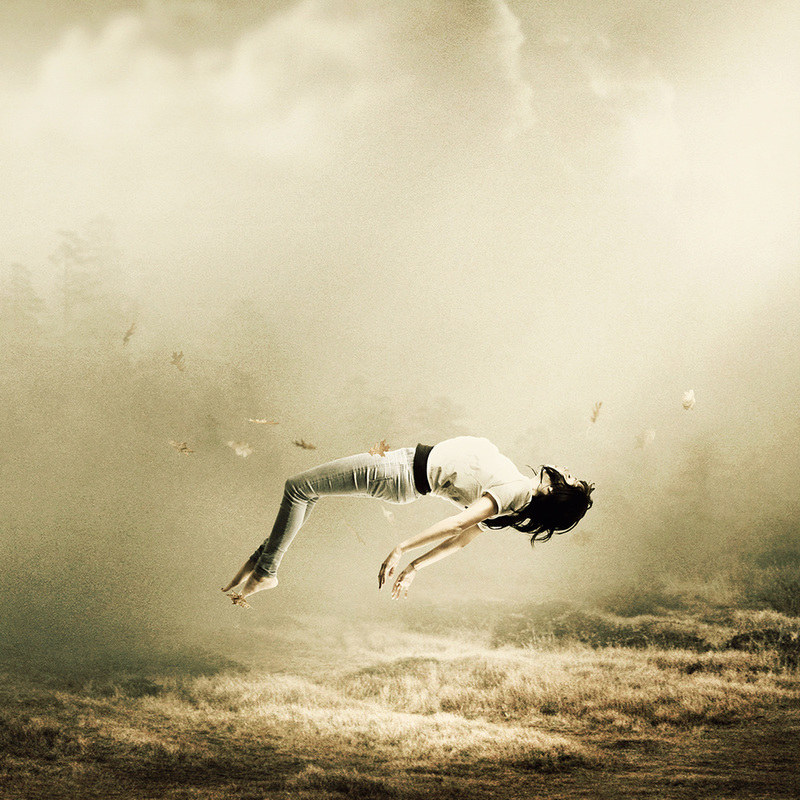
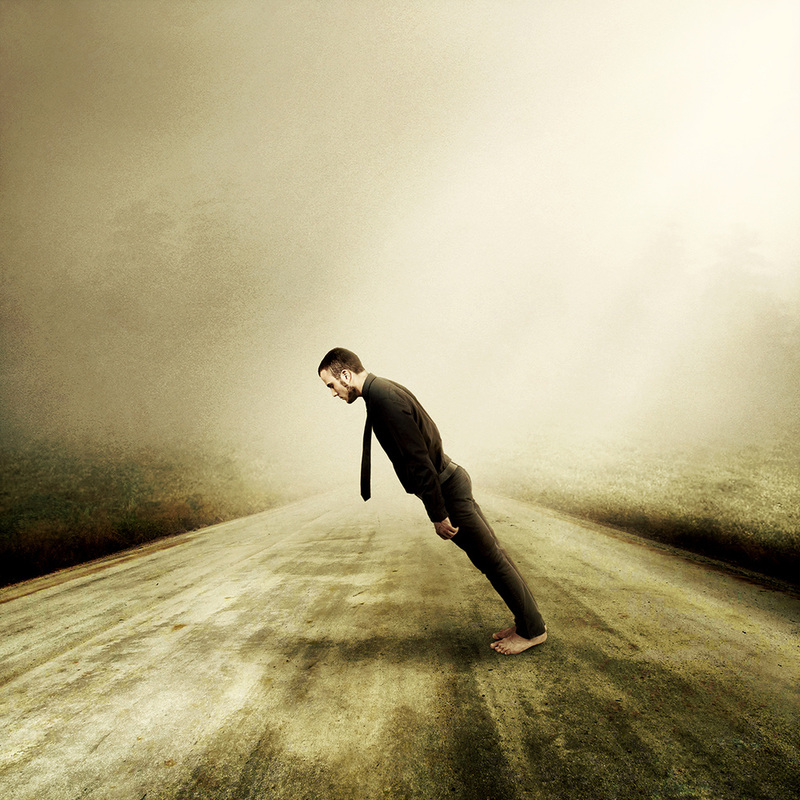
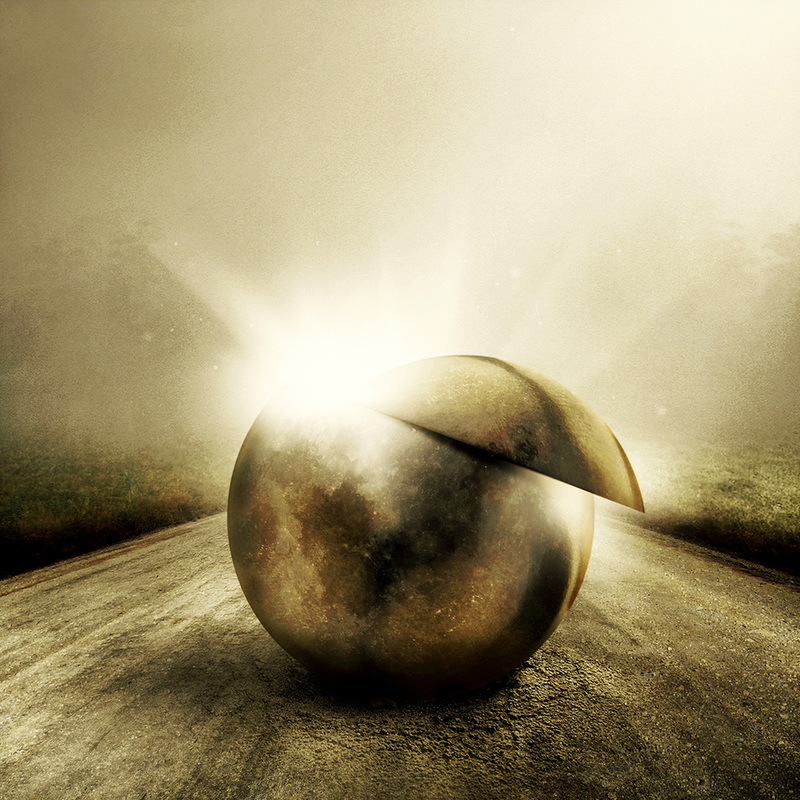
Examples of Martin Stranka's Work
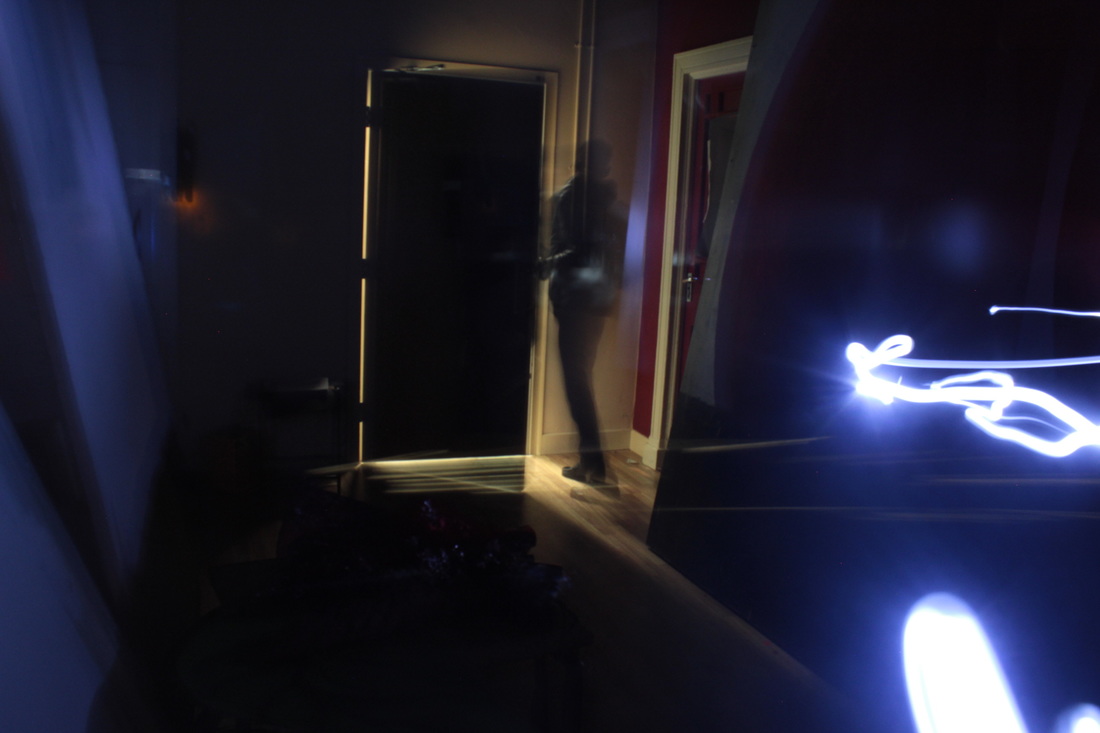
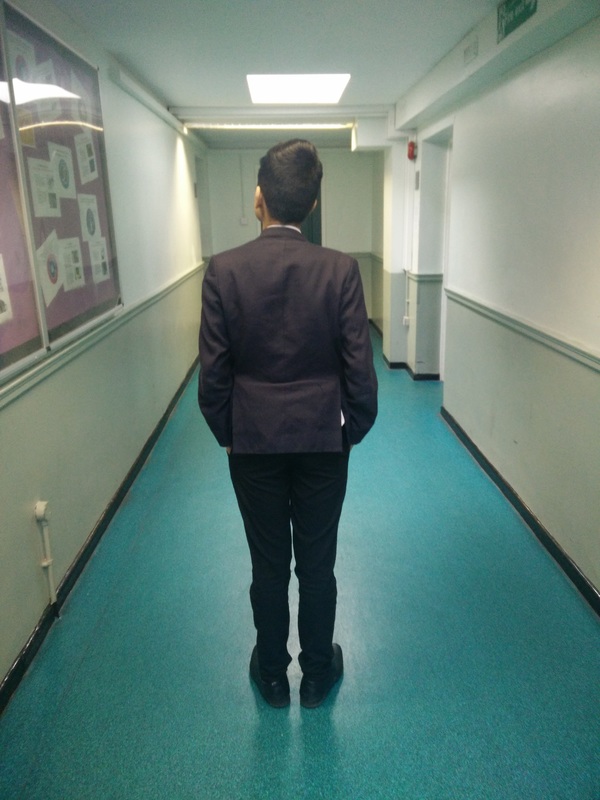
Plan for Shoot One
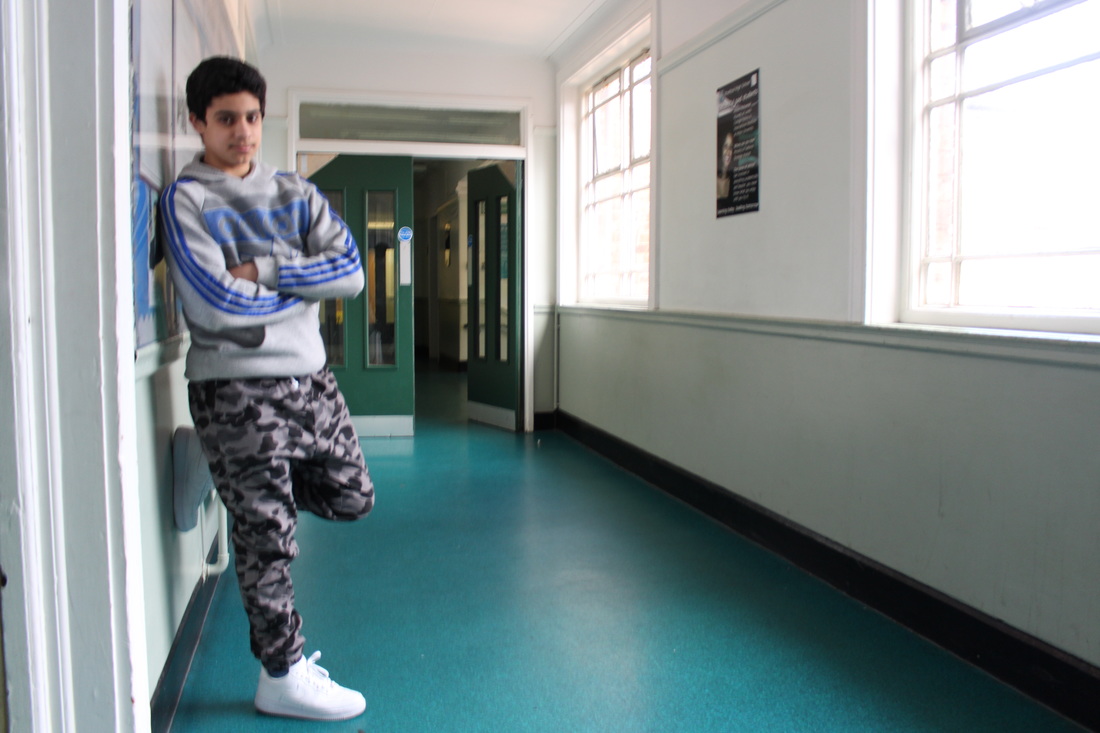
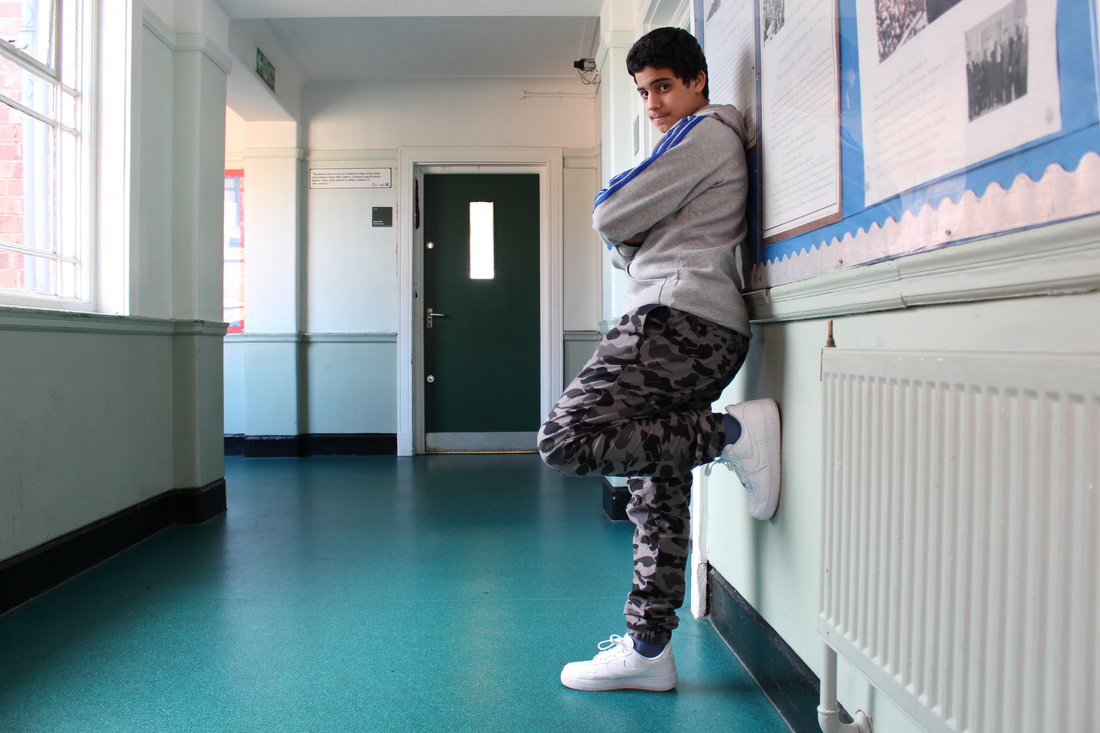
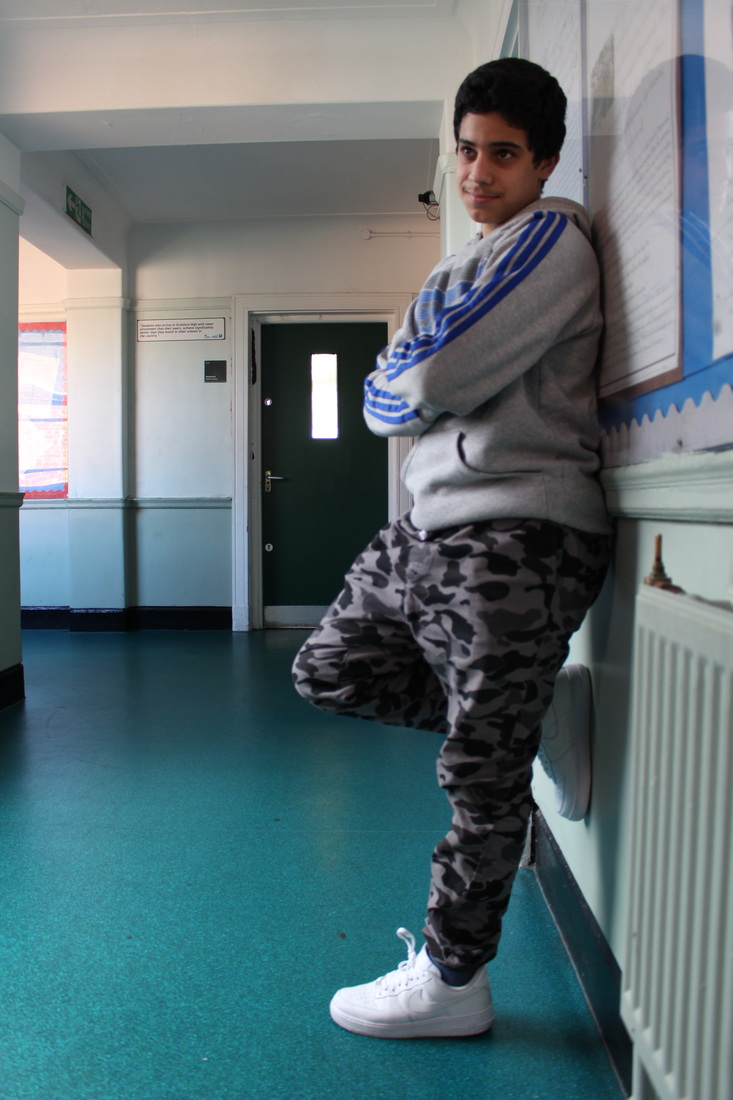
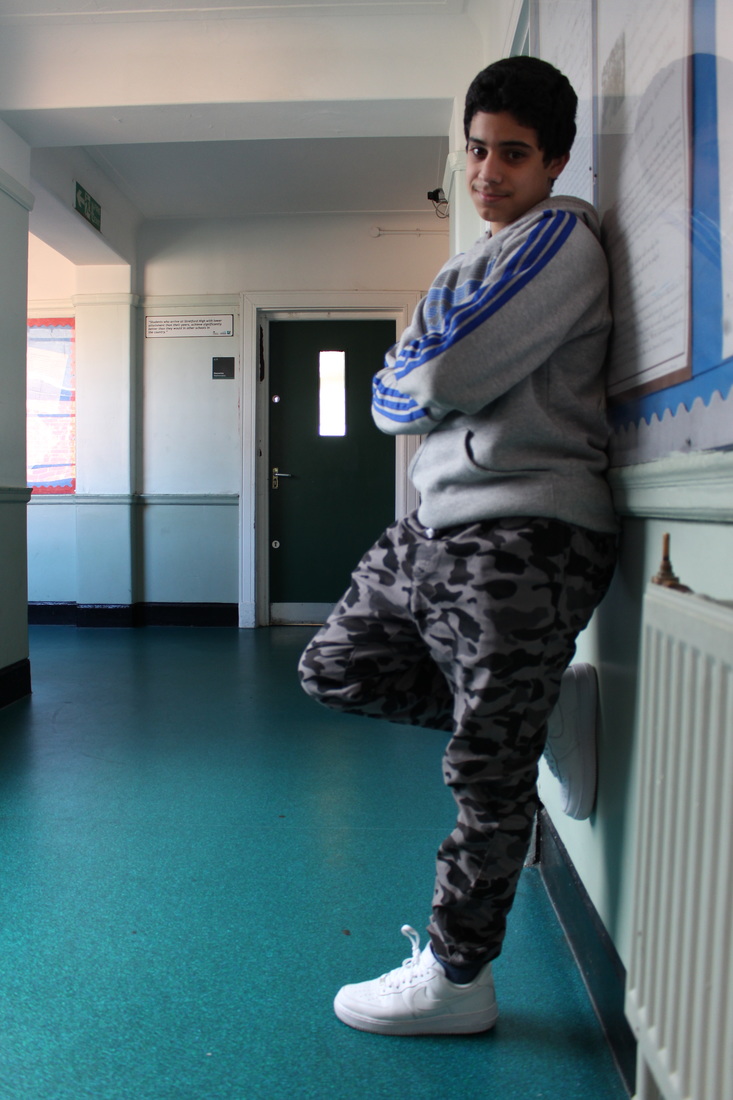
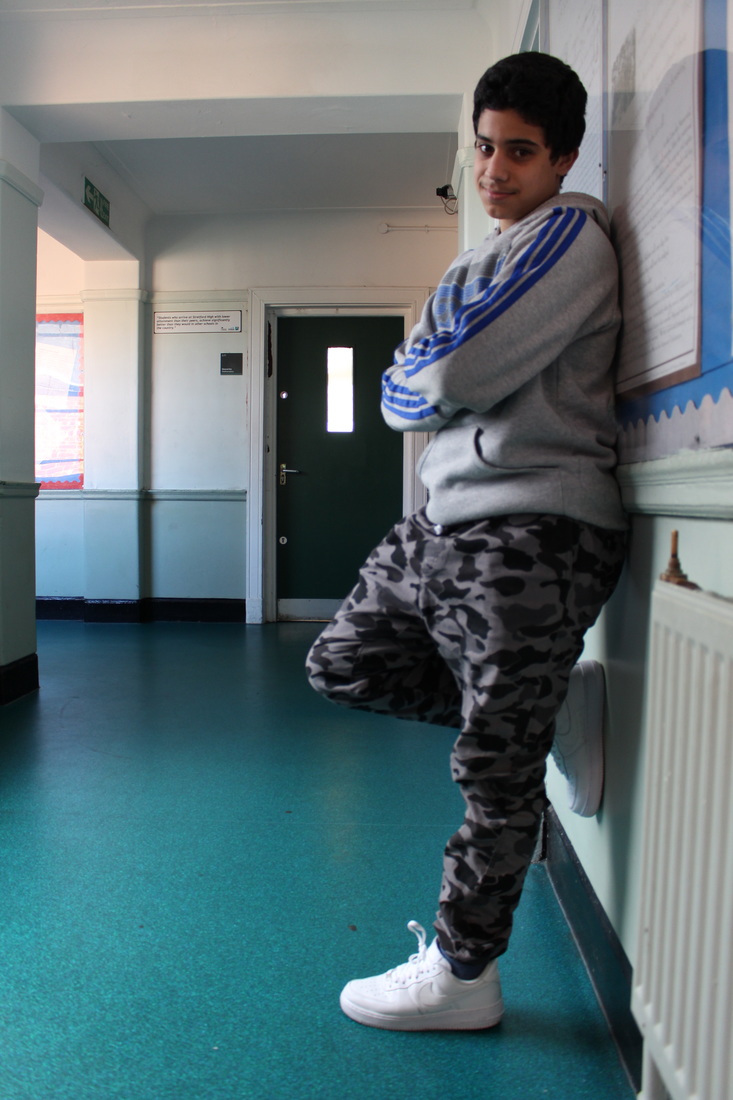
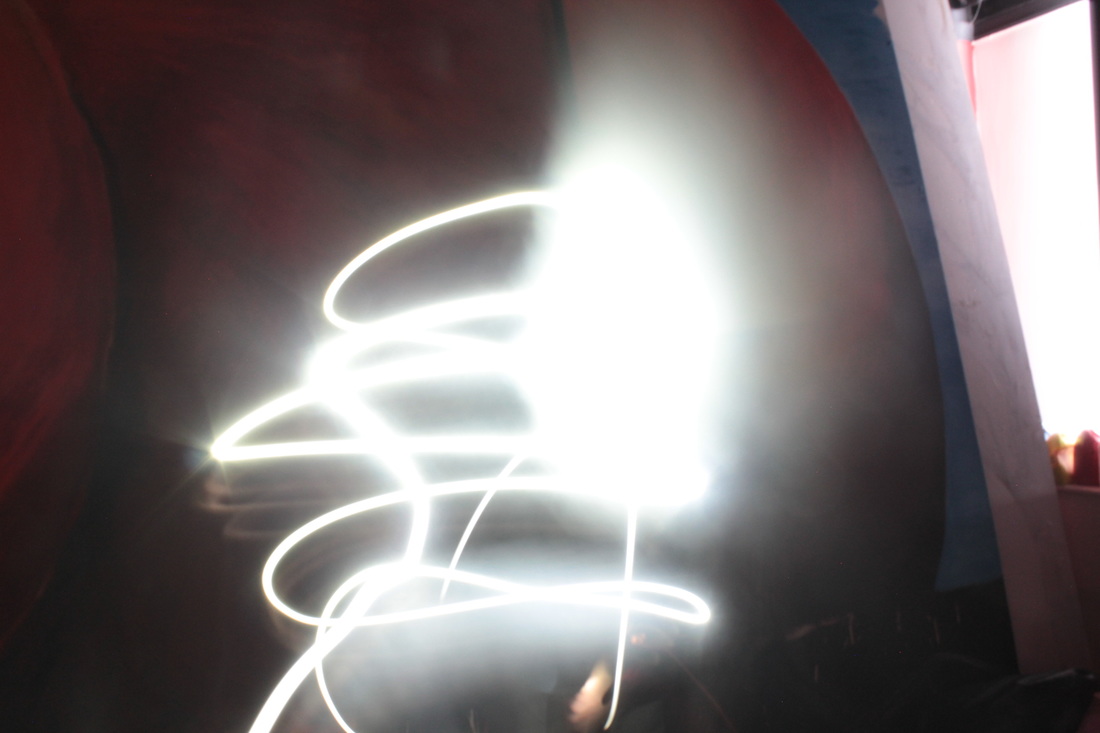
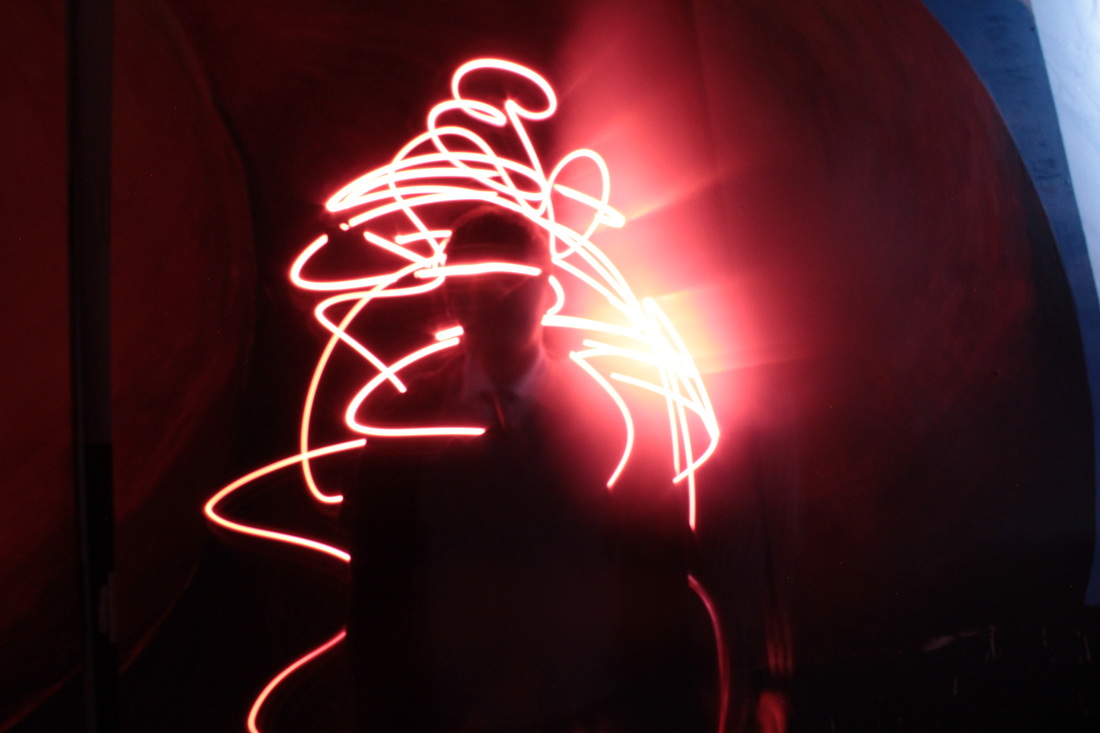
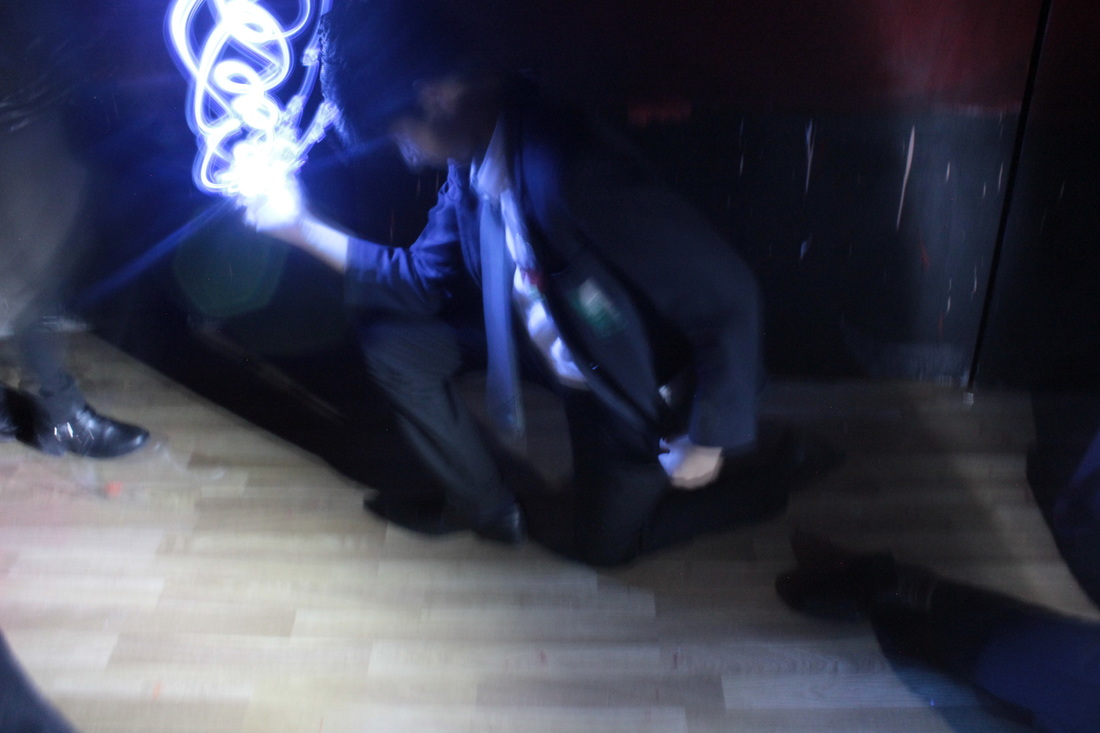
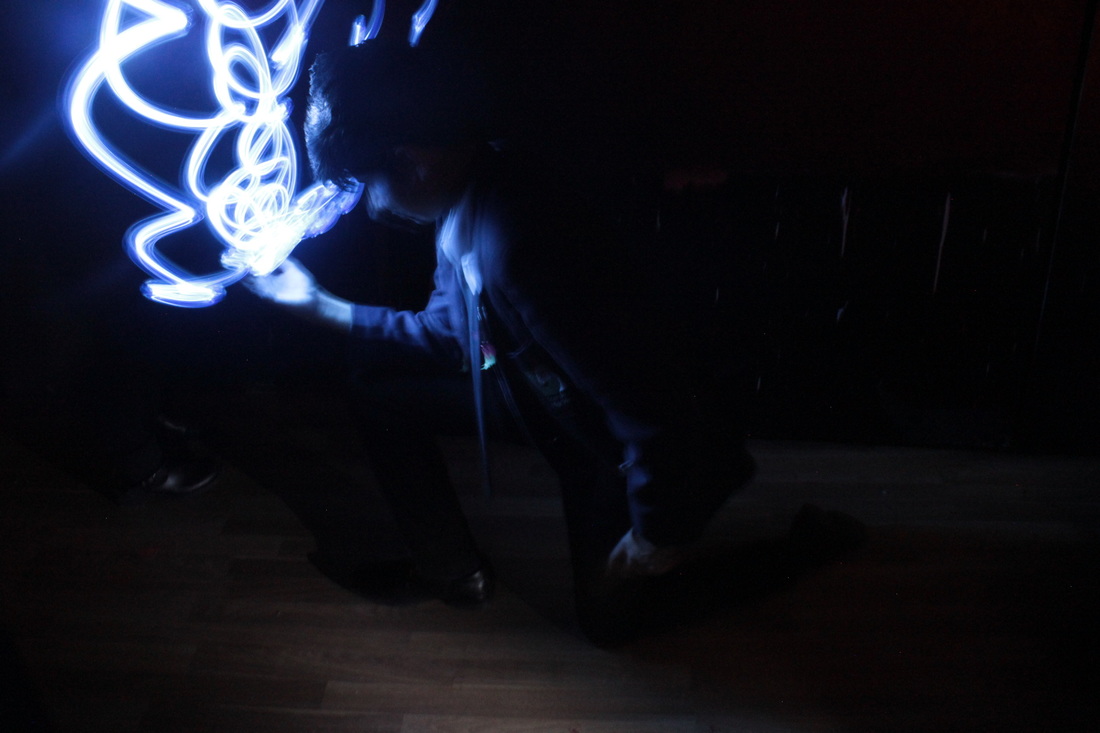
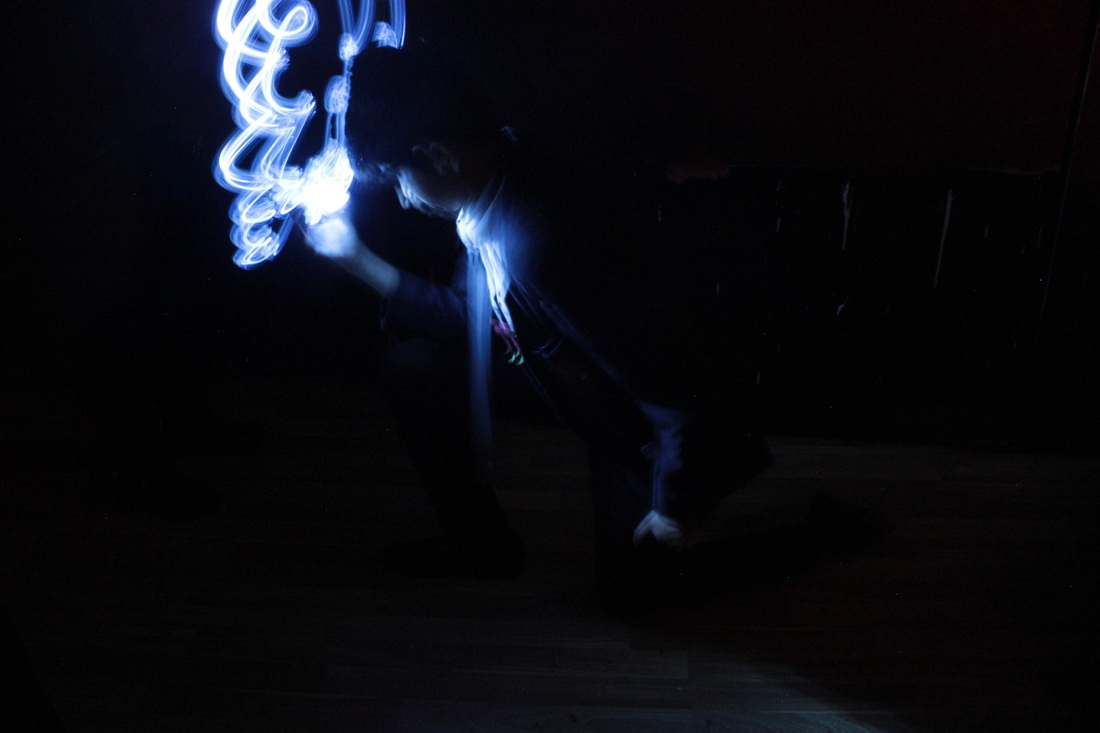
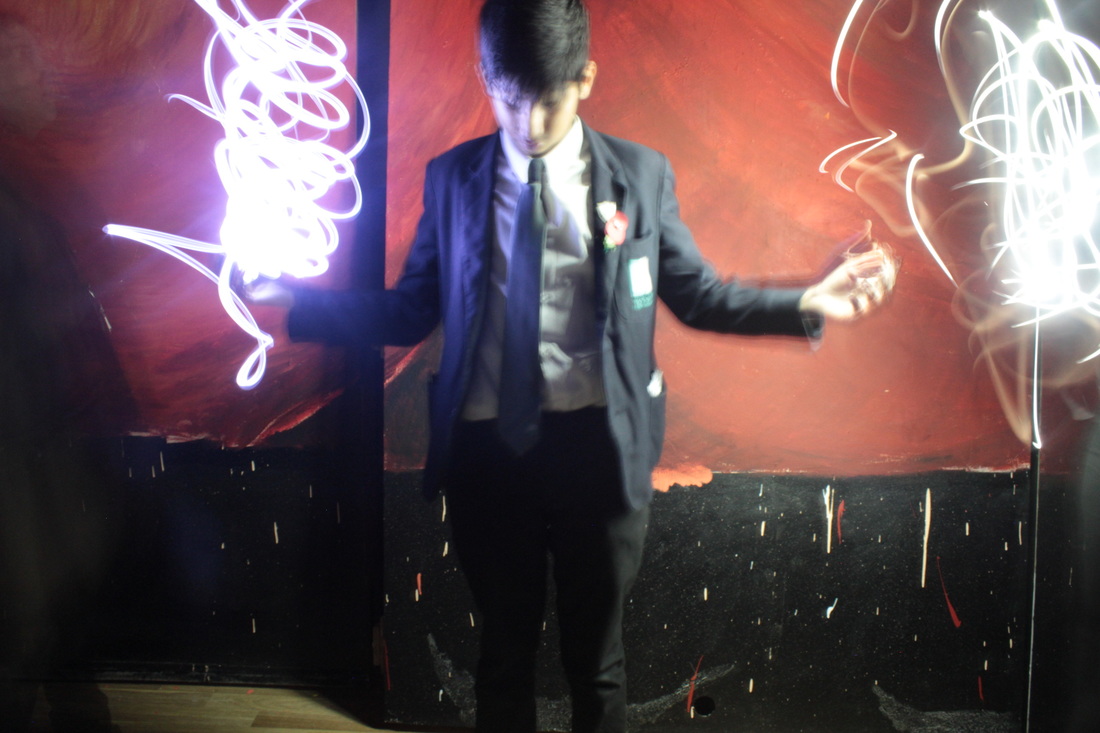
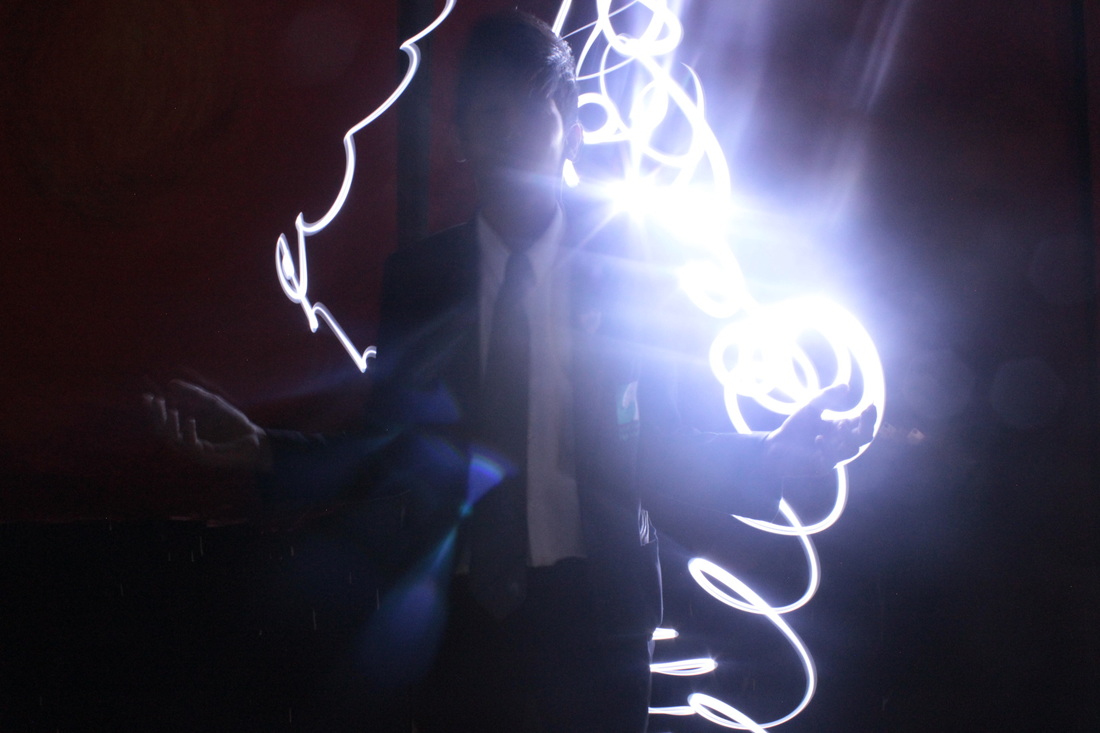
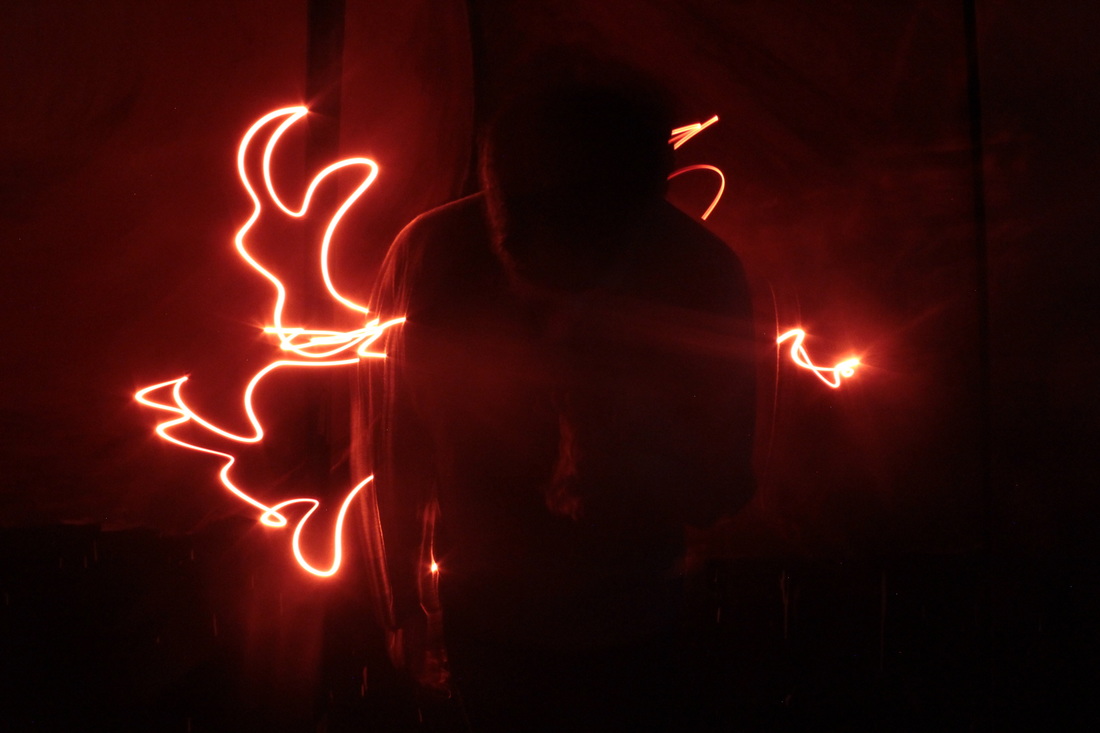
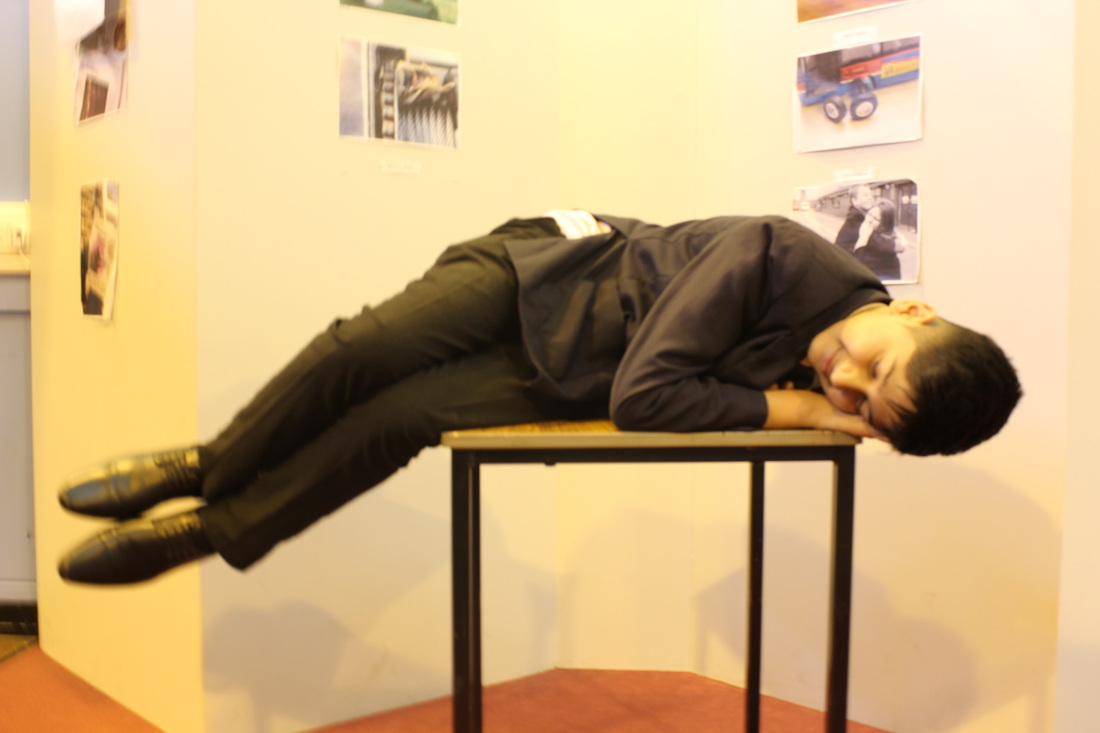
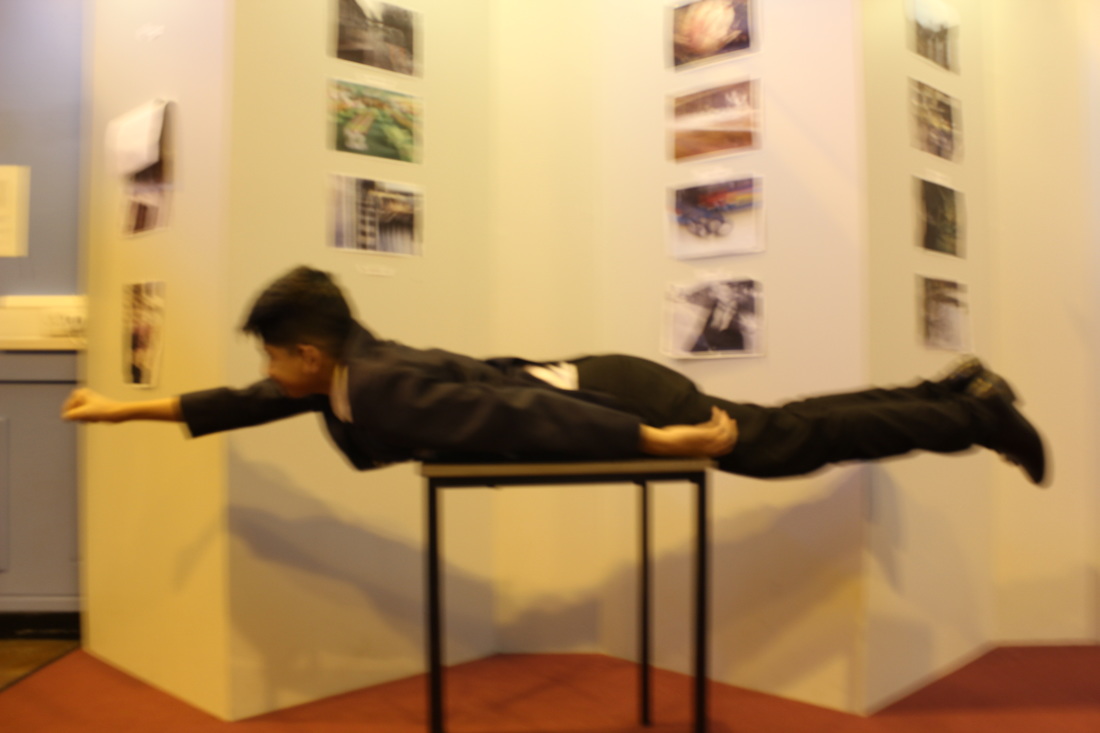
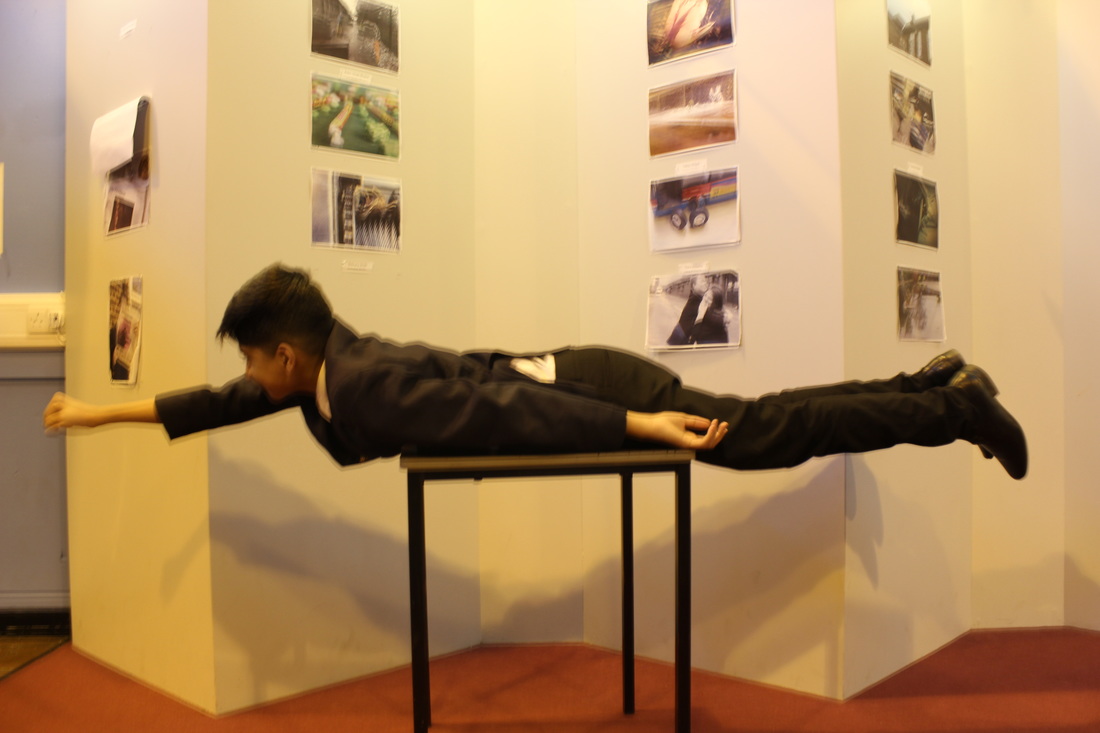
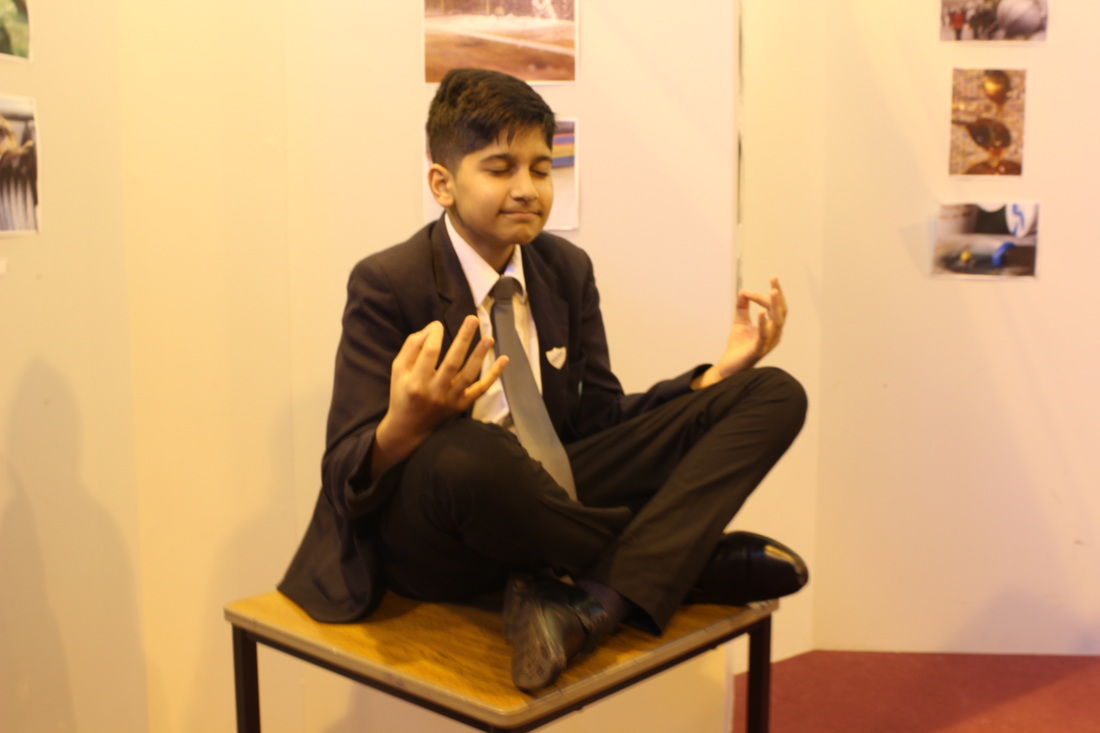
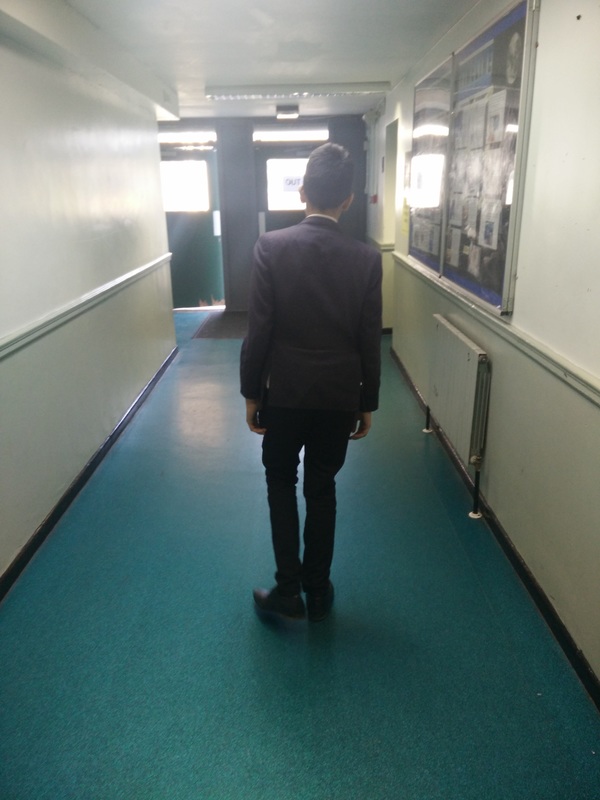
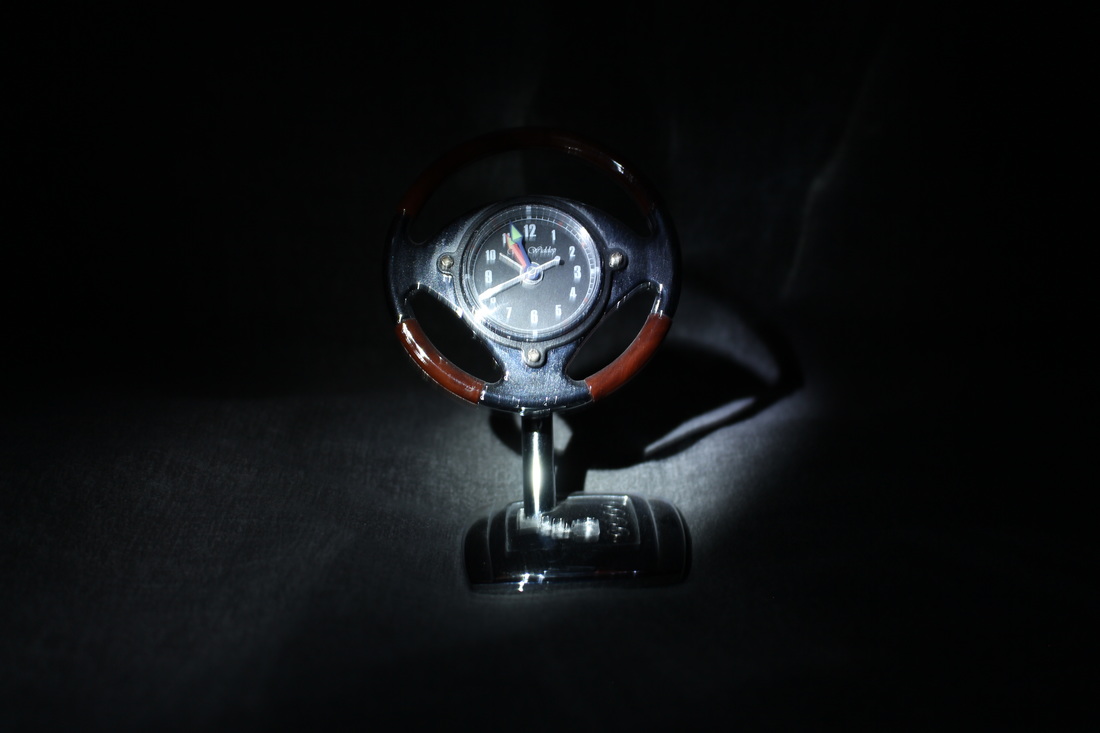
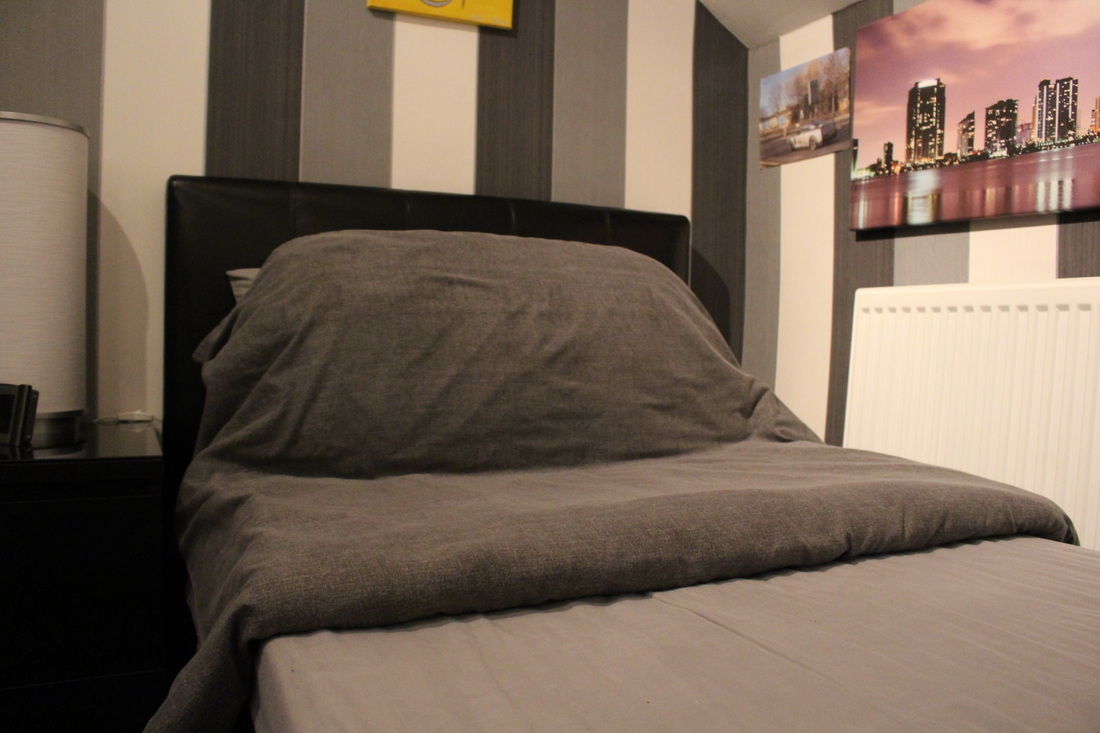
In this shoot I would like to produce some photos that follow the theme of superheroes. To do this I need a small light source that isn't too bright, I also need to do this in a dark room where there is the minimum if not no light seeping in.
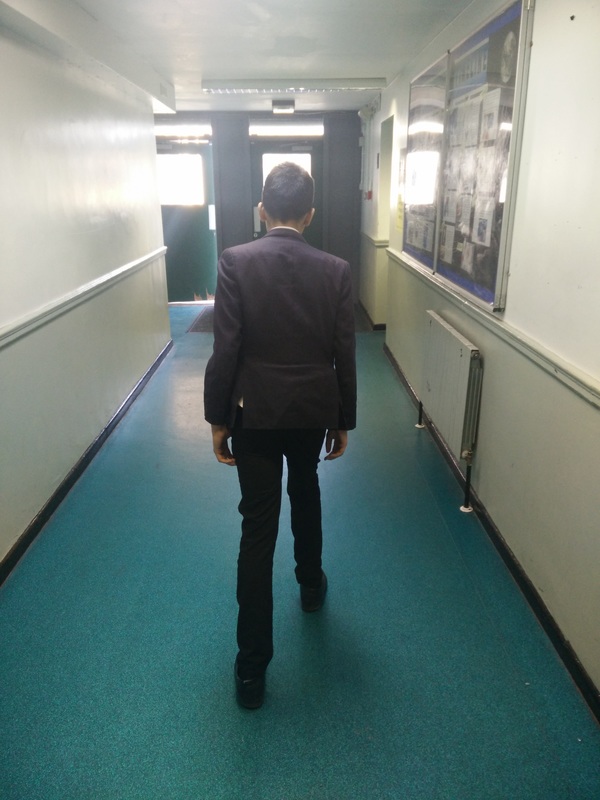
Shoot One

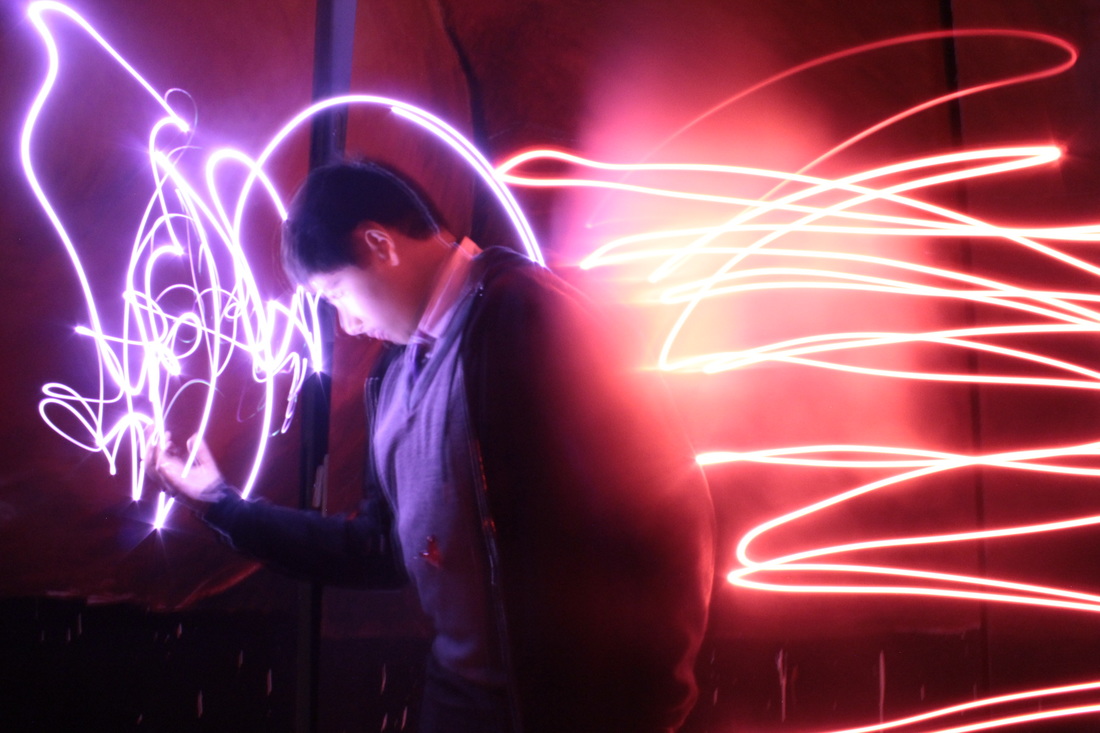
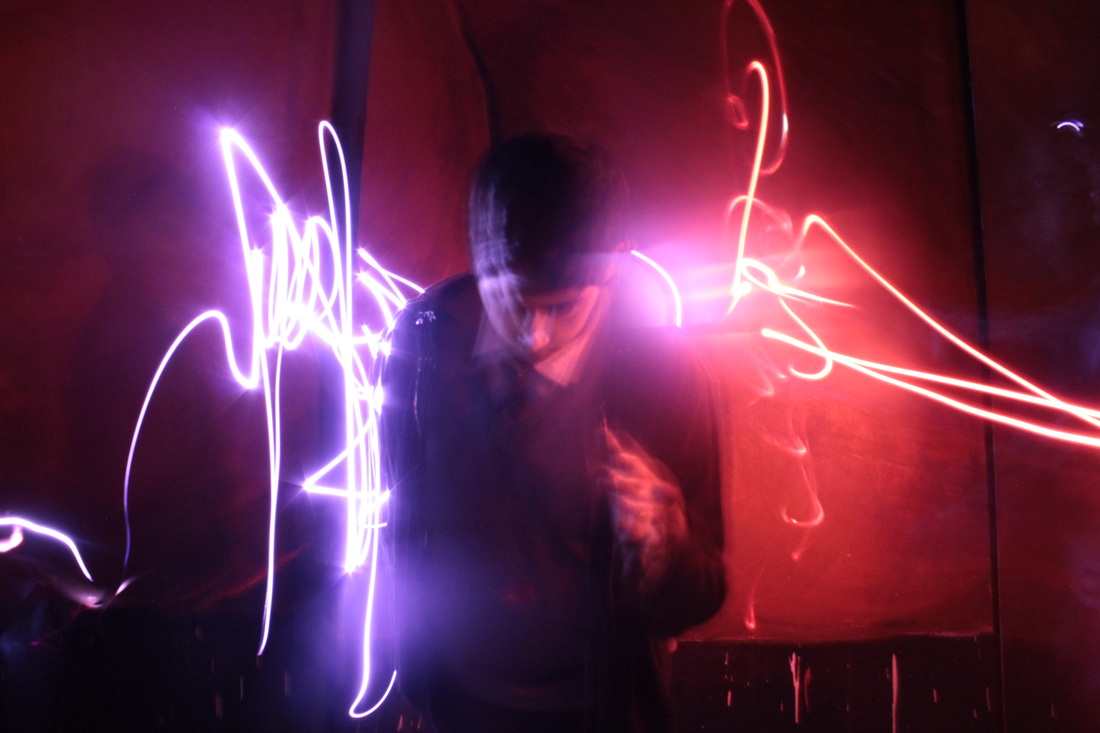


Shoot Two

Before:

|
|
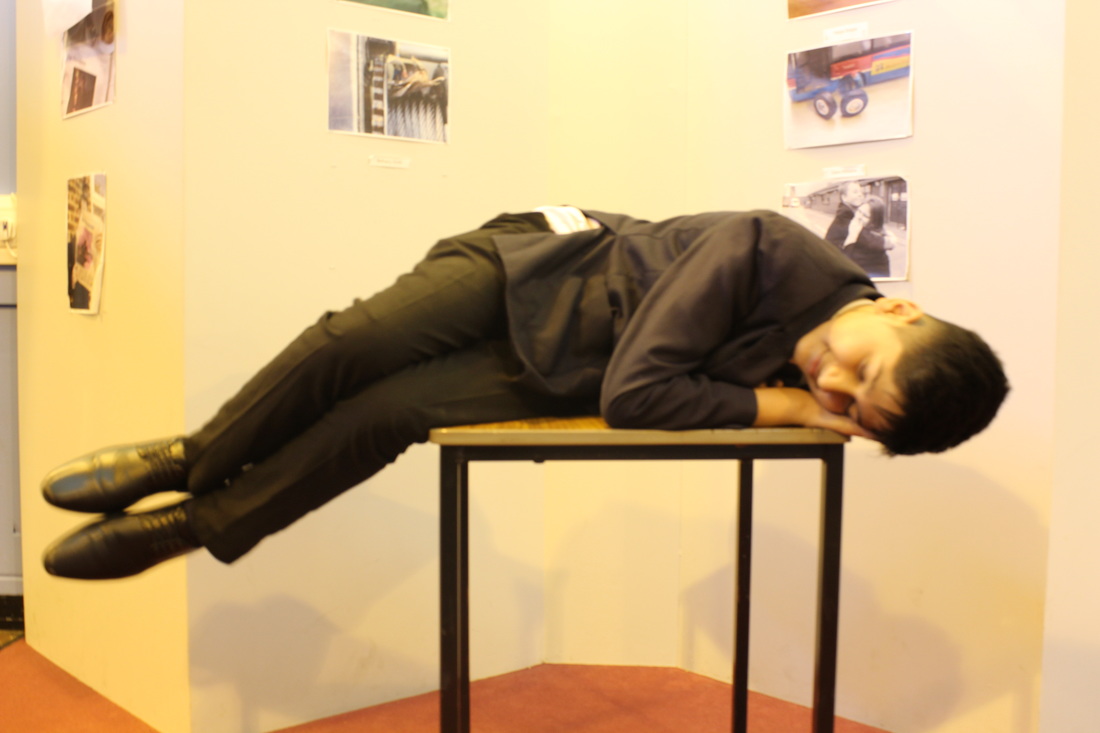
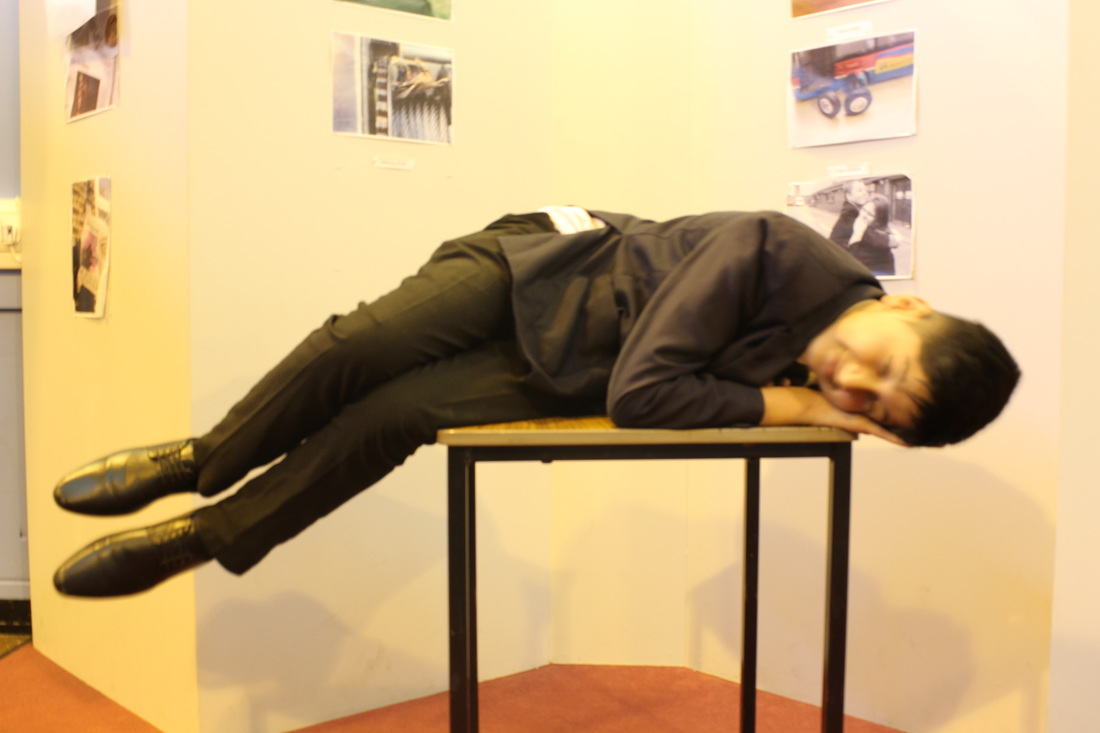
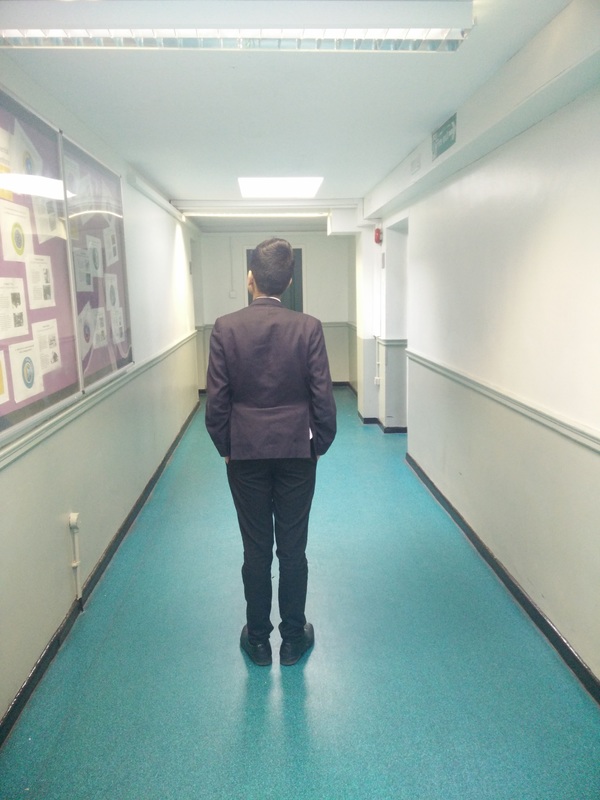
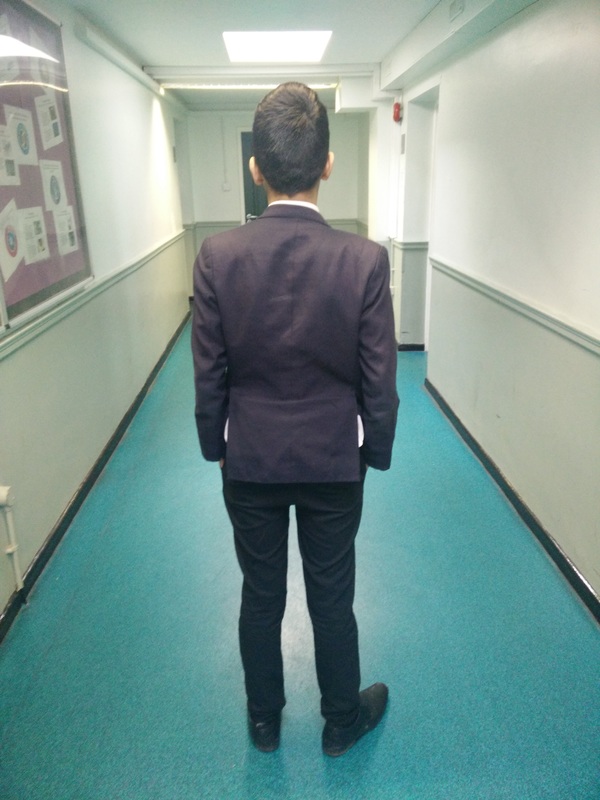
Why I chose these photos to work with from the photo shoot (analysing my photos)
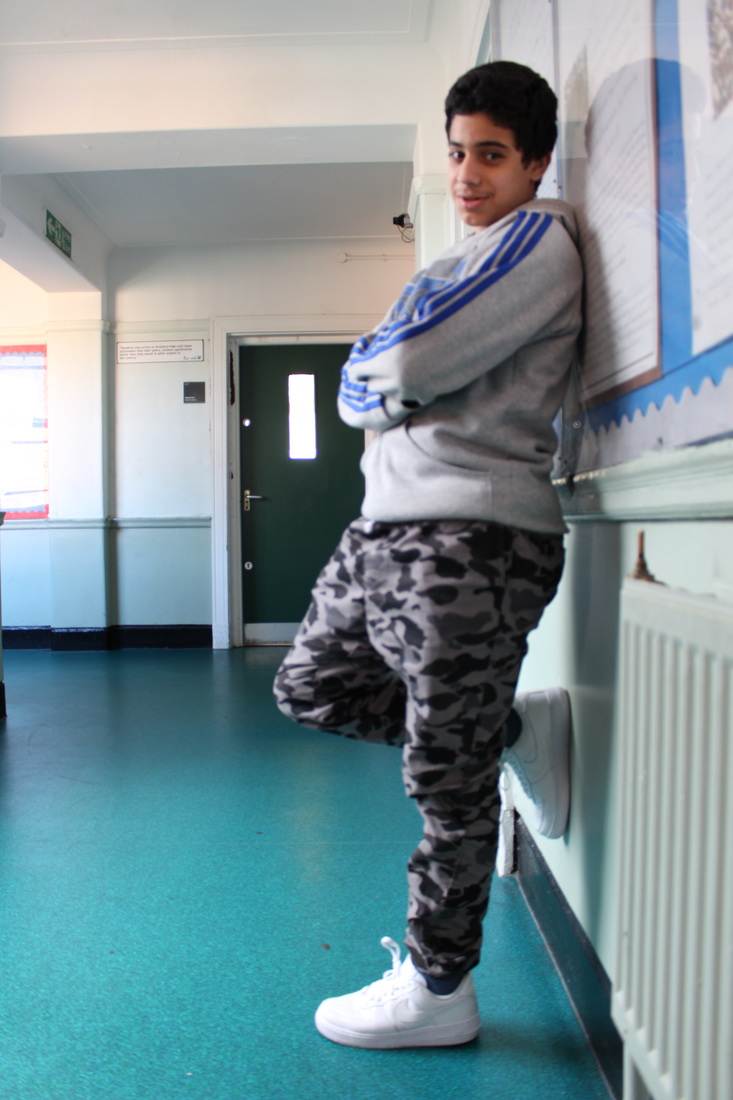
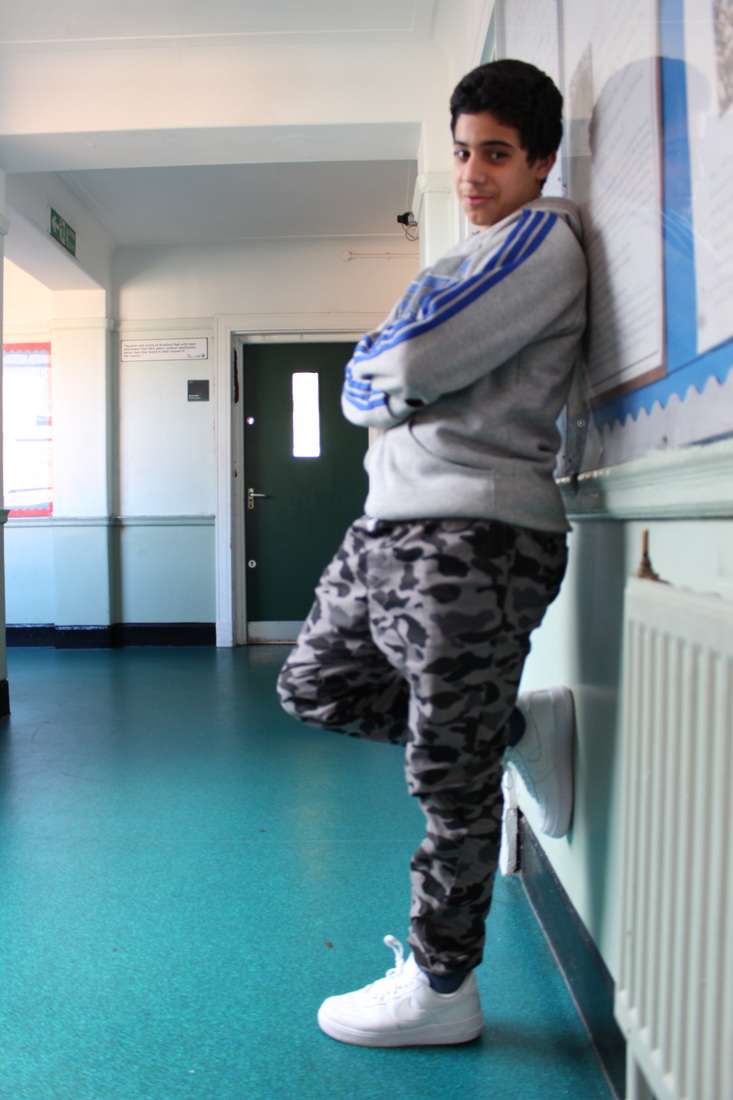
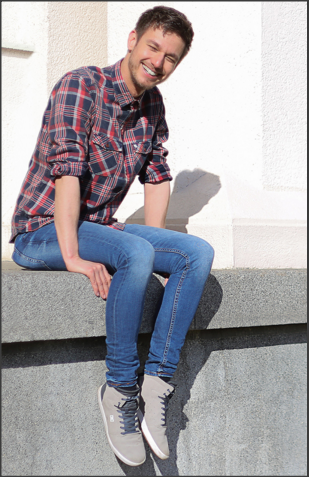
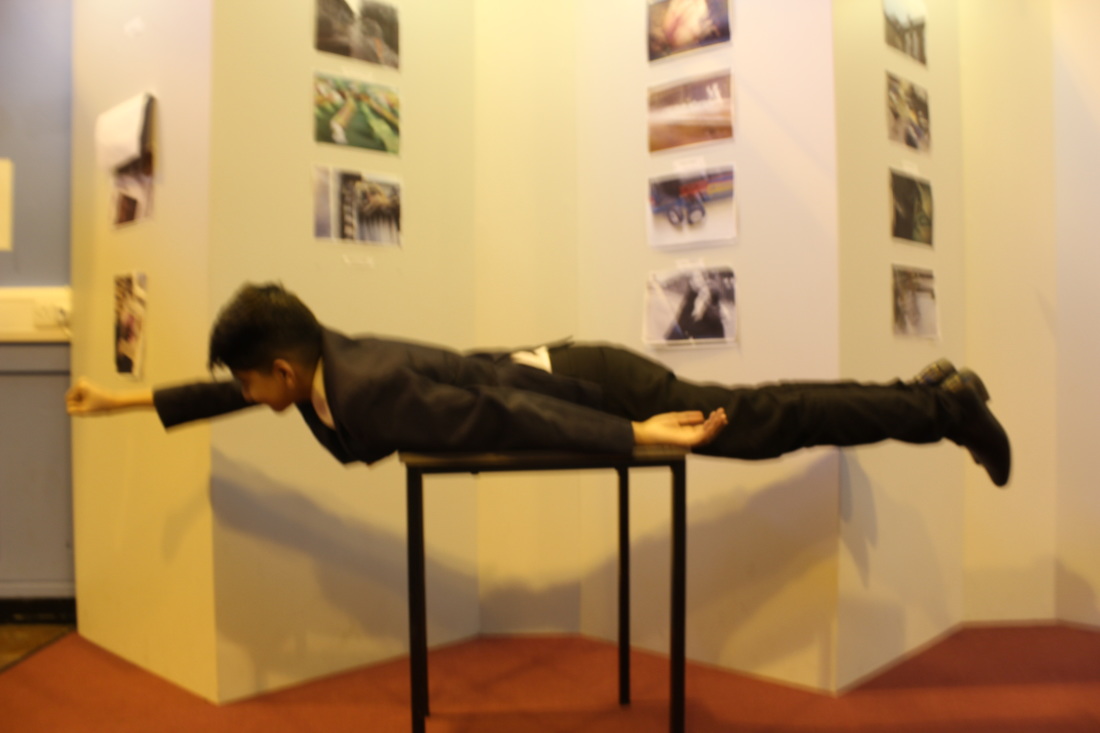
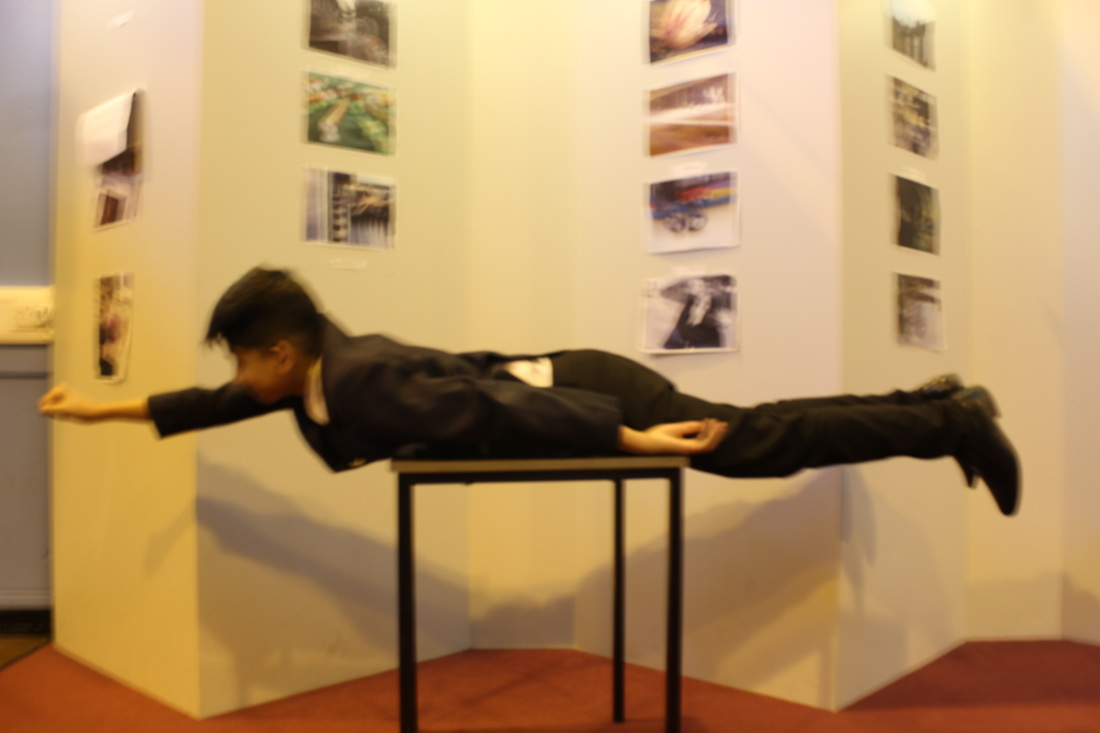
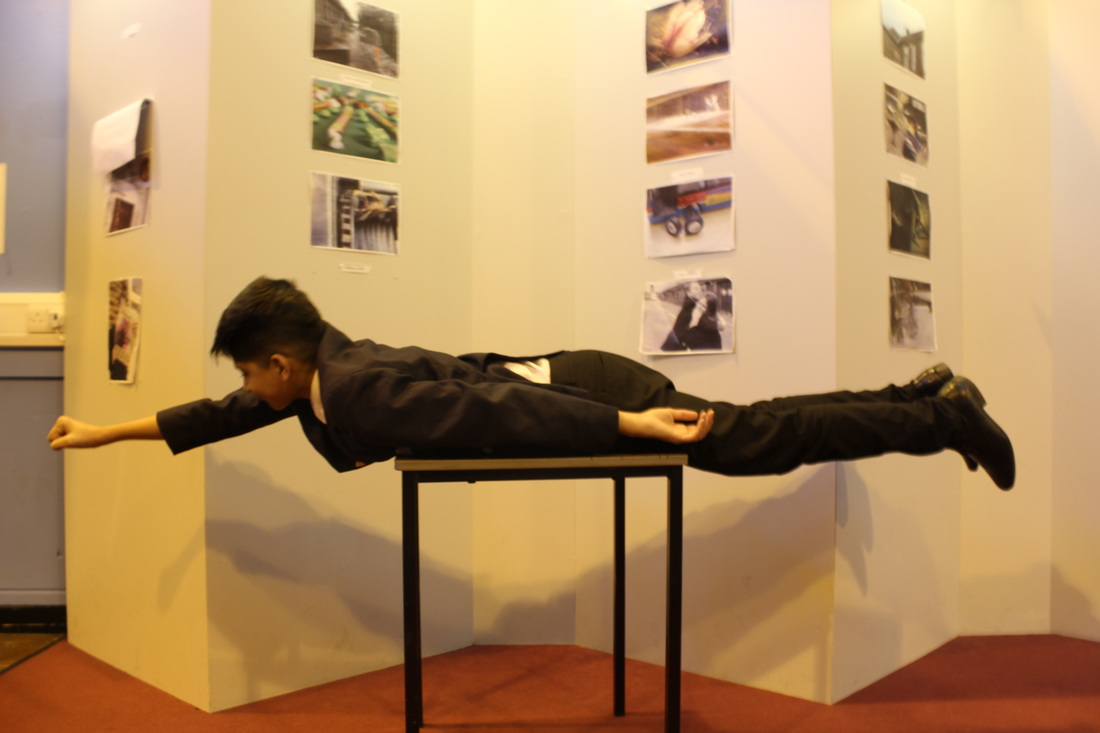
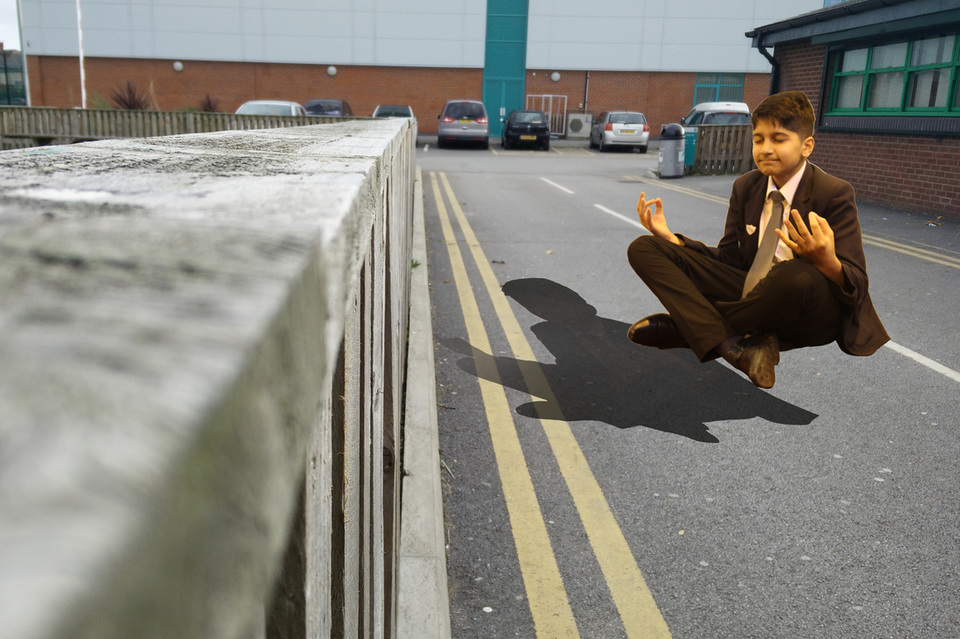
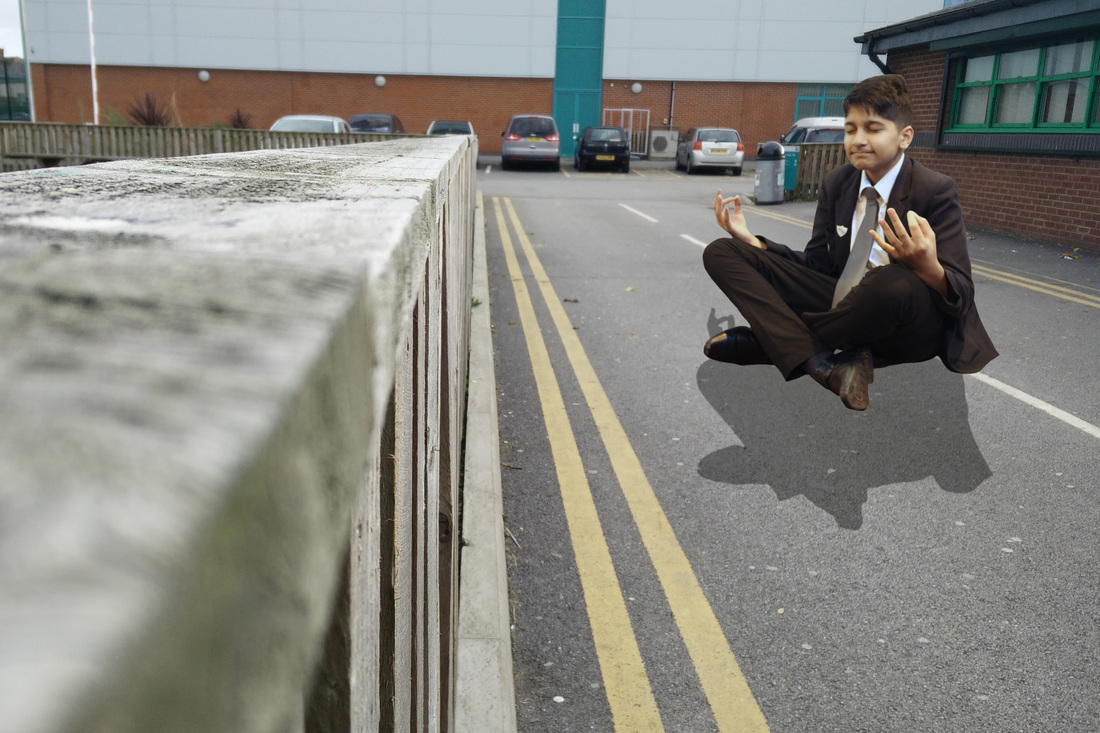
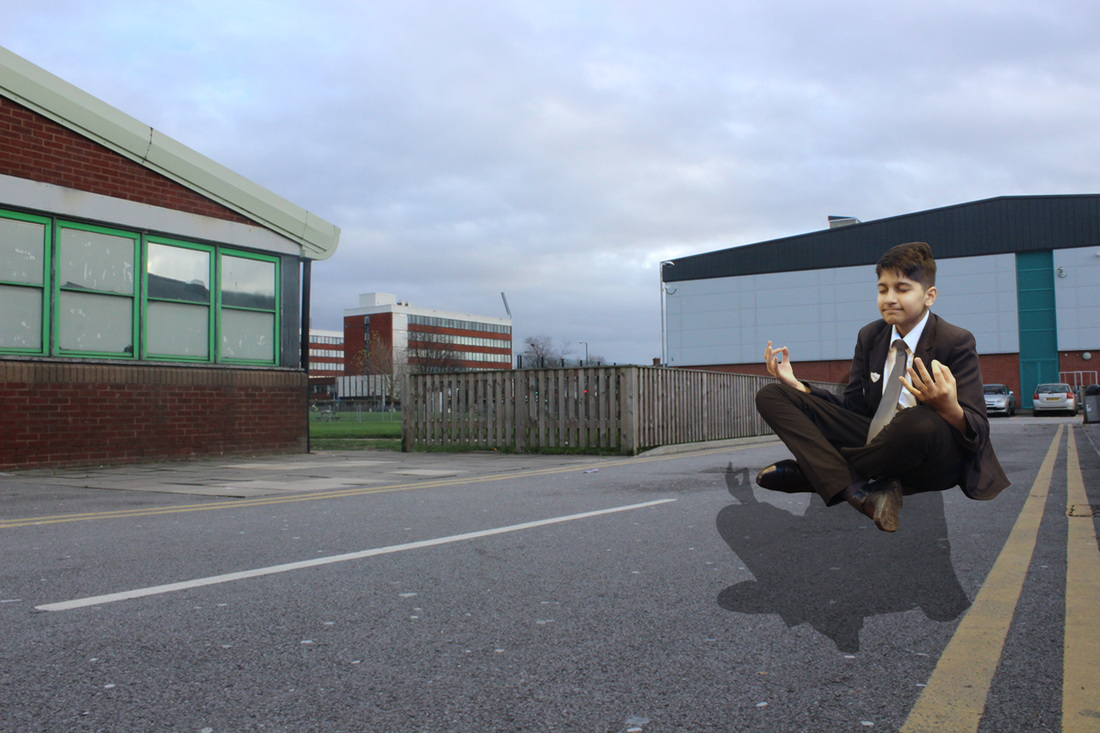
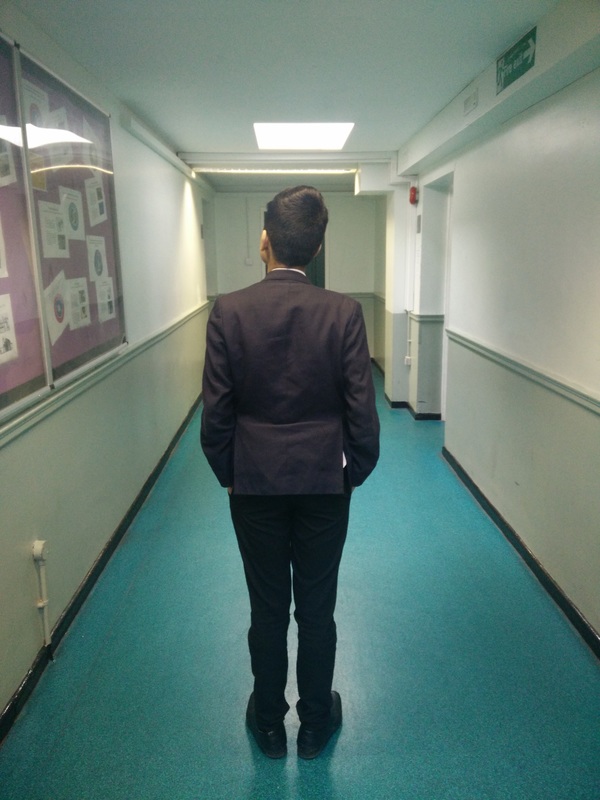
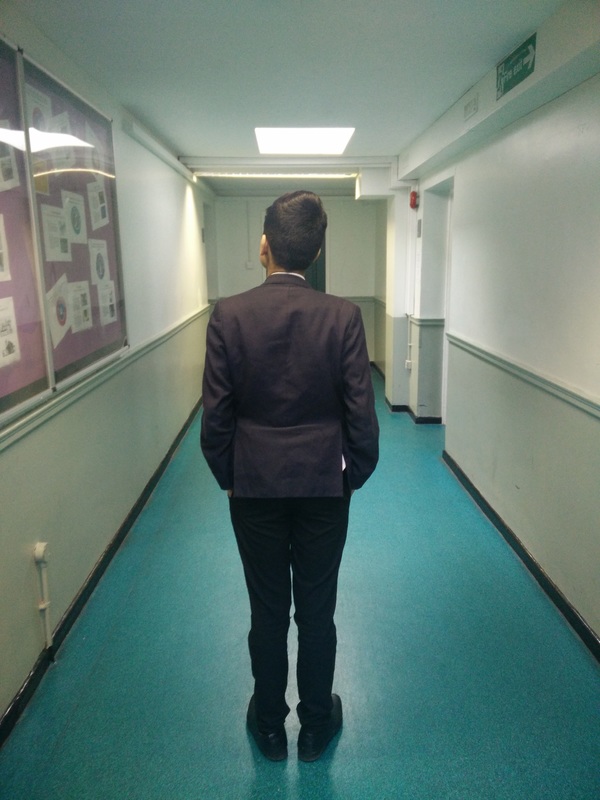
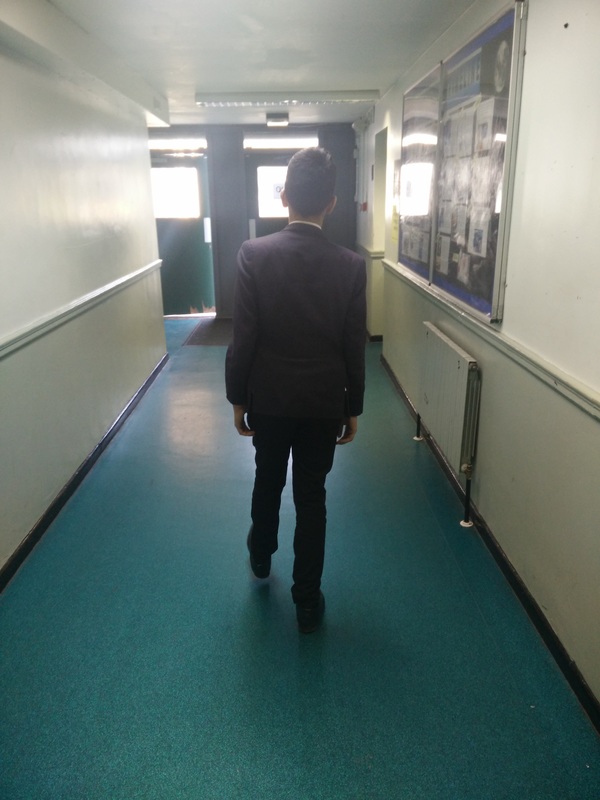
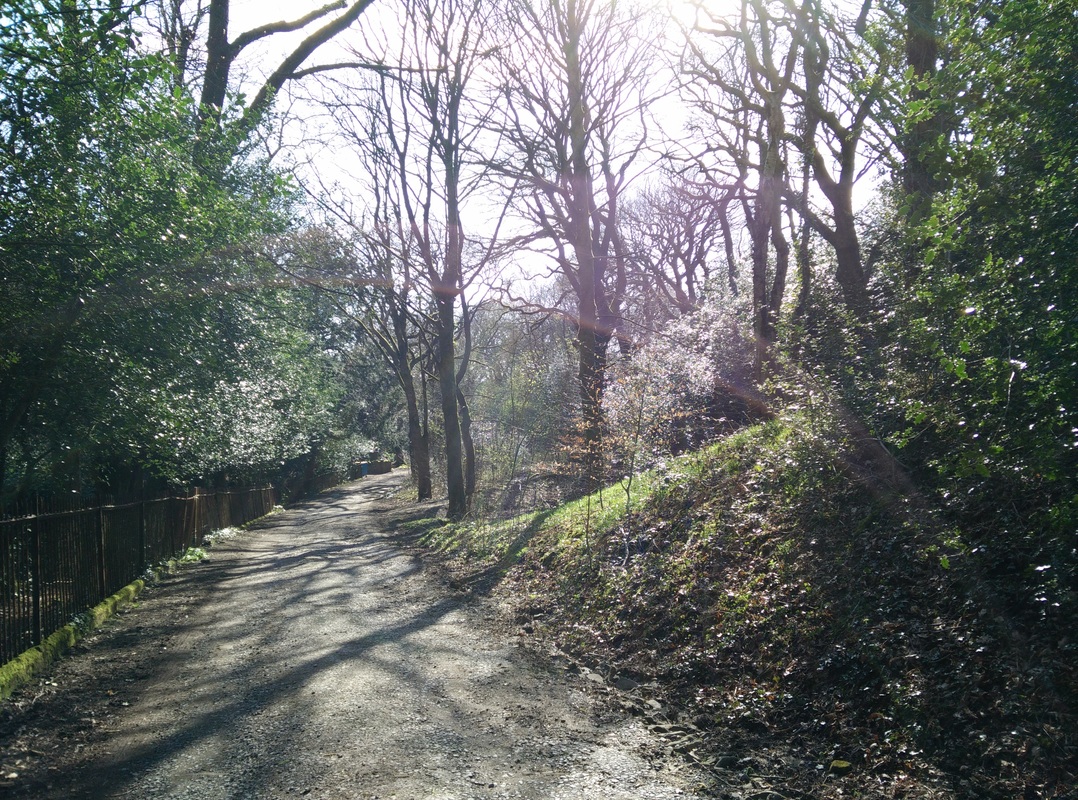
I chose these the above photo of the character because it was a good pose to manipulate and use in many different photos with different backdrops. The whole character is clear in the frame of the image and doesn't have any photo blur and is in focus. The white balance wasn't right for the type of image I was going for but was easy to change in Photoshop to correct the white balance to the lighting of the backdrop I used in which case it was natural sunlight. The reason I chose that backdrop was because it gives a more natural and fitting feel to the photo rather than to have it indoors under different lighting as oppose to natural lighting.
After (edited in Adobe Photoshop):
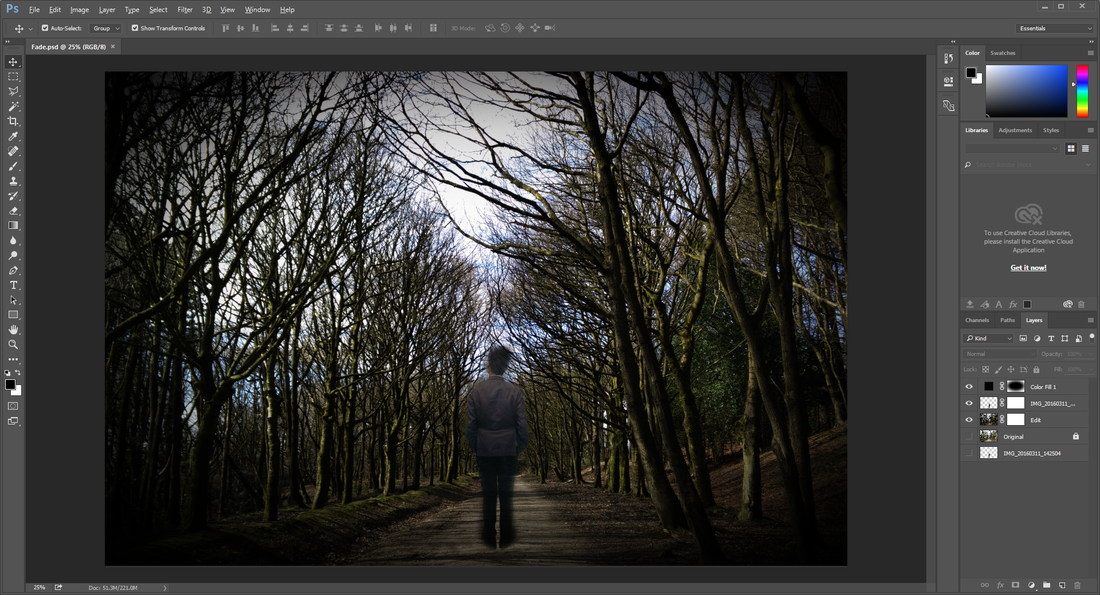
To begin with I added both photos in to my Photoshop file and removed the backdrop of the original photo with the character.
Second Attempt:
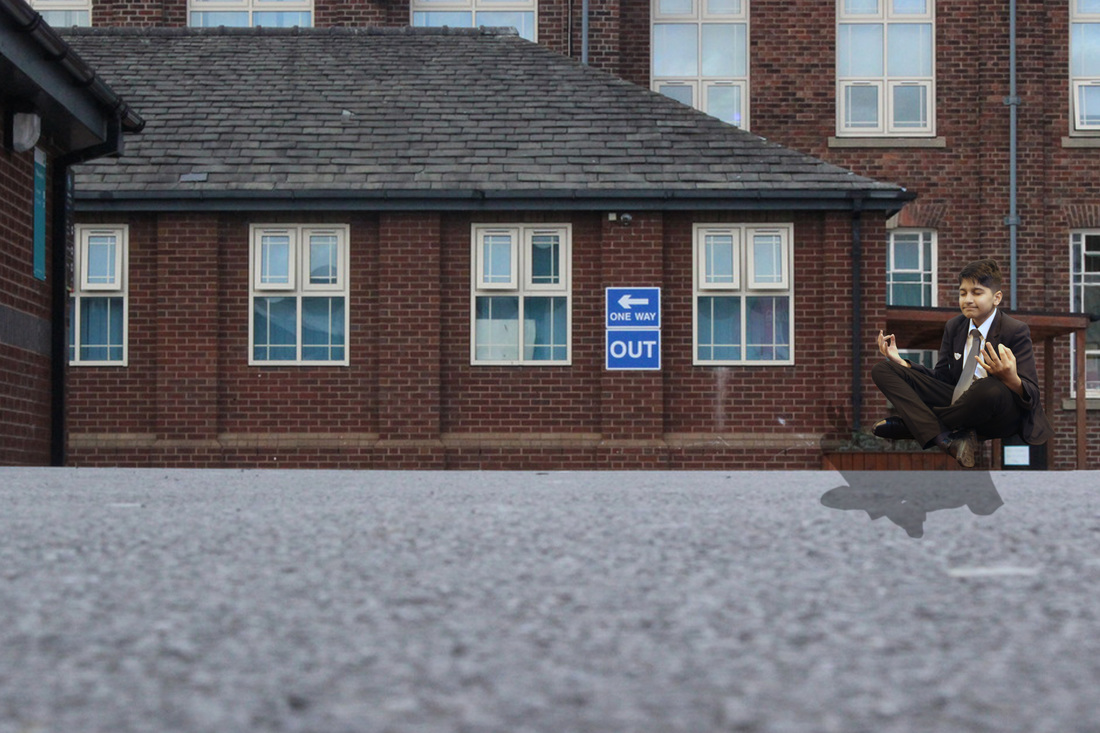
The second time I edited it, I used a drop shadow effect as it gave a better shadow effect. another thing I did different was changing the colour and tone of the persons body as it gives a more natural look and appearance, it makes the person look as if he was actually under the same lighting but in this case he was not. The final change was that I removed a few pixels extra from the person so you cannot see the background of the original photo and then smoothed it out along the edges.
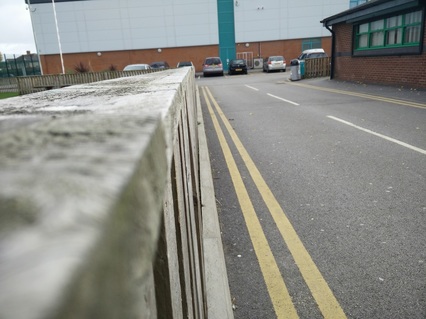
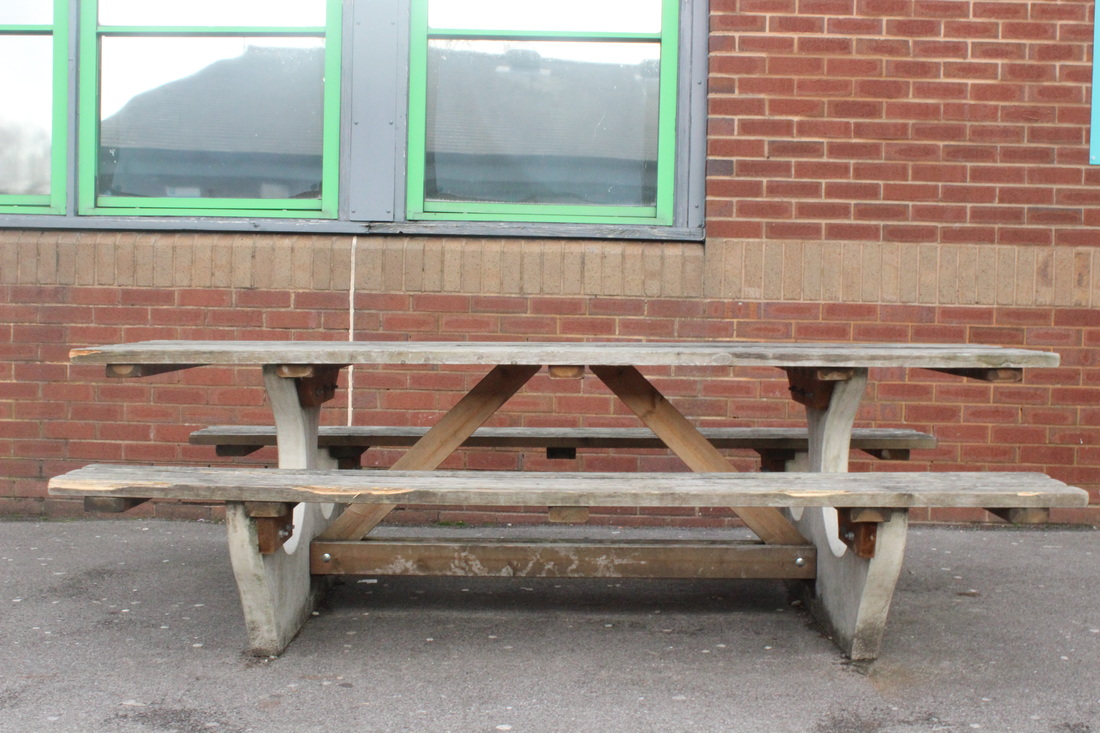
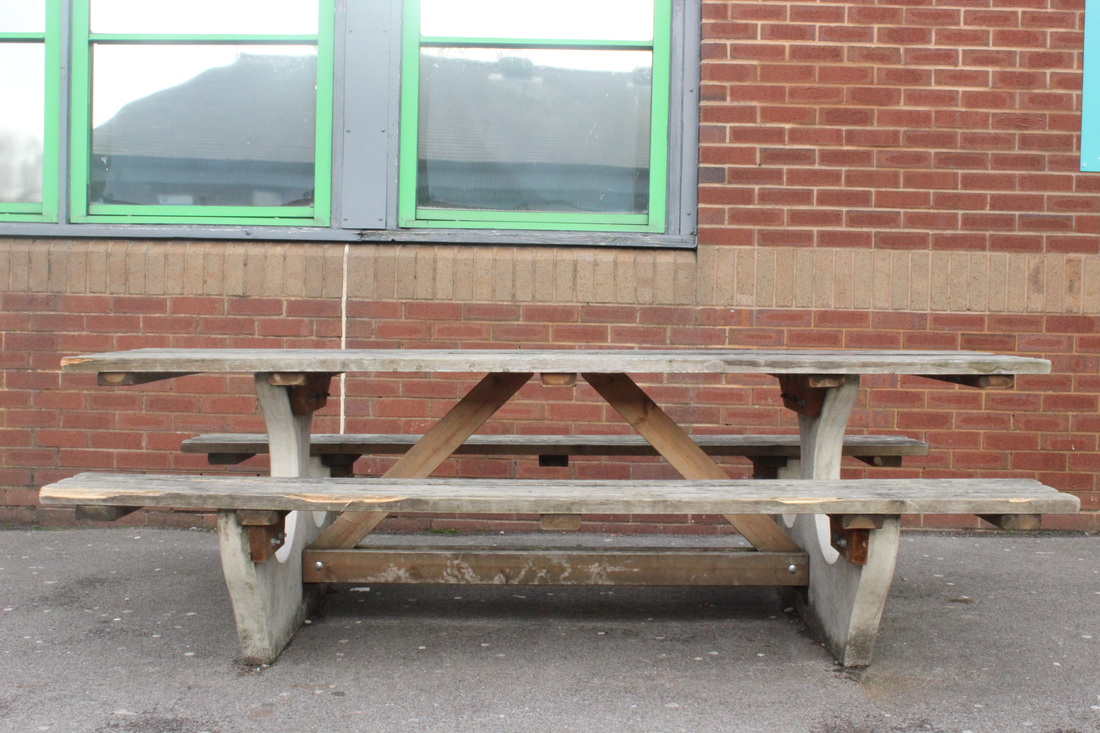
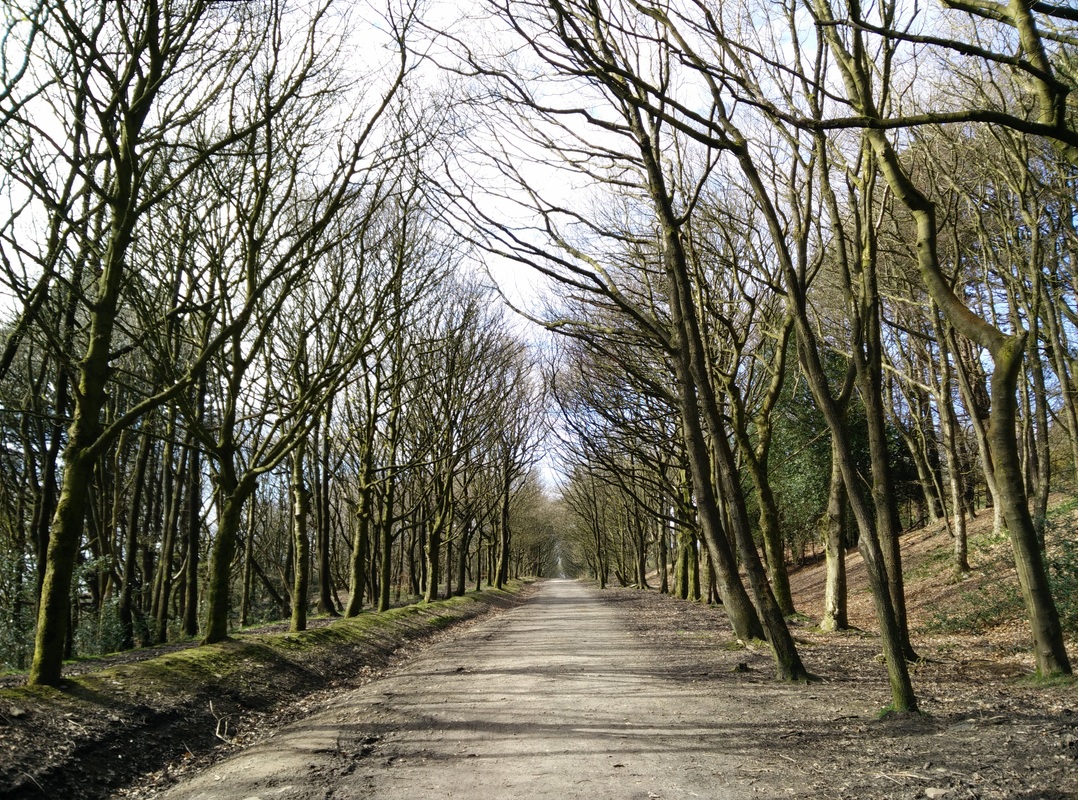
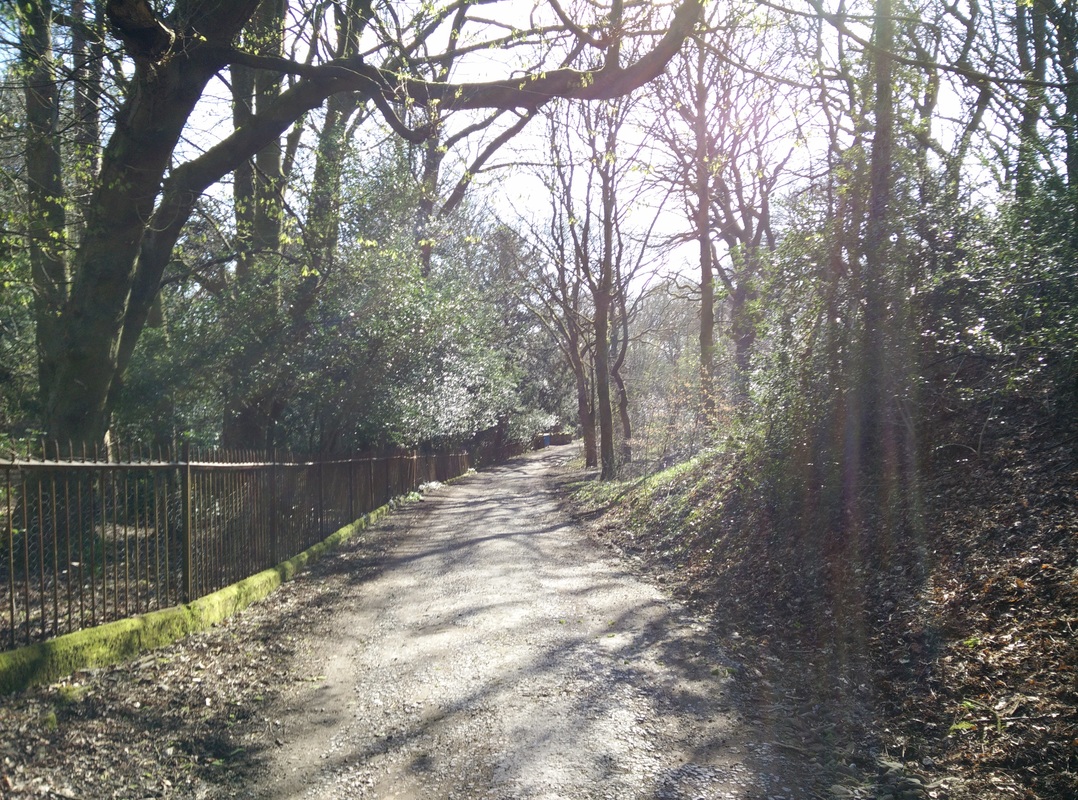
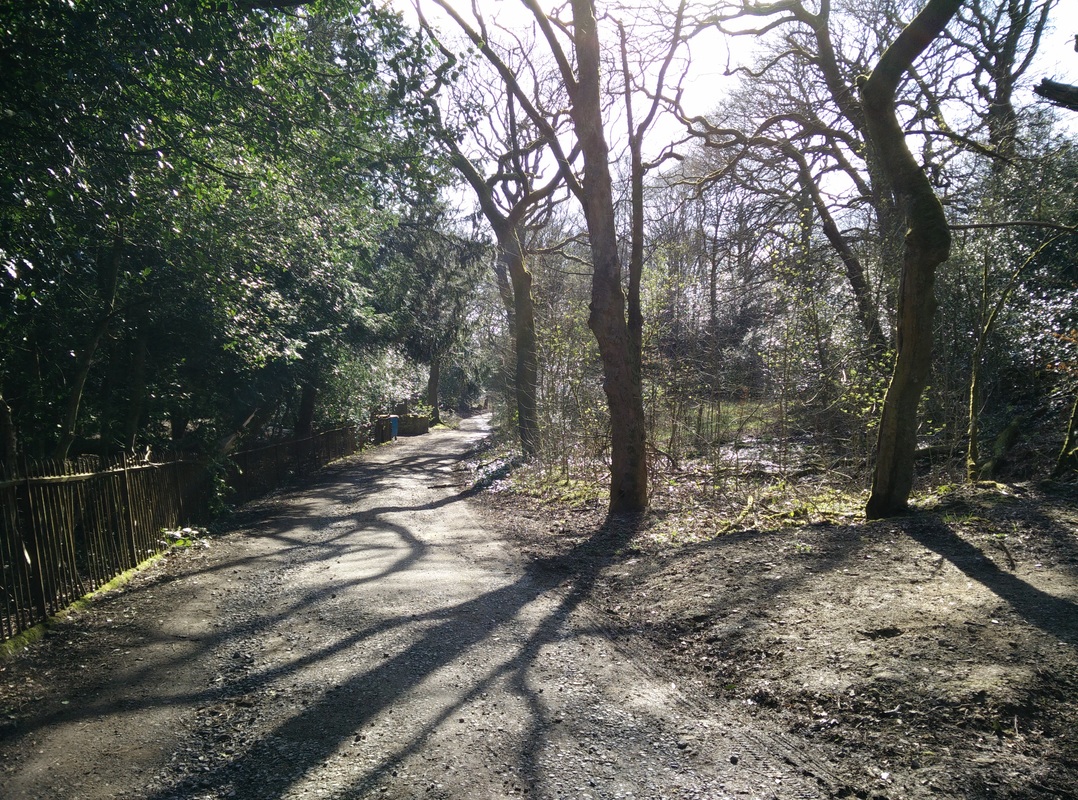
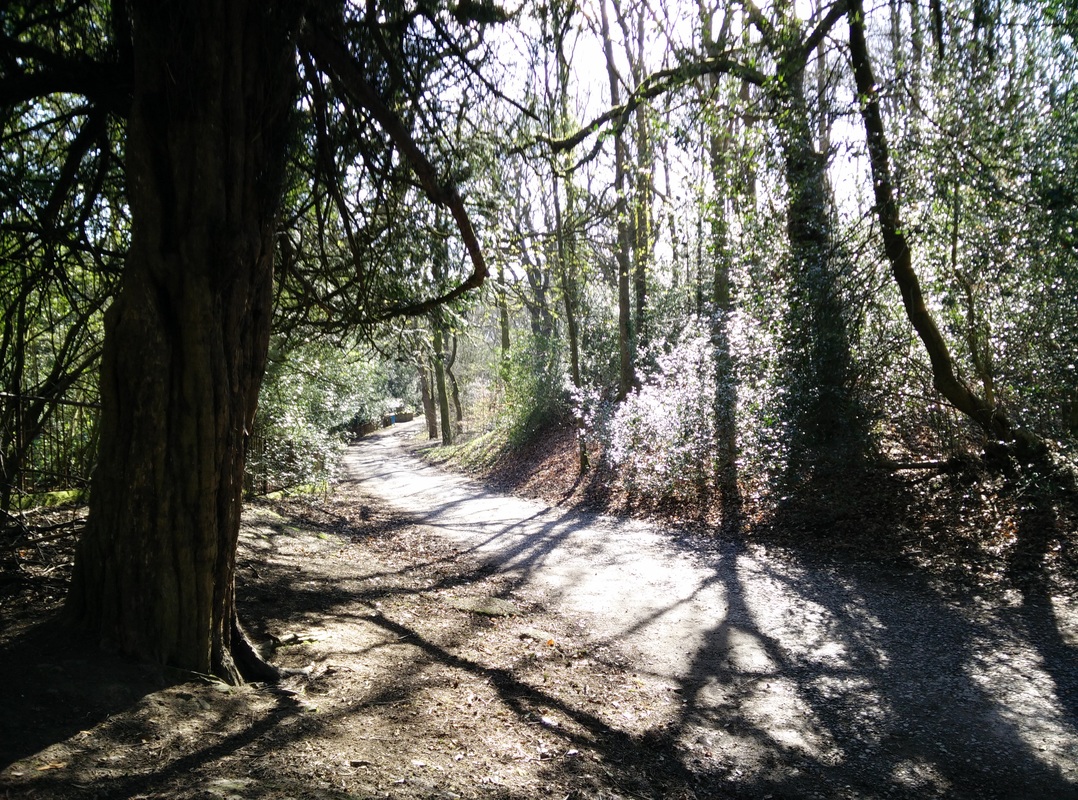
Making new Backdrops:
These are all backdrops that can be used for the levitating character and then he can be adjusted slightly for each environment.


Shoot Three: Part 1

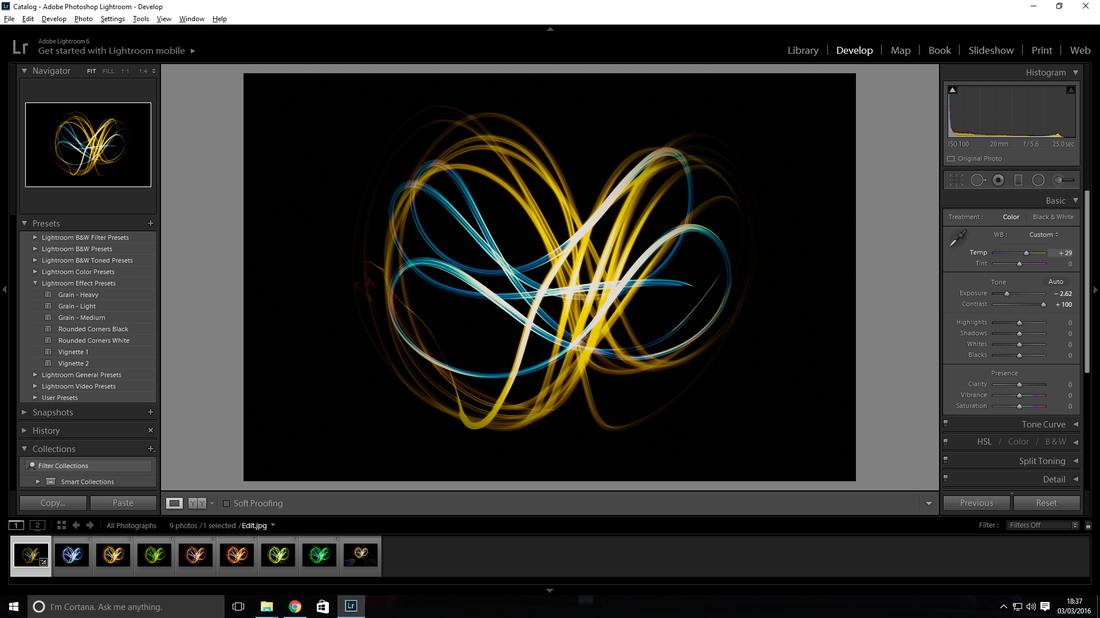
Editing Process
Choice of editing software - Adobe Lightroom:
Before:

After:
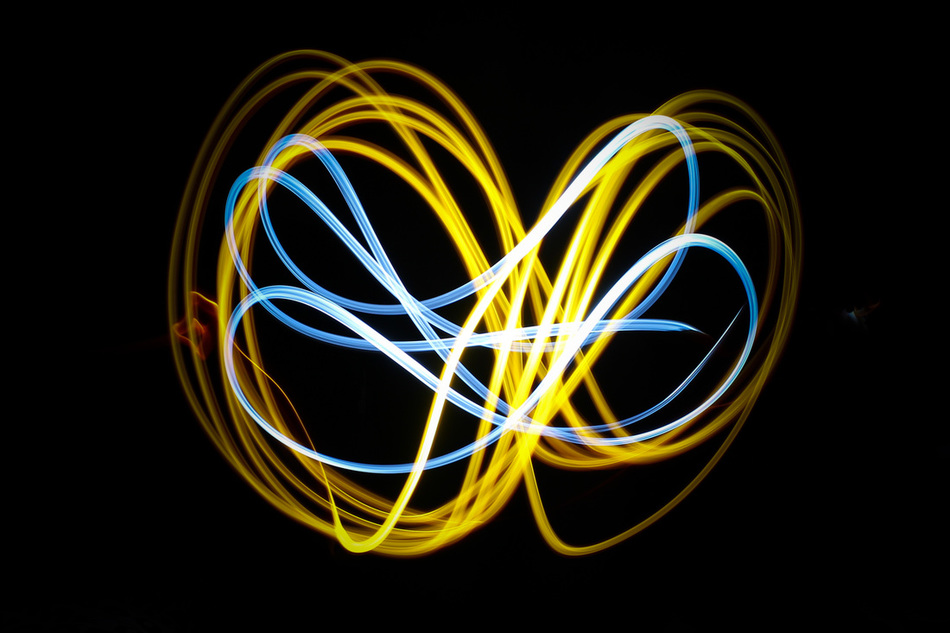
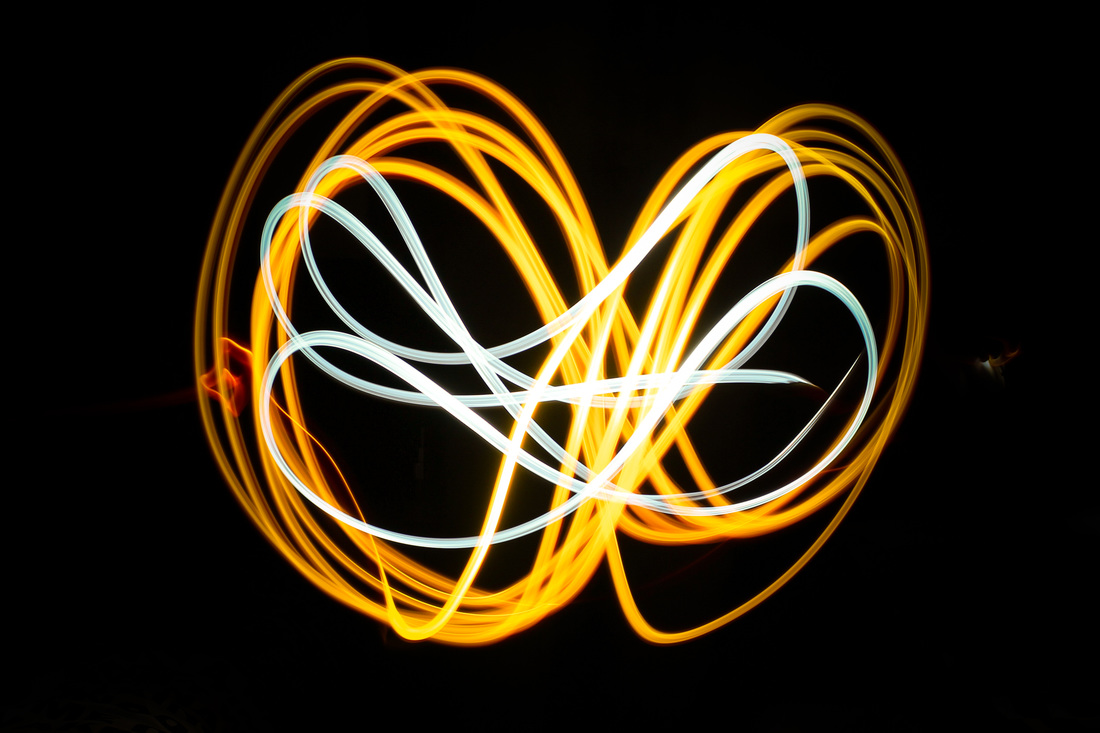
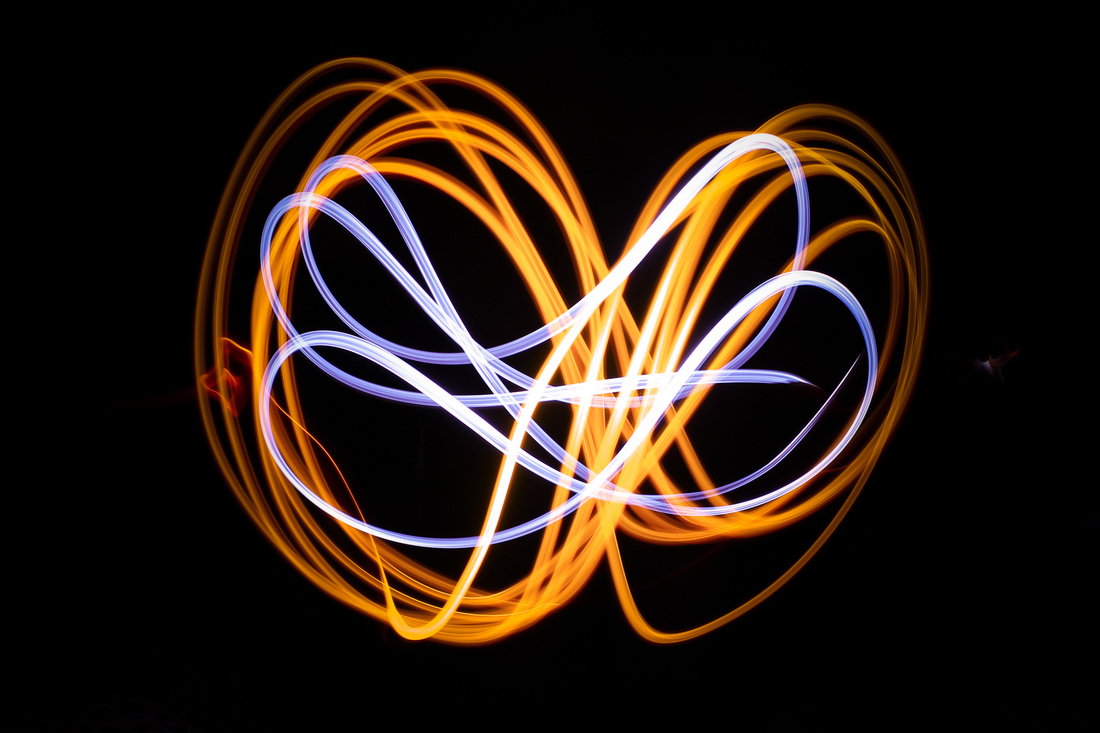
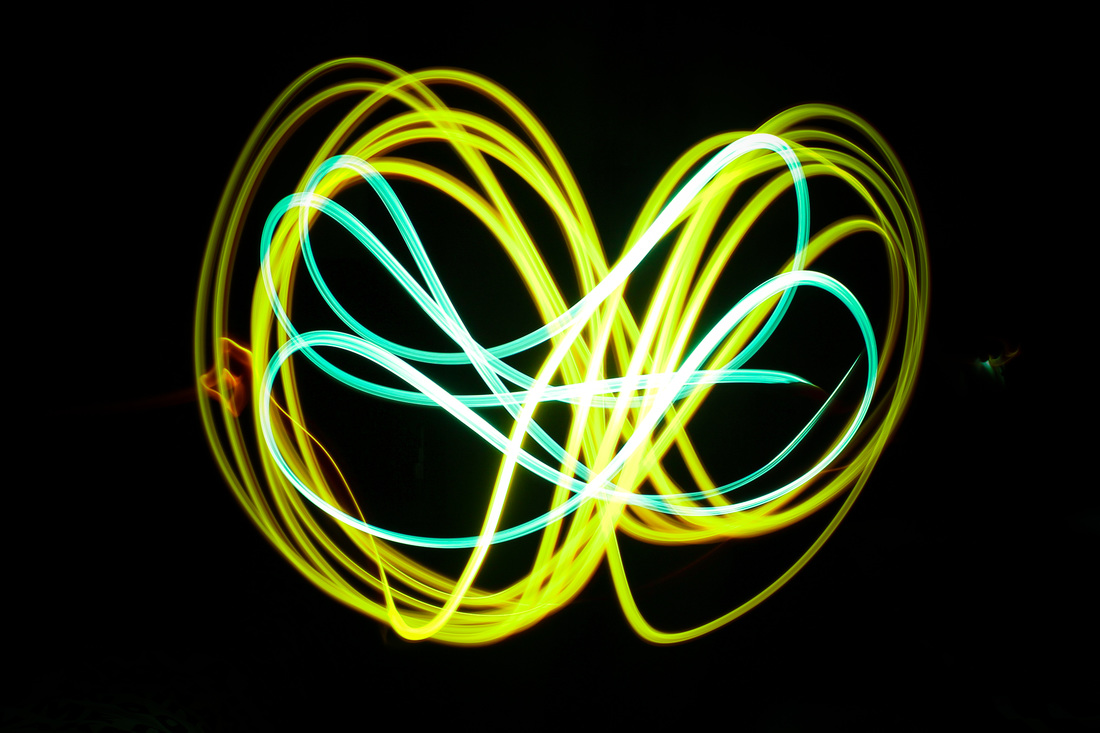
Different Variations:
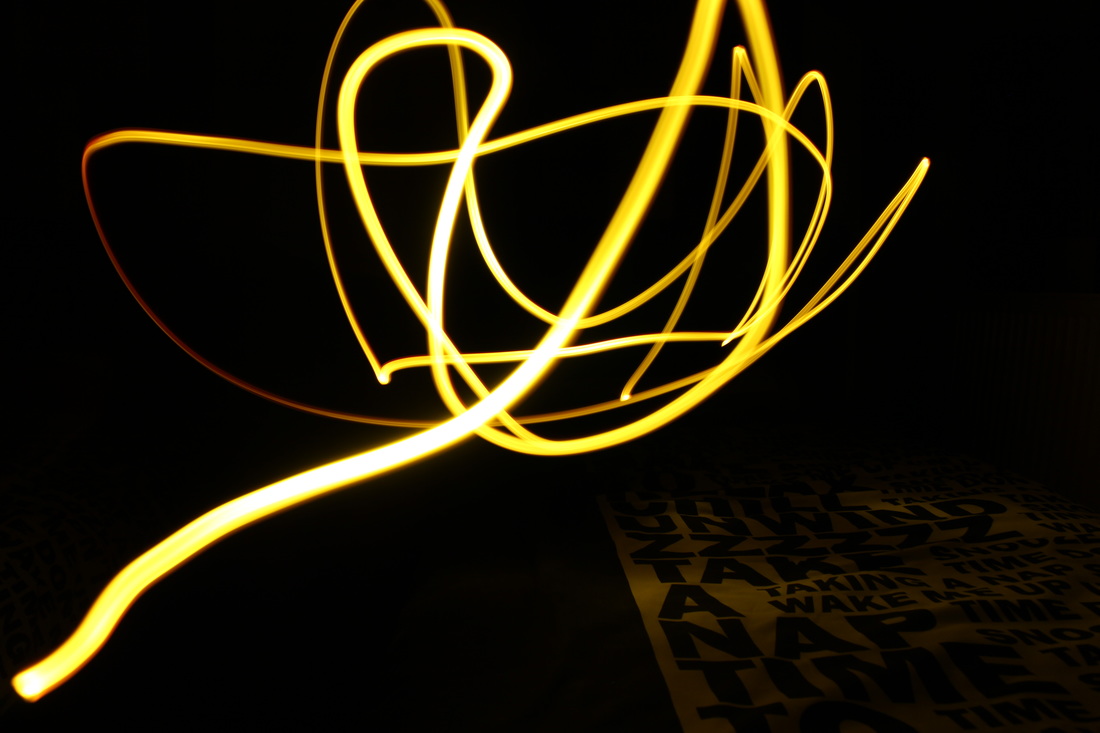
Here I cropped and changed the colours, etc of the same photo multiple times giving me a large variety of results all with different finishes. For this shoot I used 'Adobe Lightroom' rather than using 'Adobe Photoshop' as I would I usually would in all my other shoots throughout the unit. The main options I use to change the colours are; temperature, tint, exposure, contrast, highlights, vibrance and saturation.

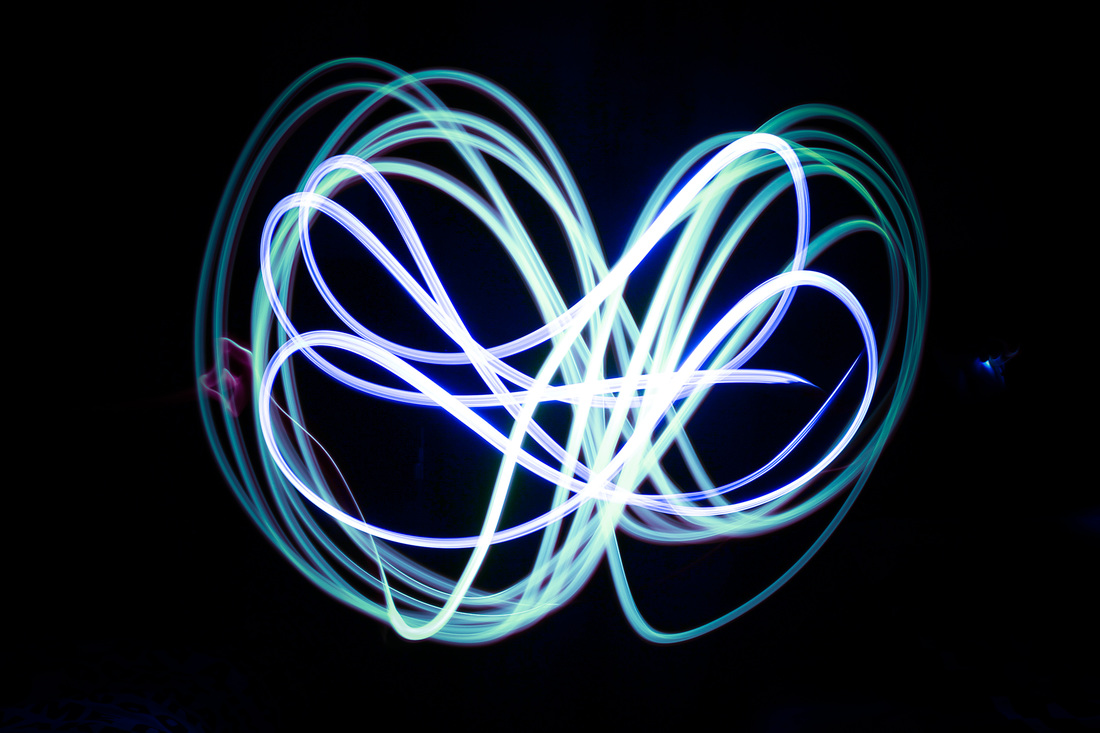
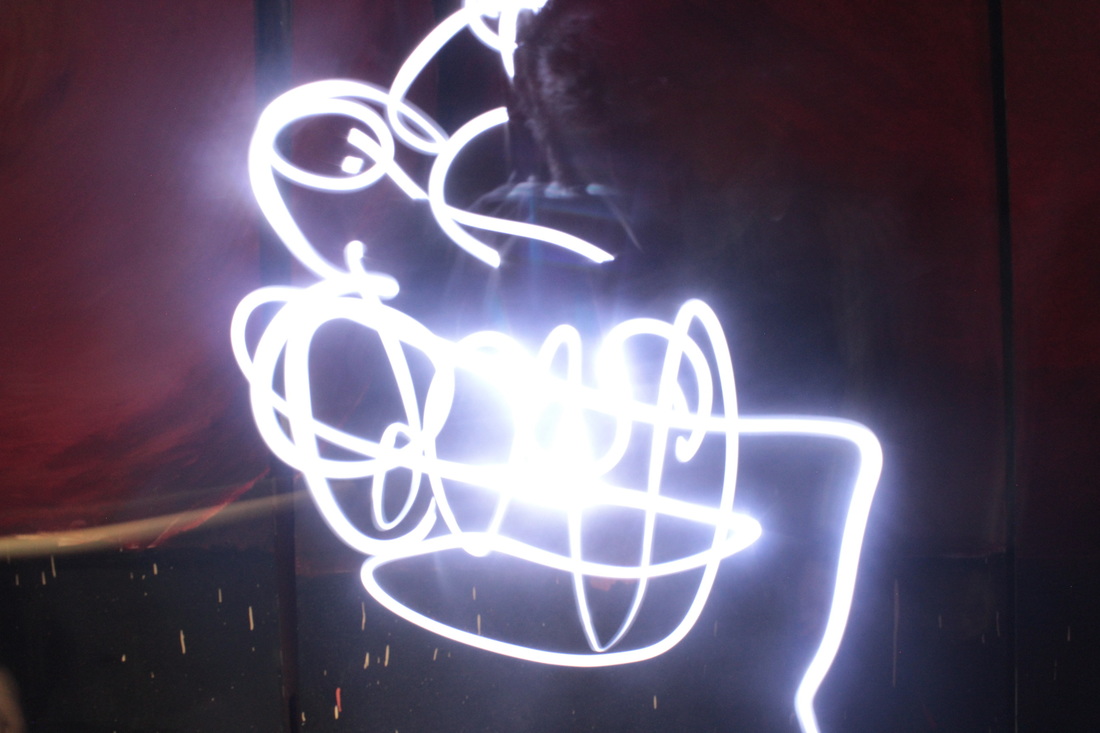
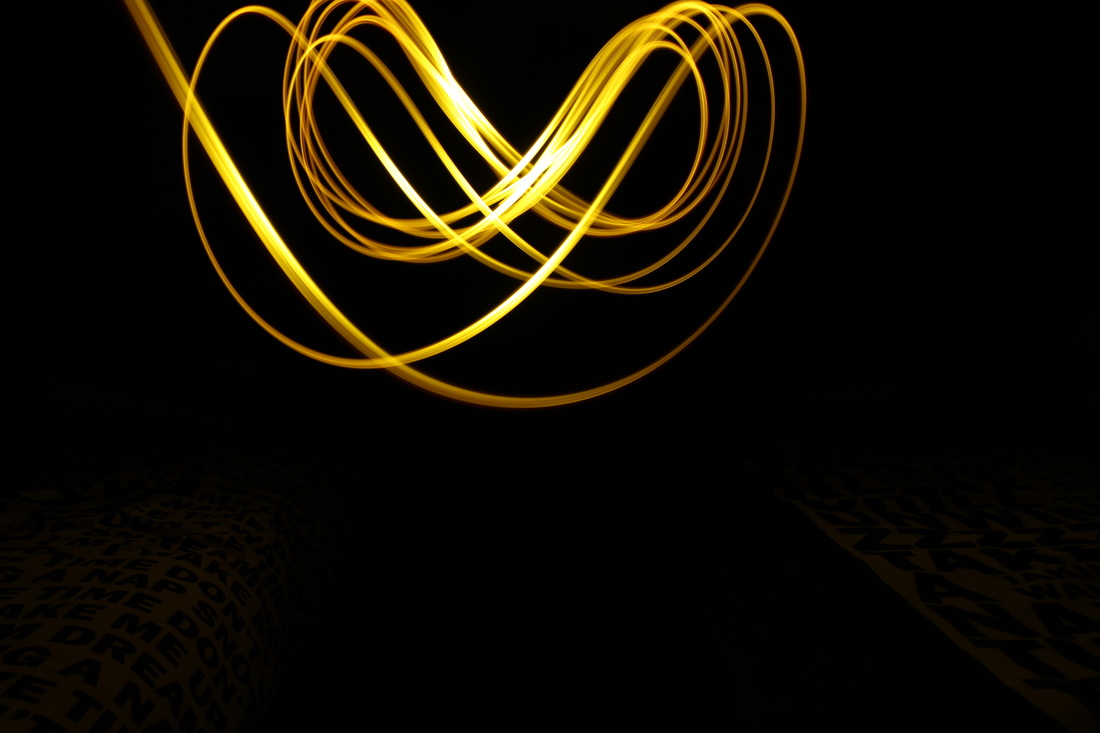
My Best and Worst Photographs from Shoot Three: Part 1
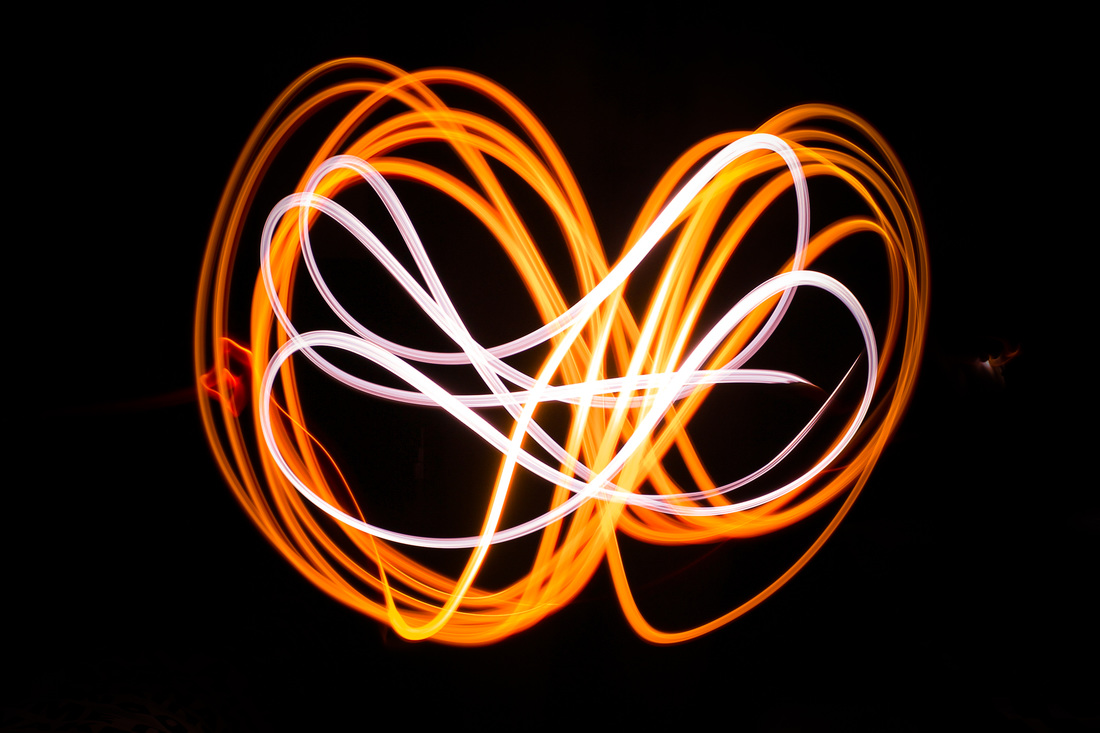
Best
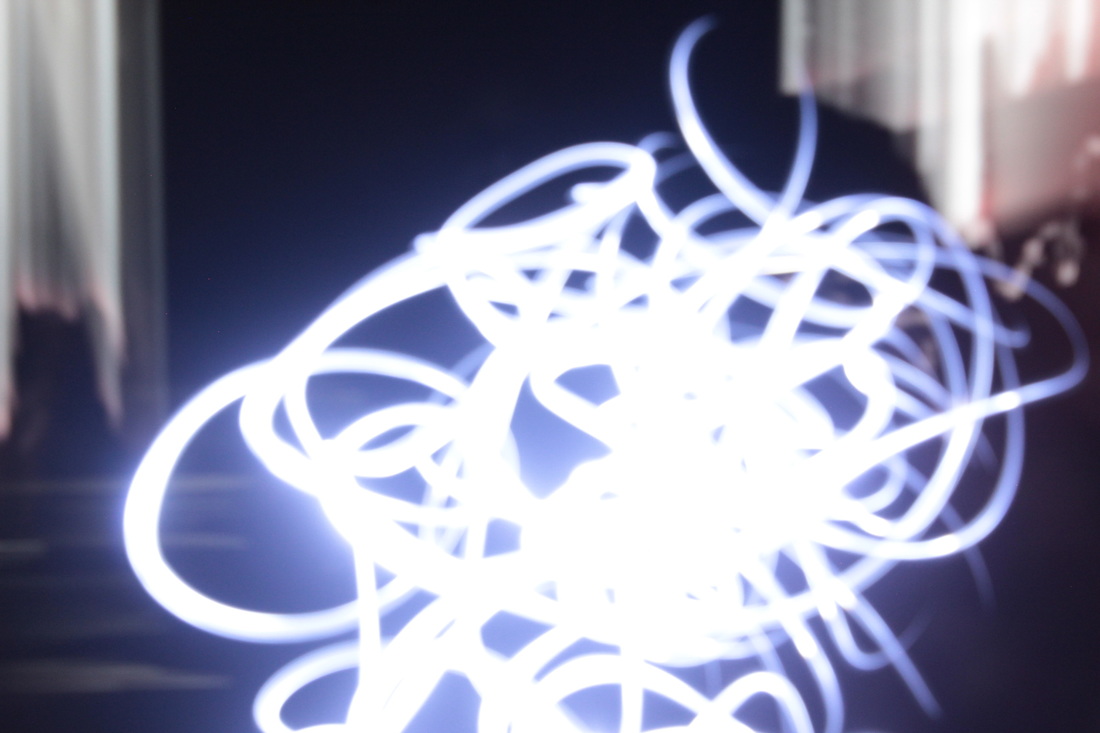
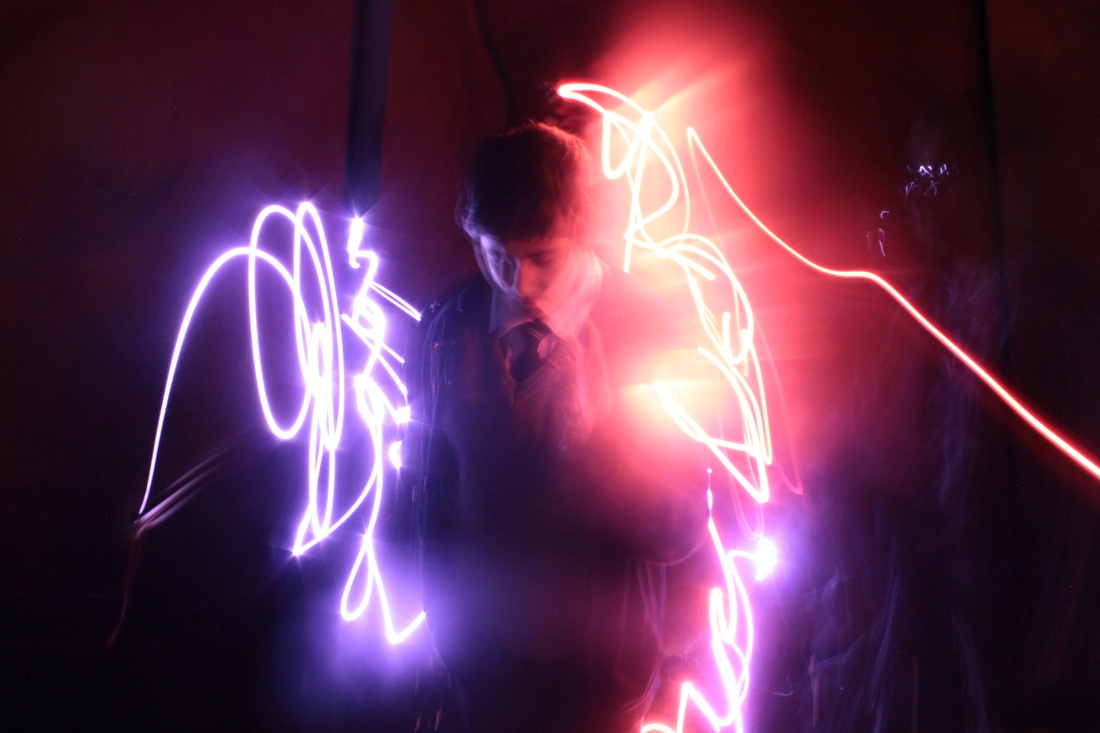
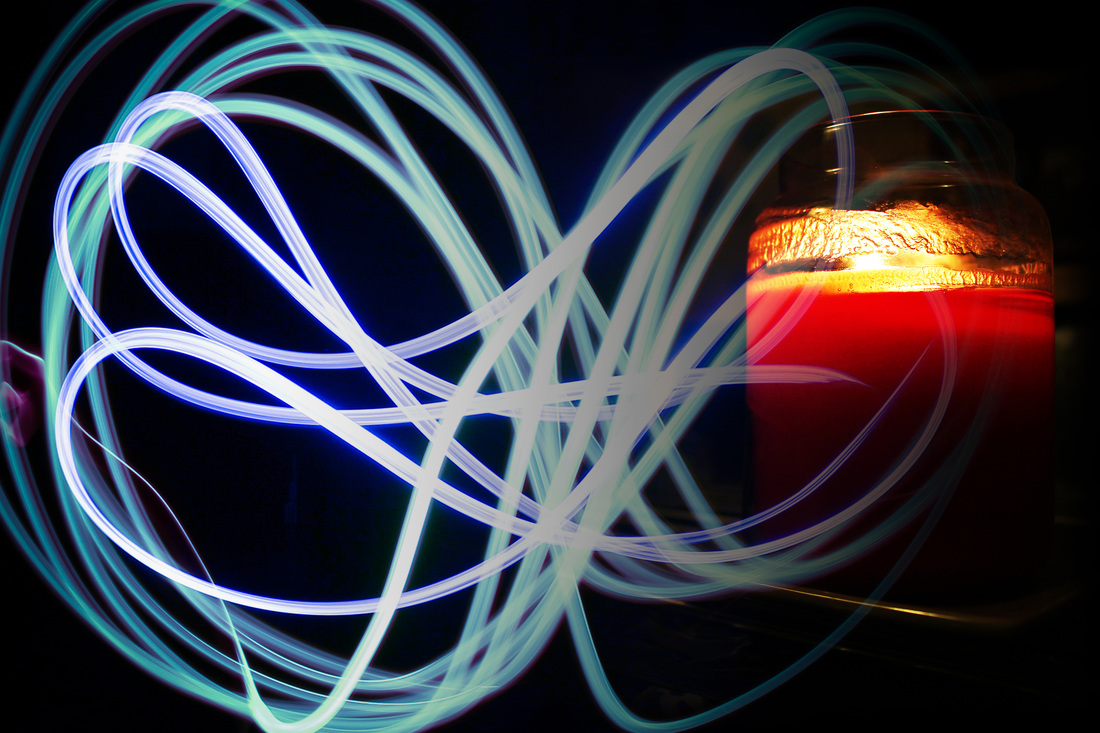
This was my best photo because this photo is one I took where I used multiple different coloured lights. This made it the best to edit and modify compared to the rest of the photos because I if I wanted to have multiple colours in the photo I didn't have to worry about changing it so much and having to blend it in, this made the process a lot easier. Also not having to change it in this way allowed for a clean set of results as shown above.
|
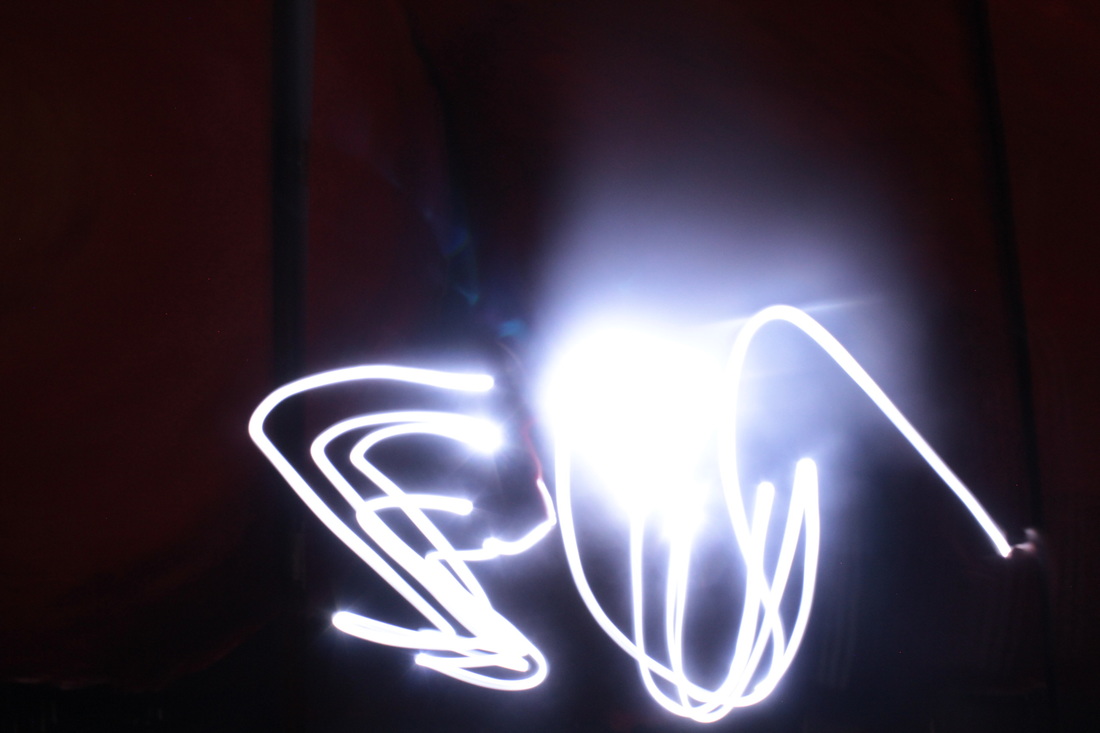
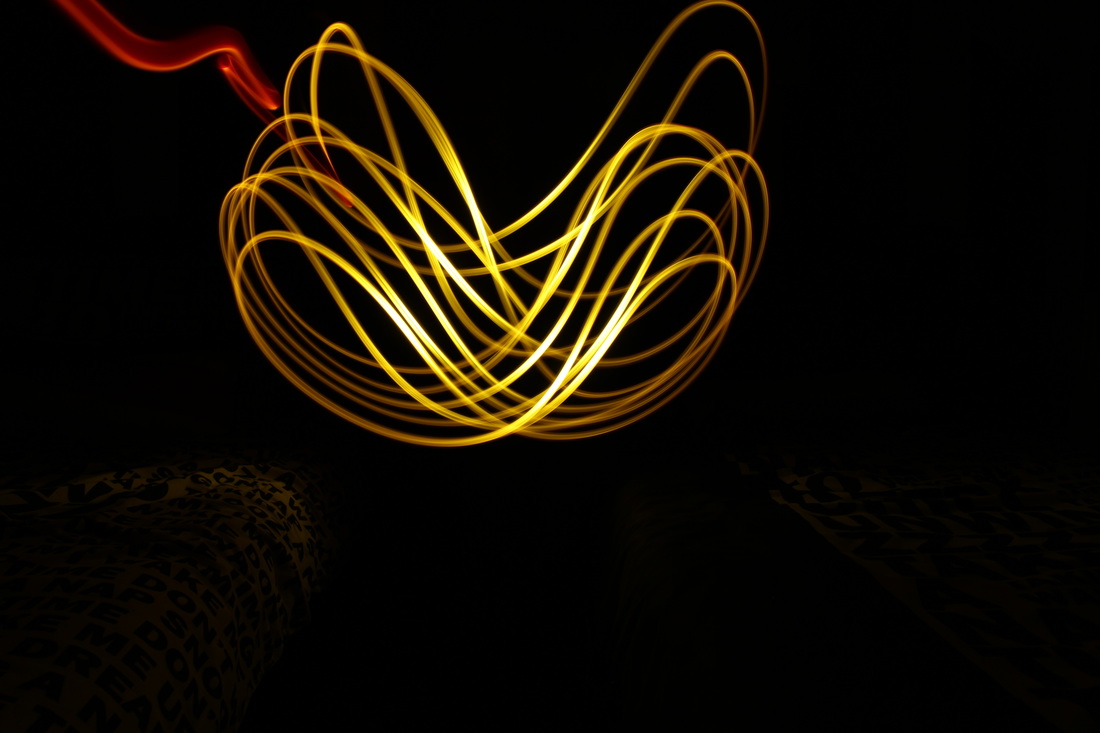
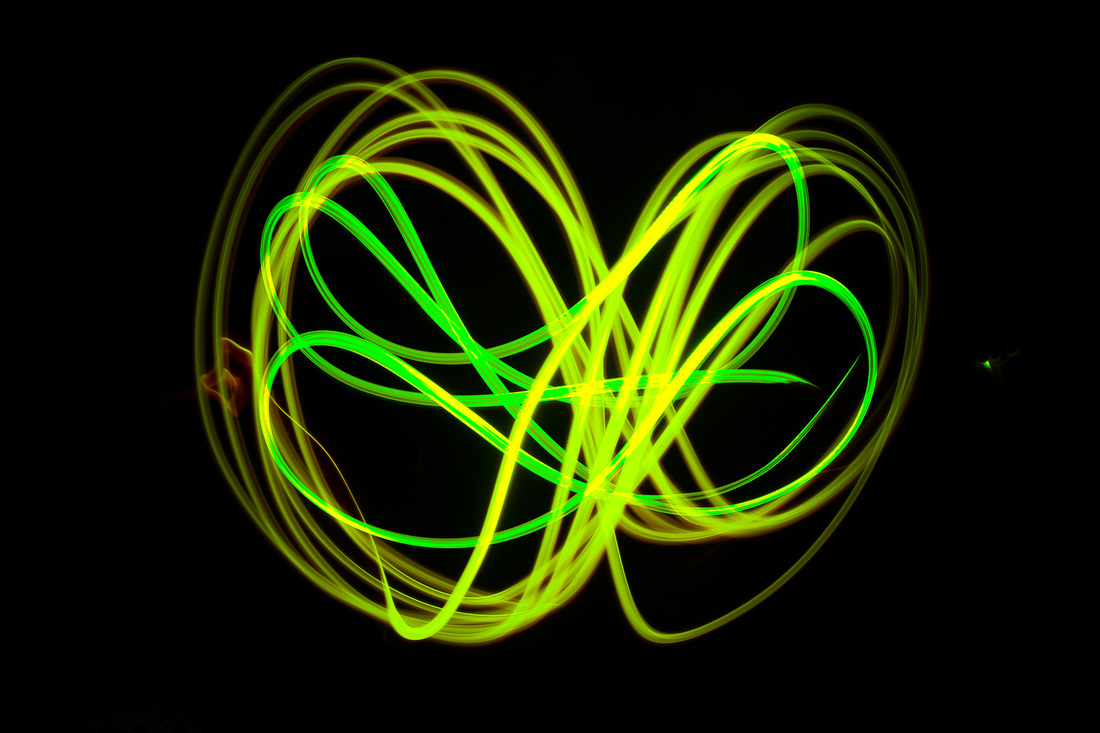
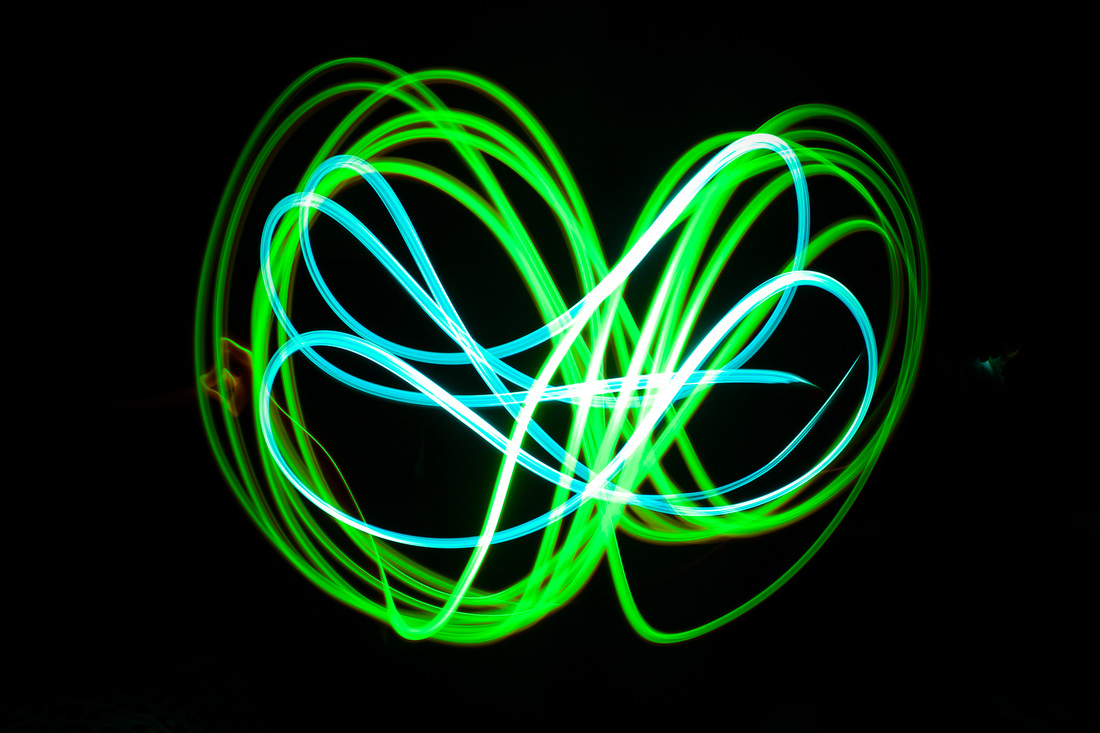
Worst
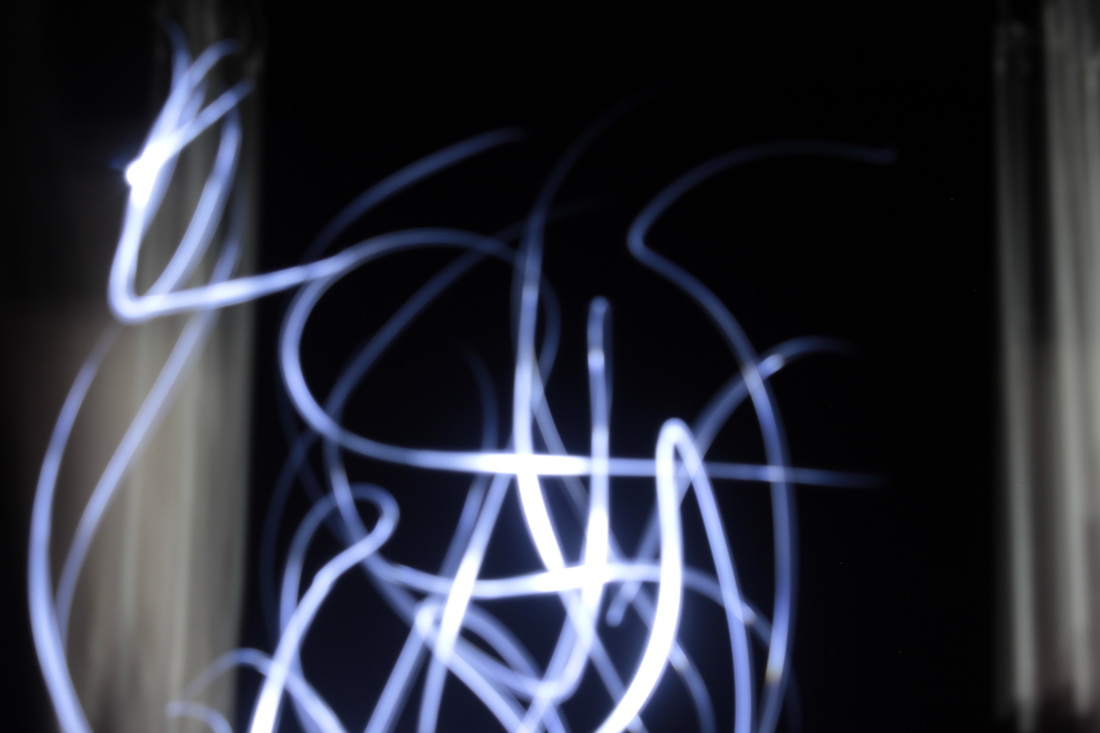
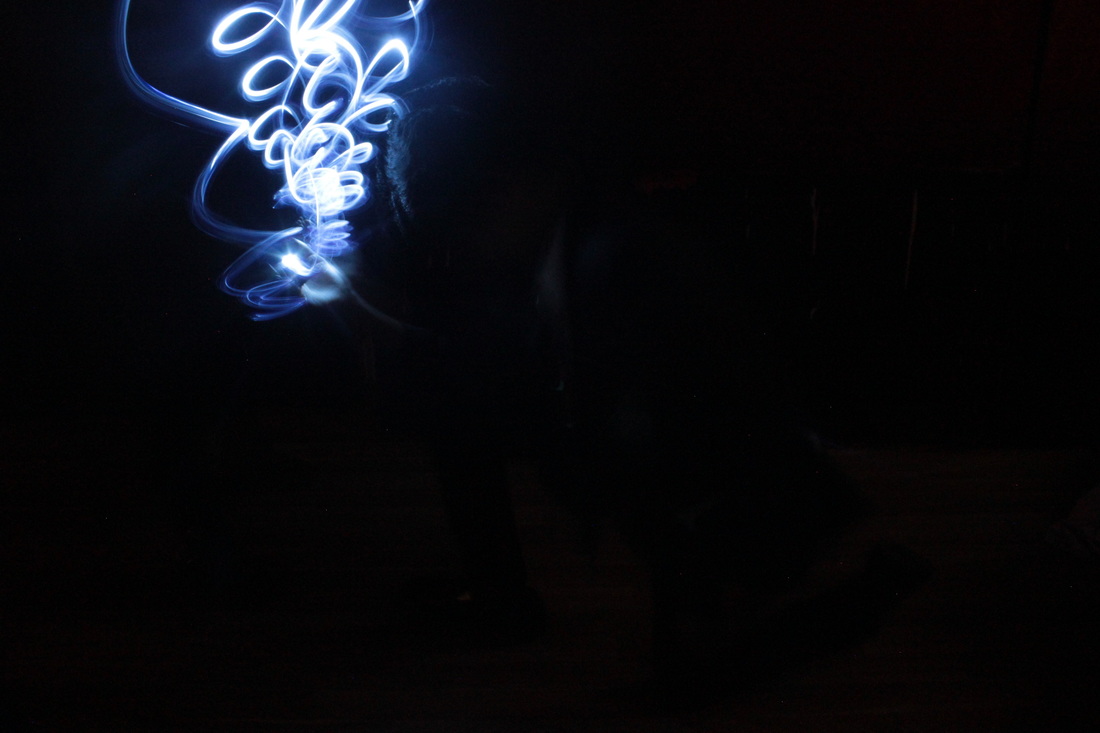
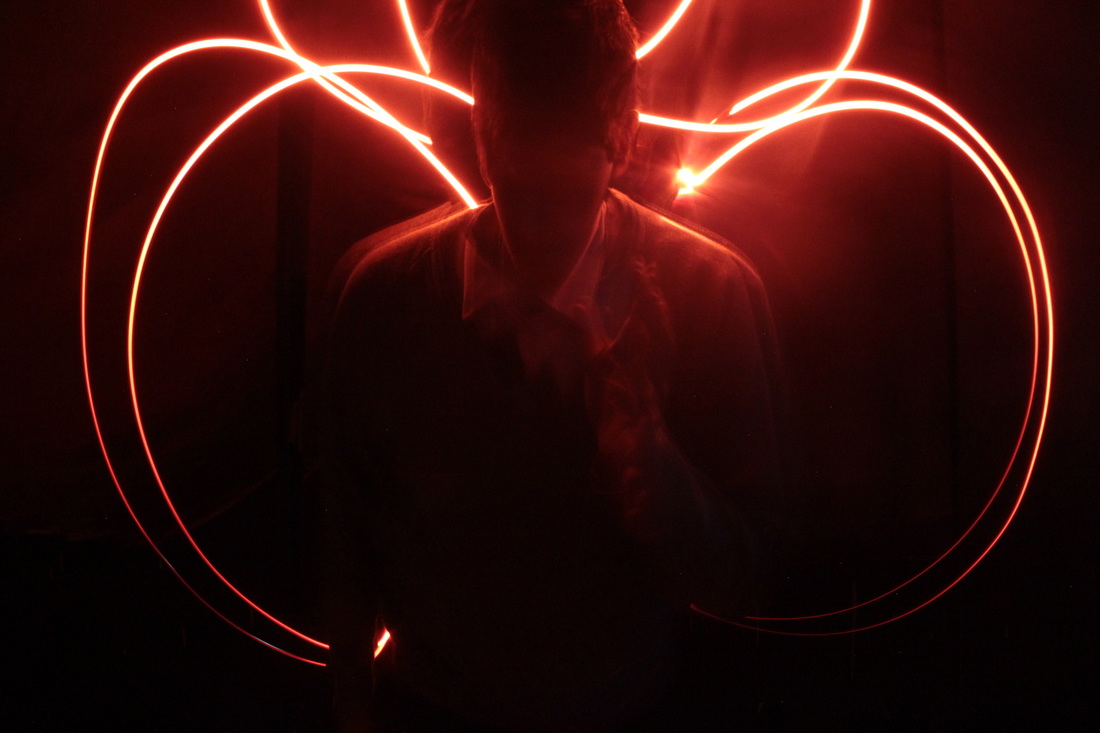
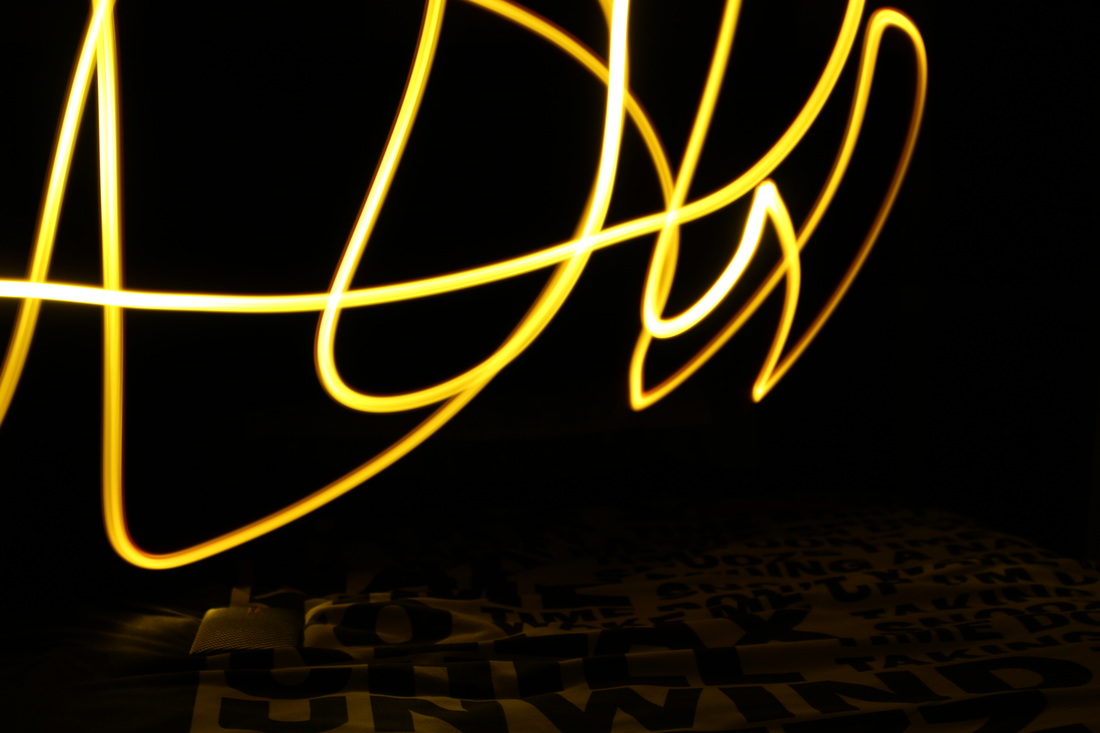
I have chosen this as my worst photo because it has a different colour on the top left of the photo and this does not fit the pattern of the rest of the image. I also painted with light above the pattern we see in the photograph however it was out of frame.
|
Shoot Three: Part 2


My Best and Worst Photographs from Shoot Three: Part 2
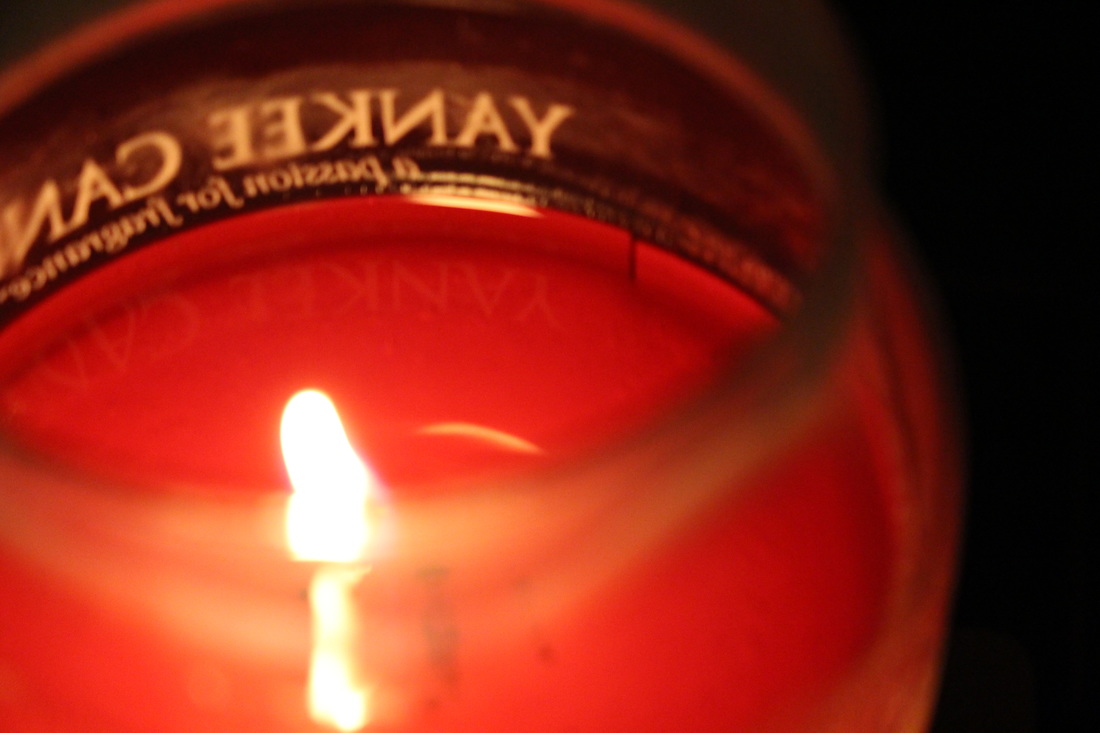
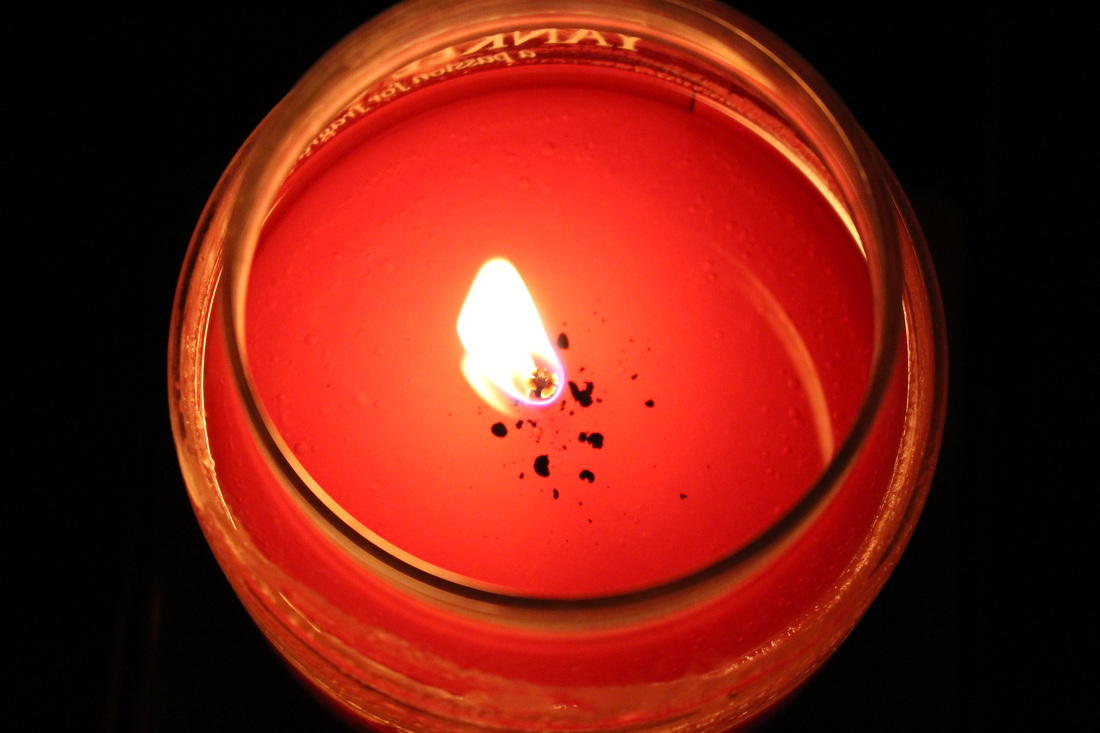
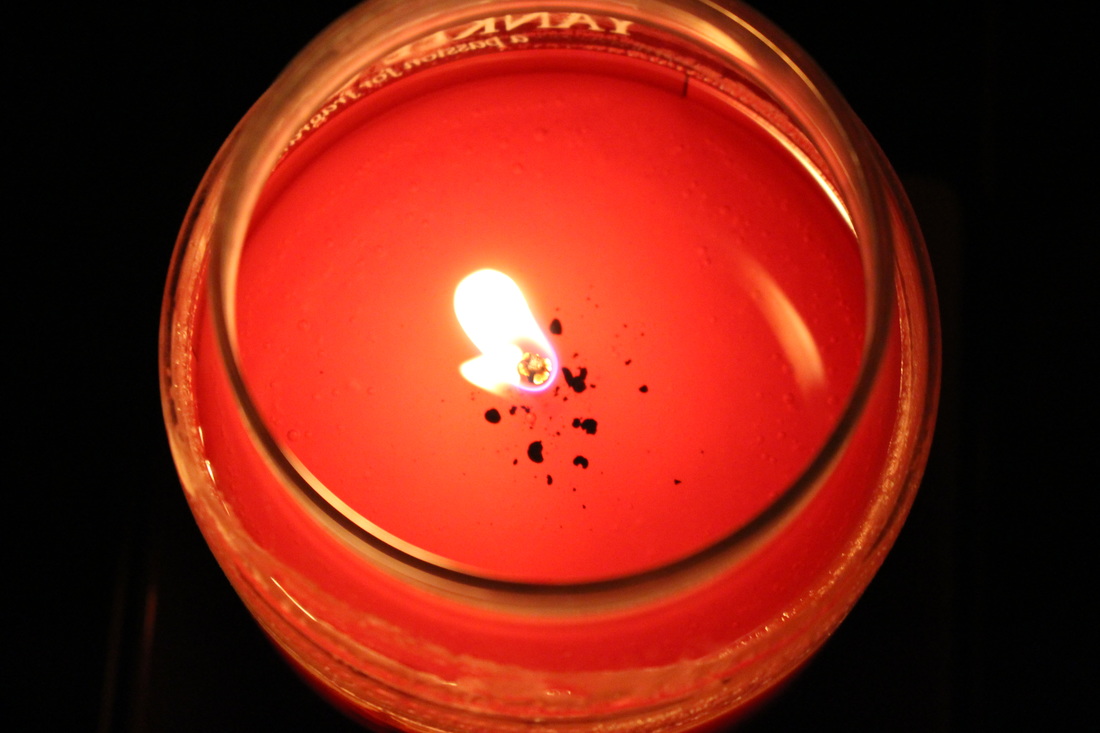
Best

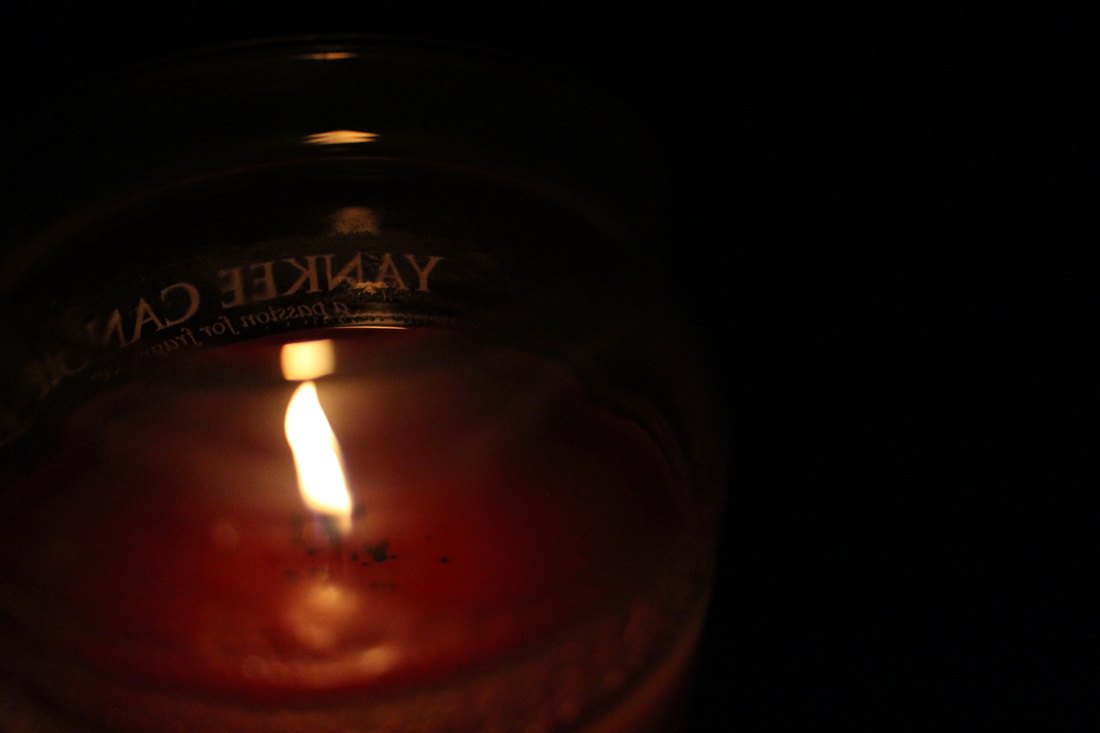
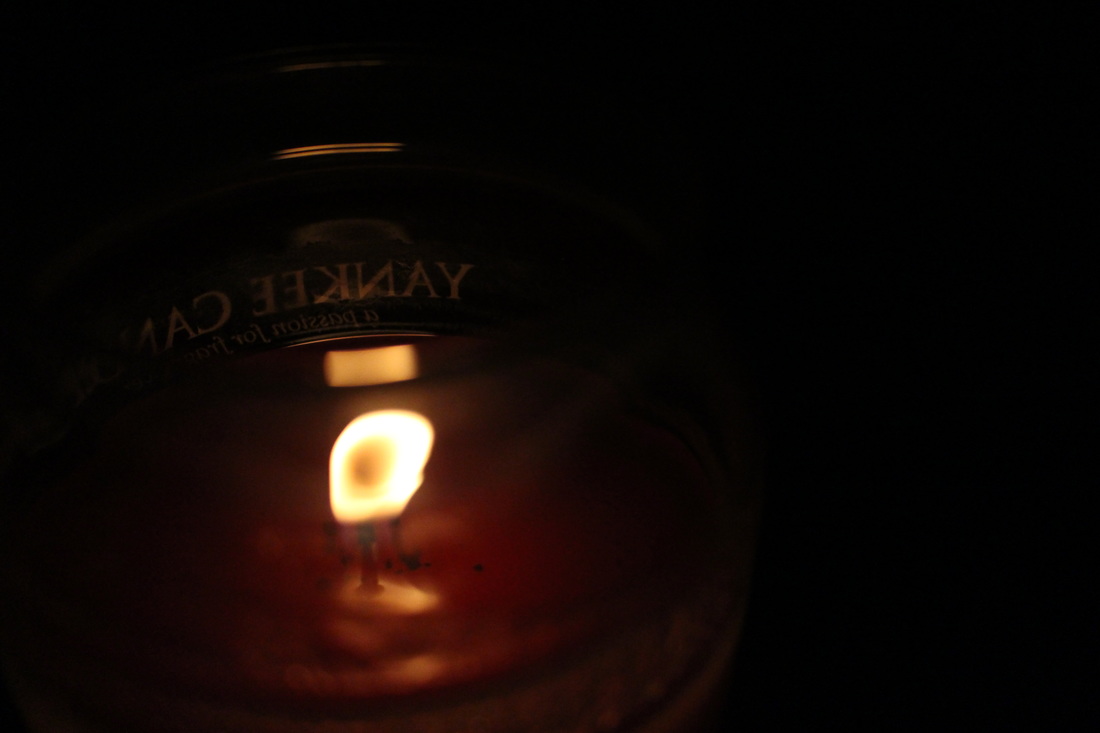
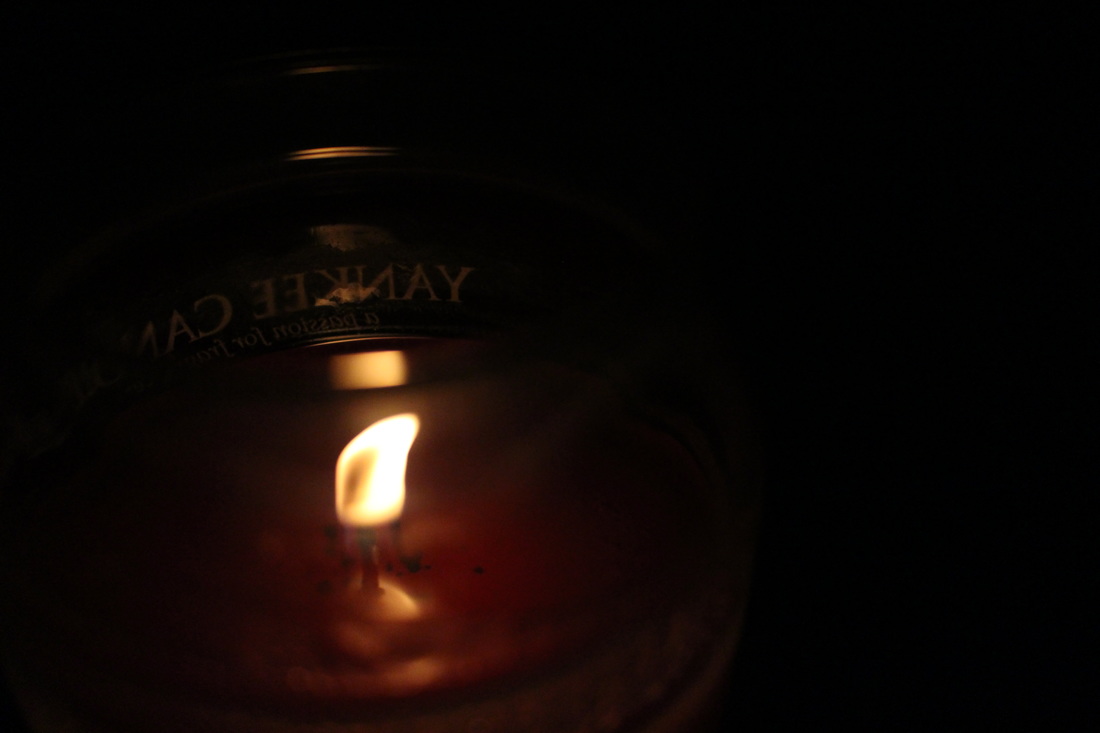
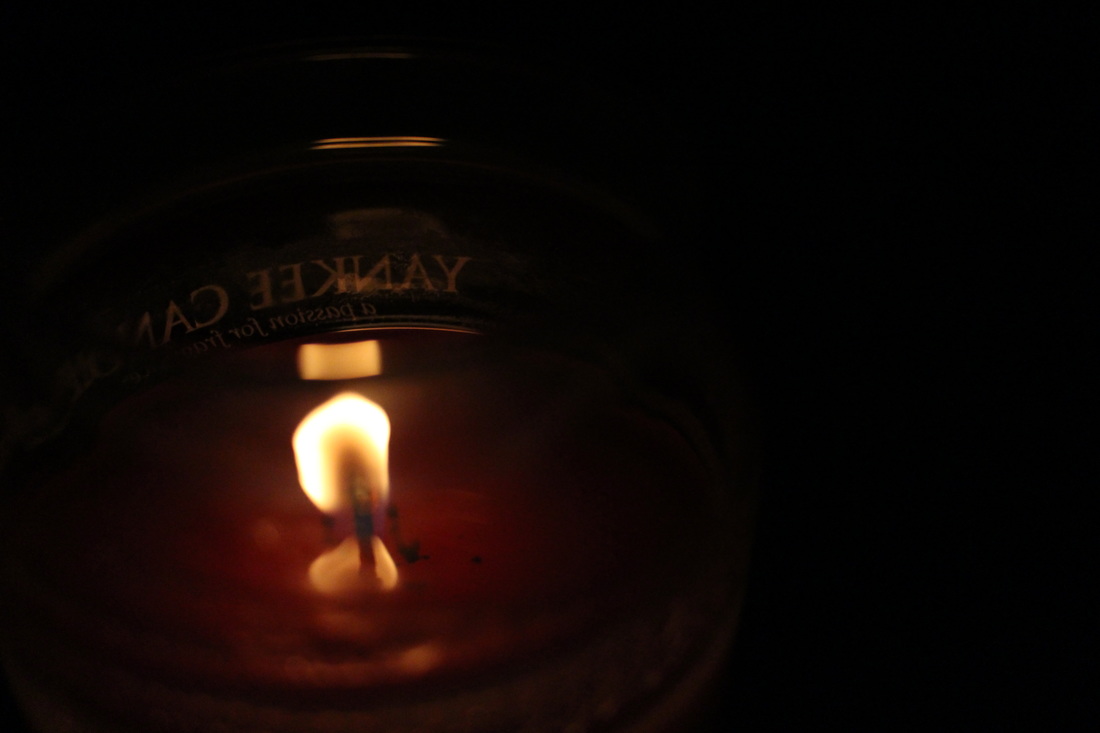
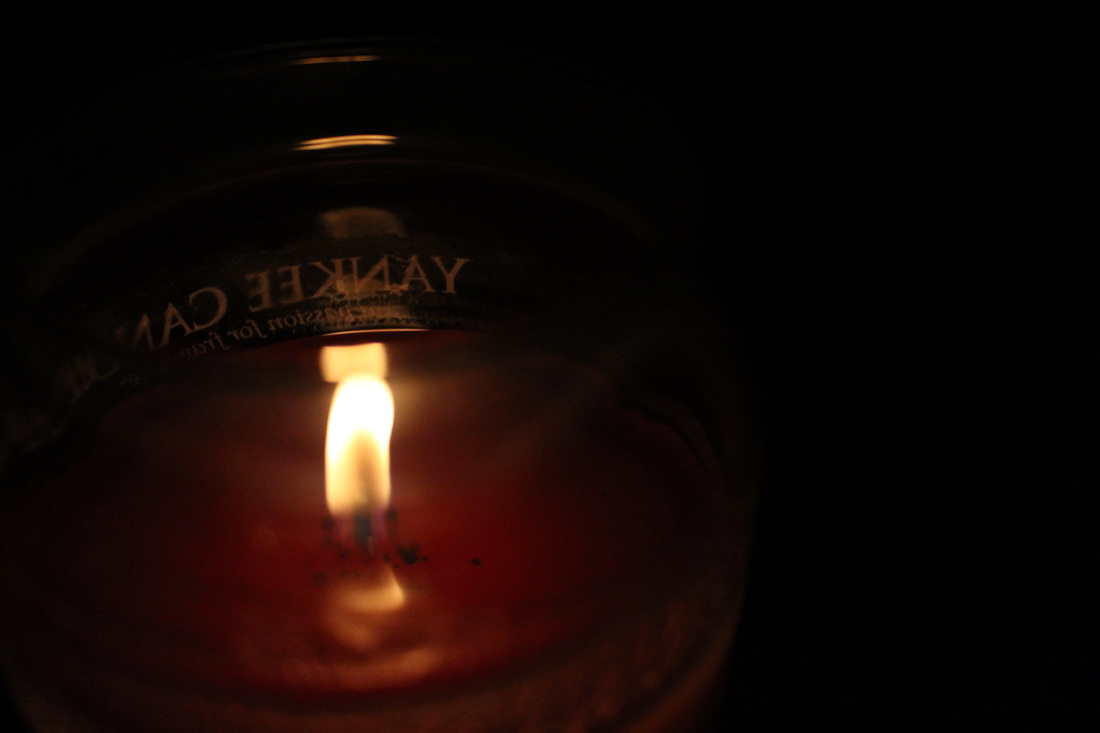
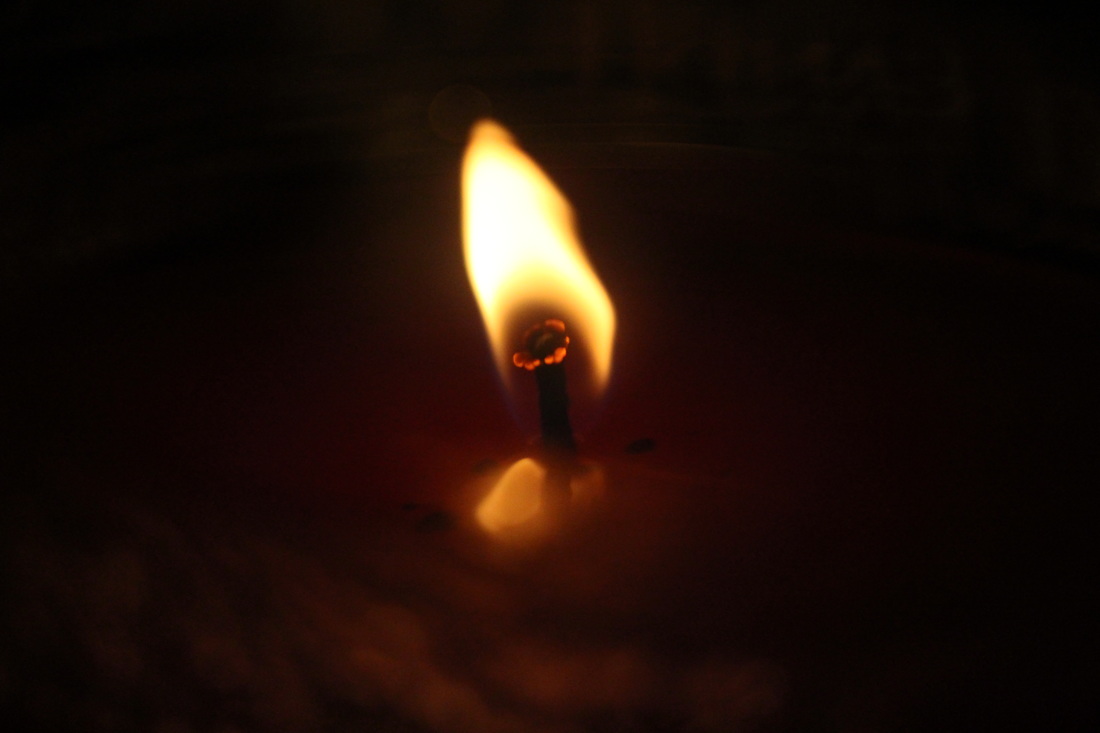
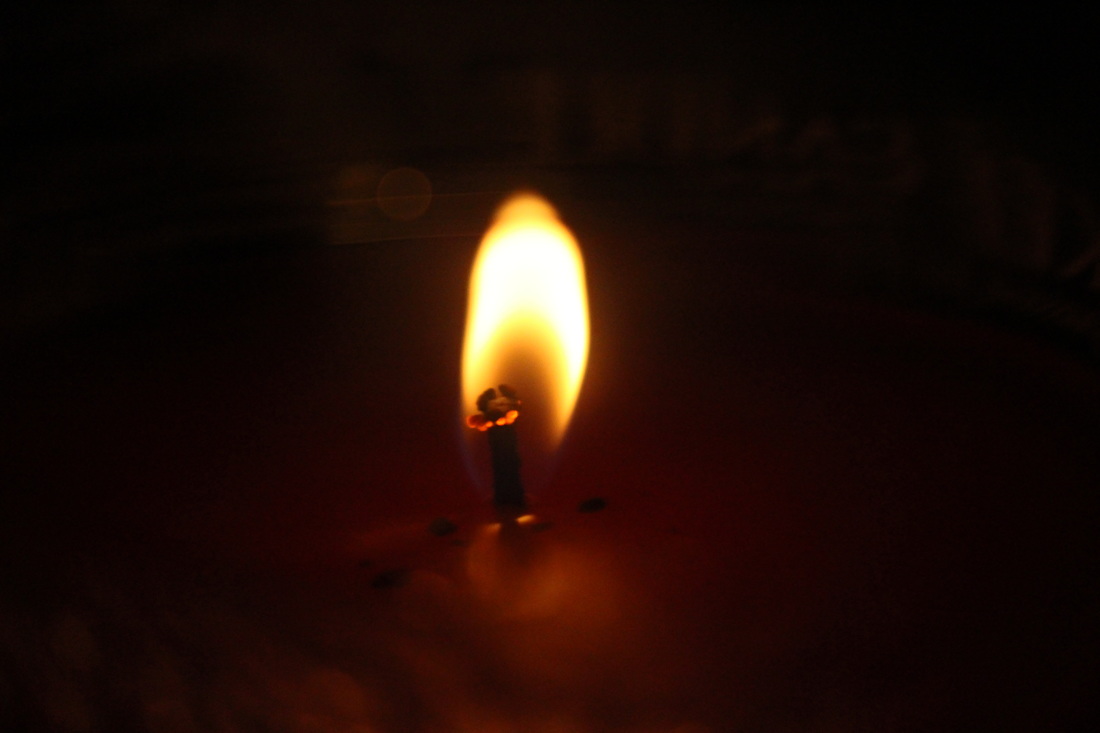
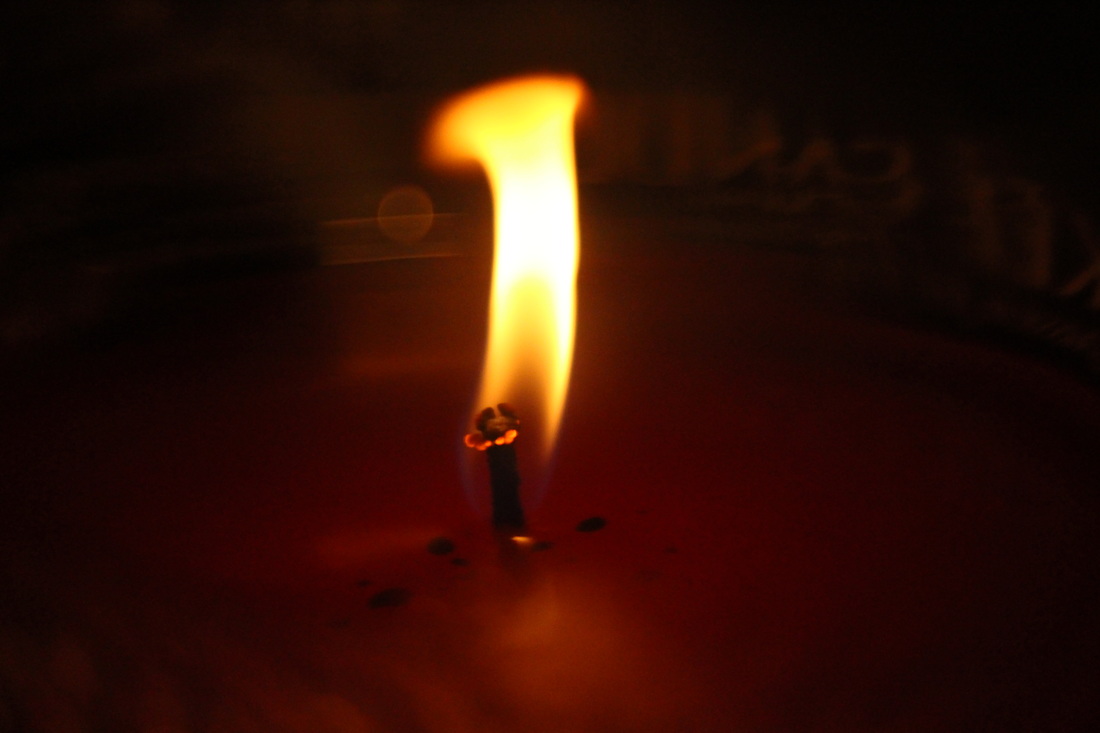
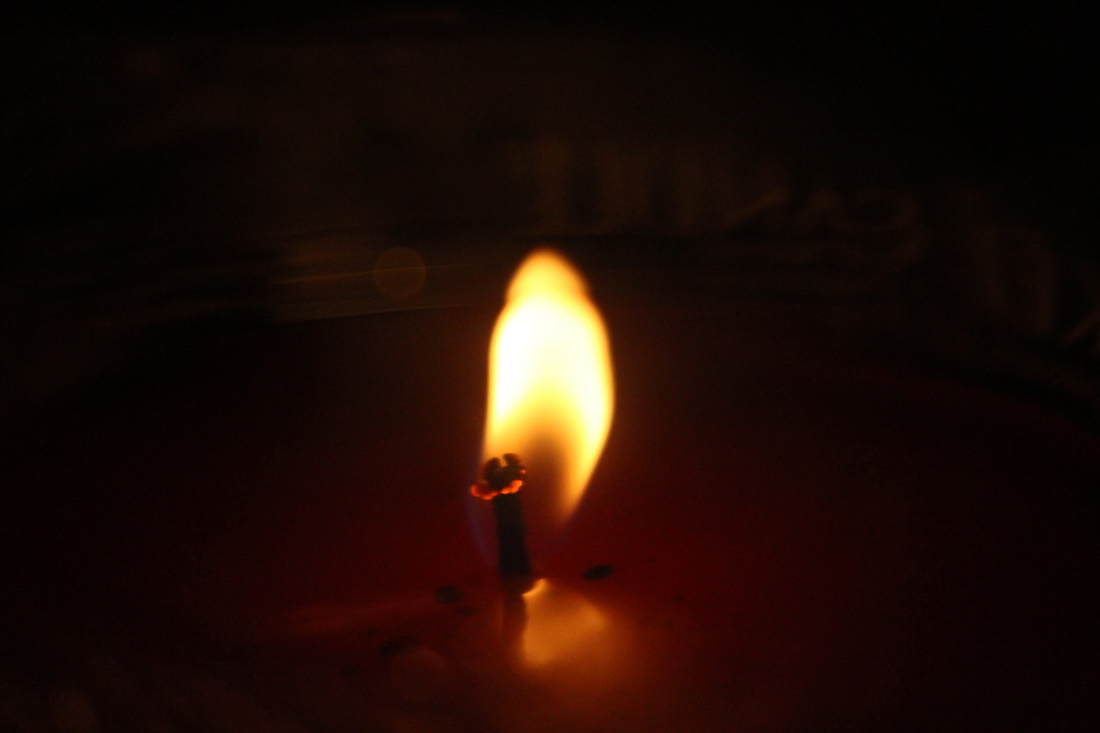
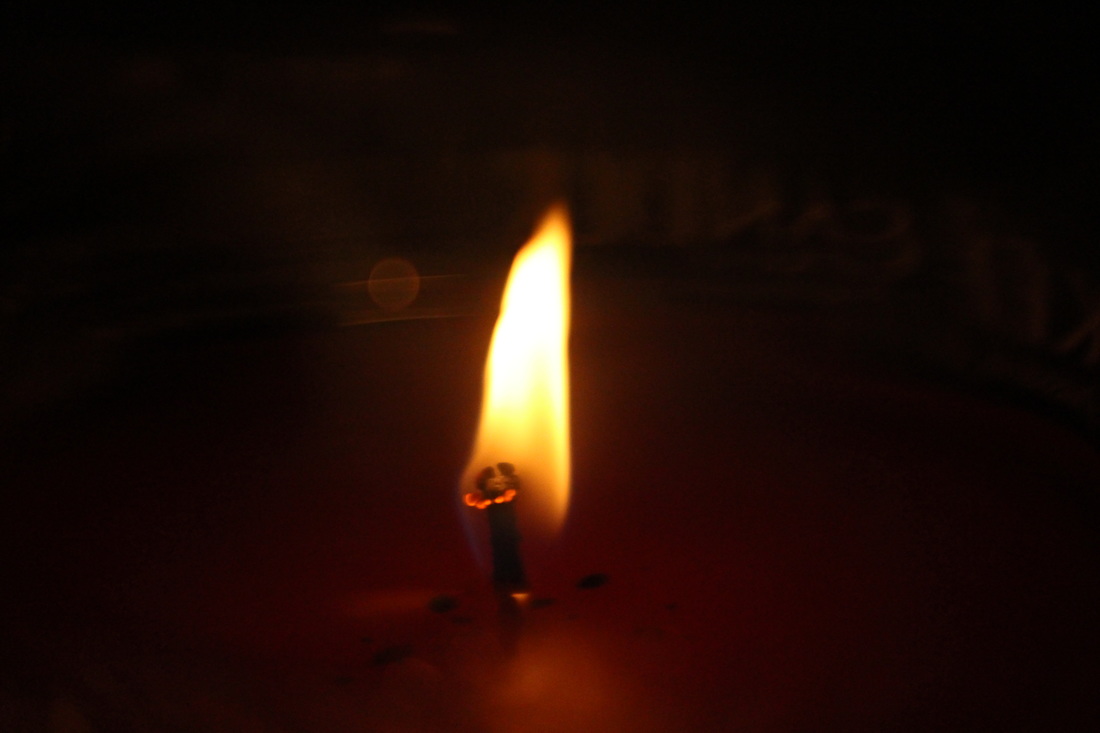
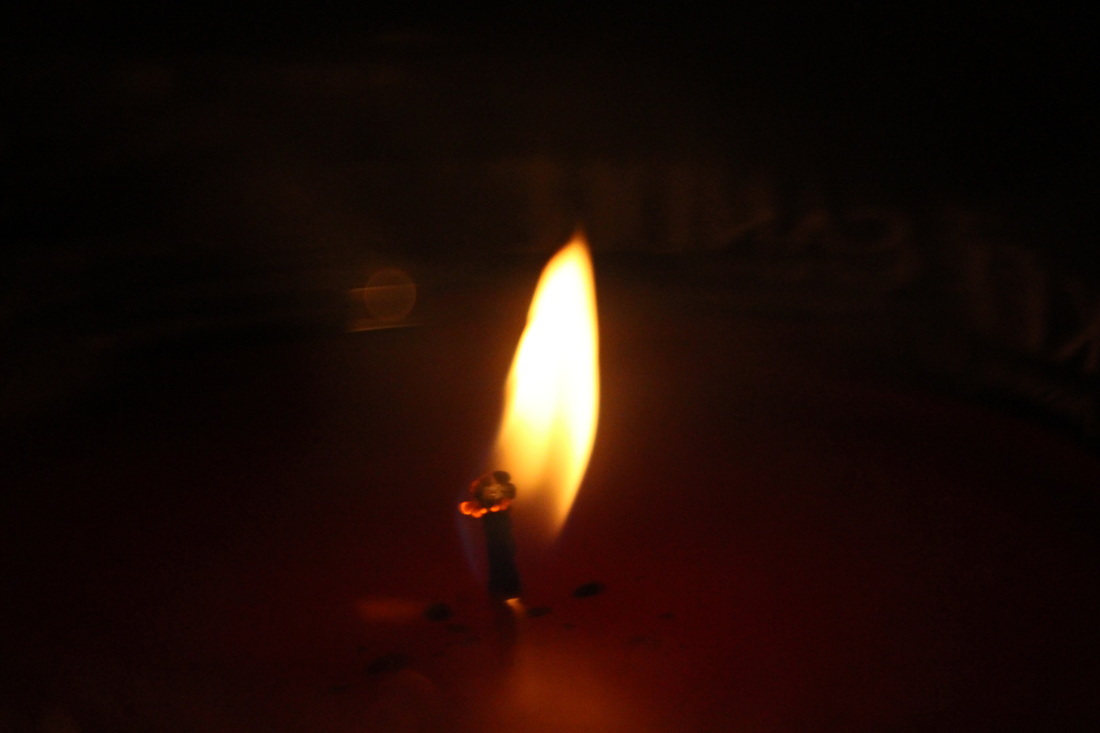
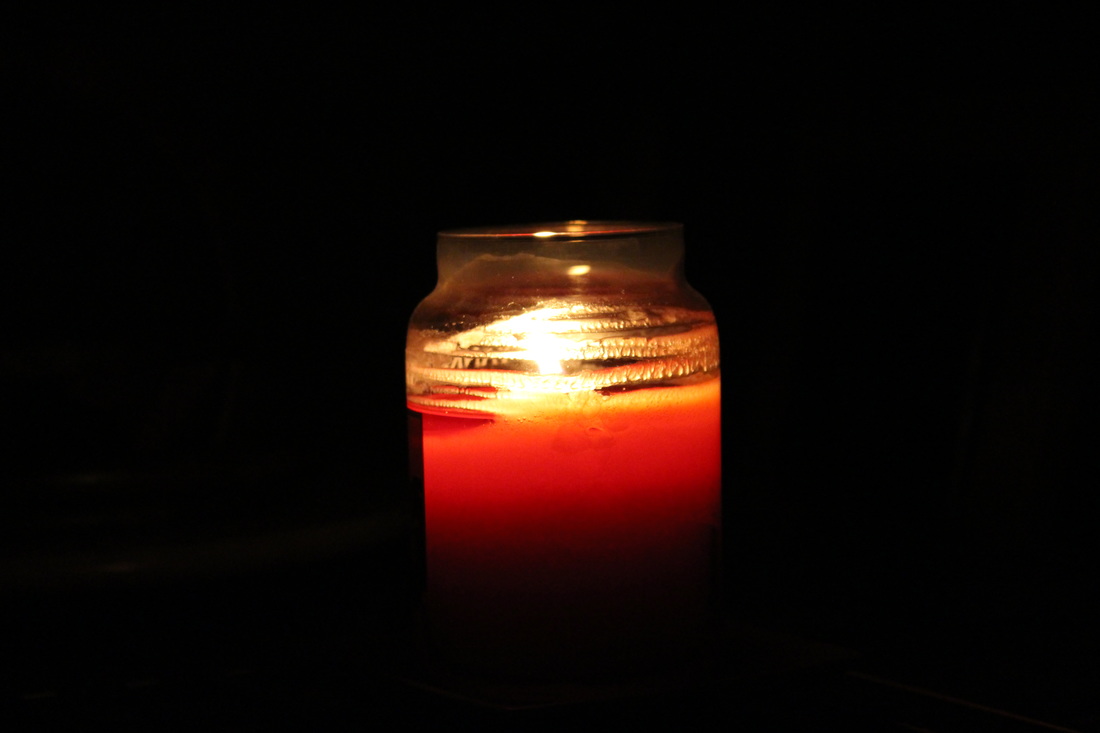
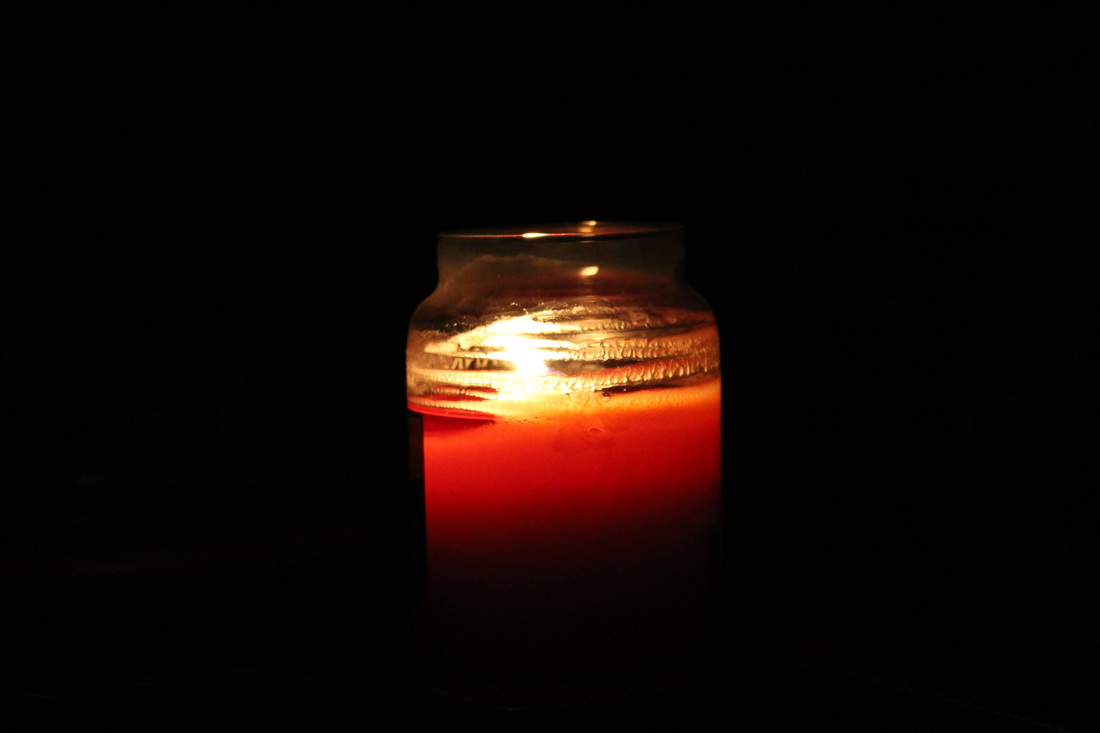
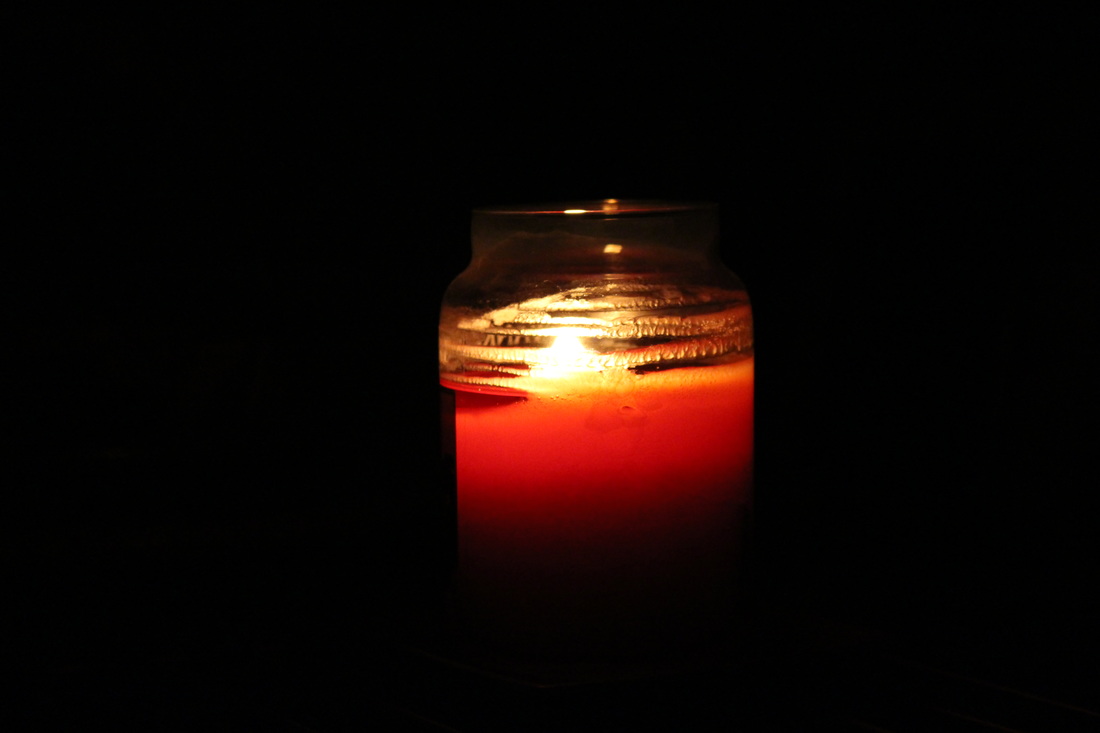
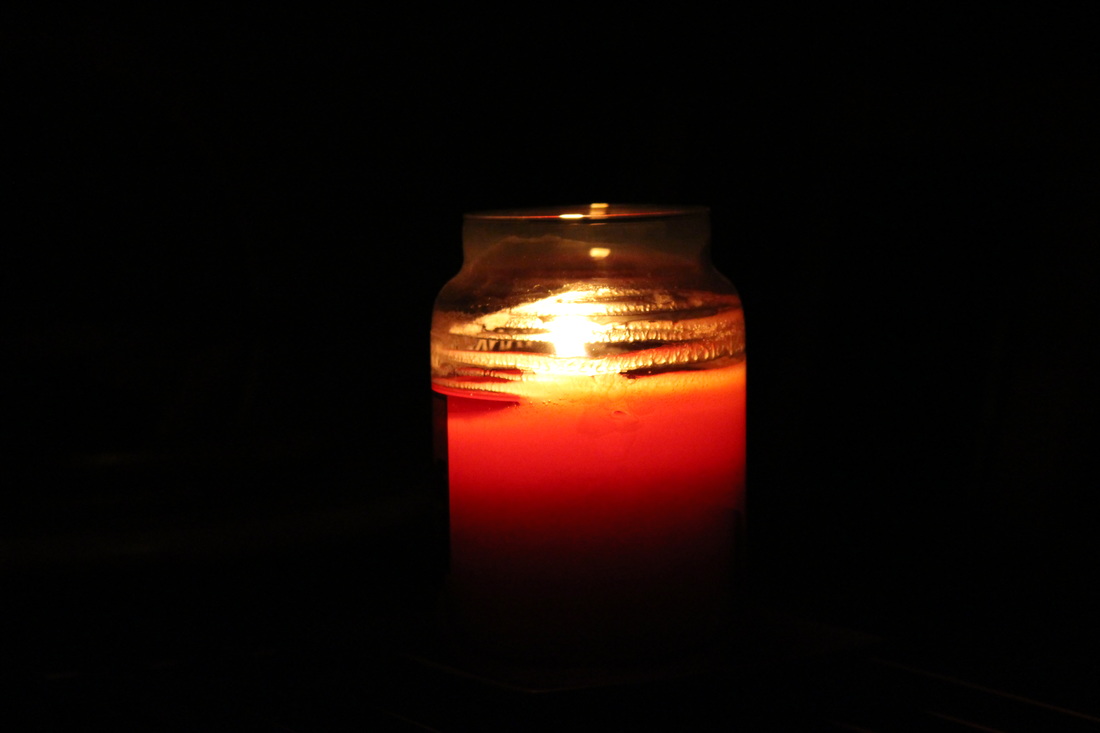
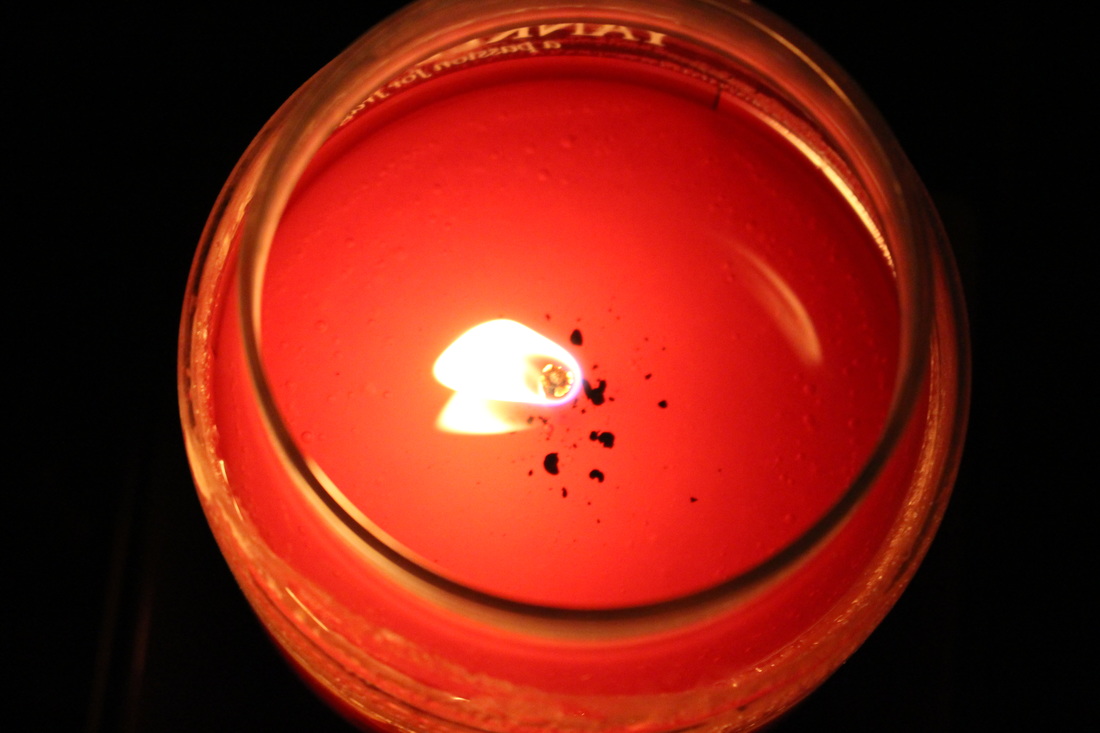
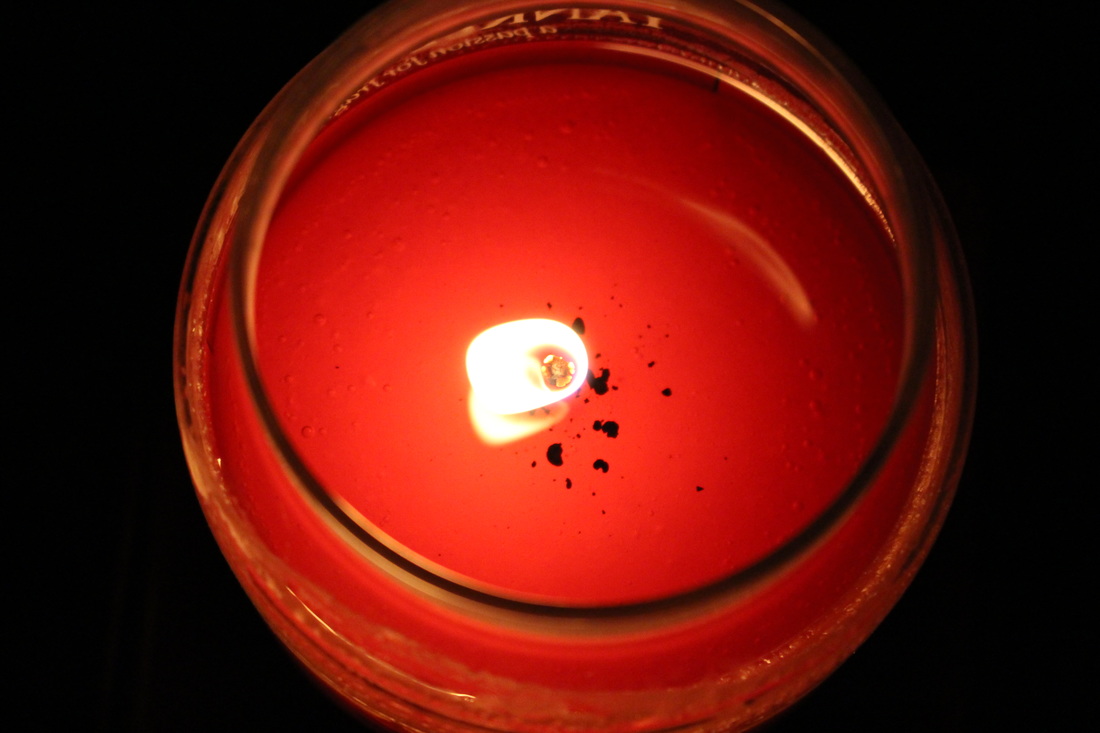
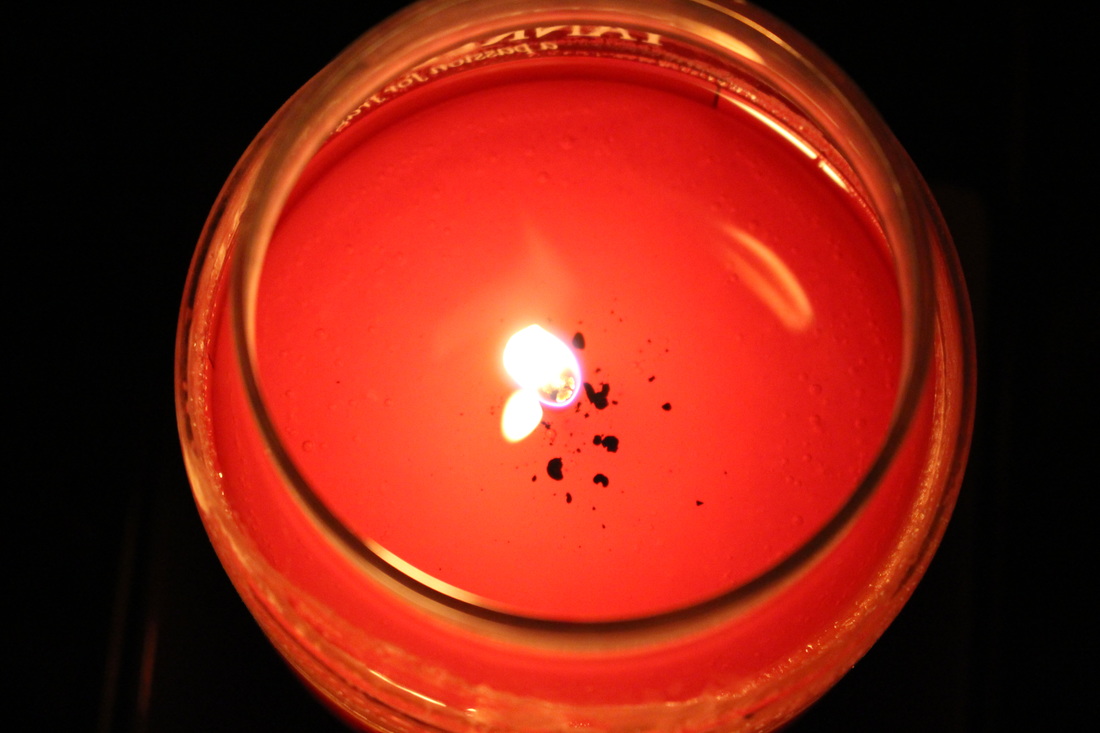
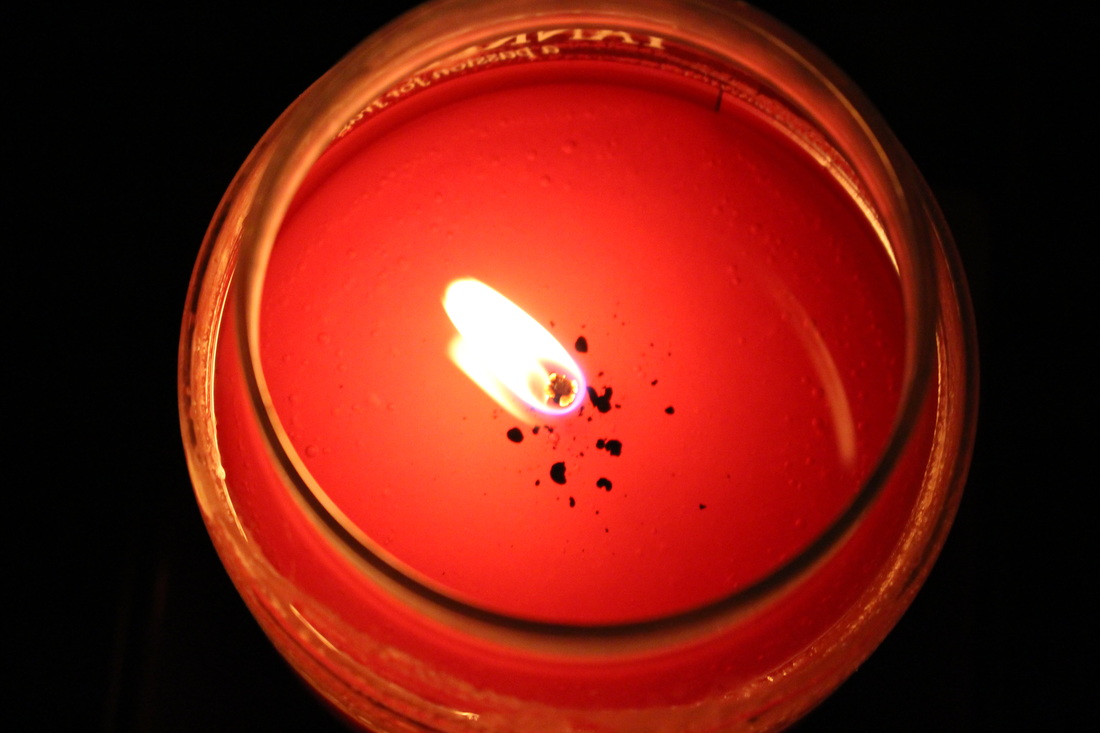
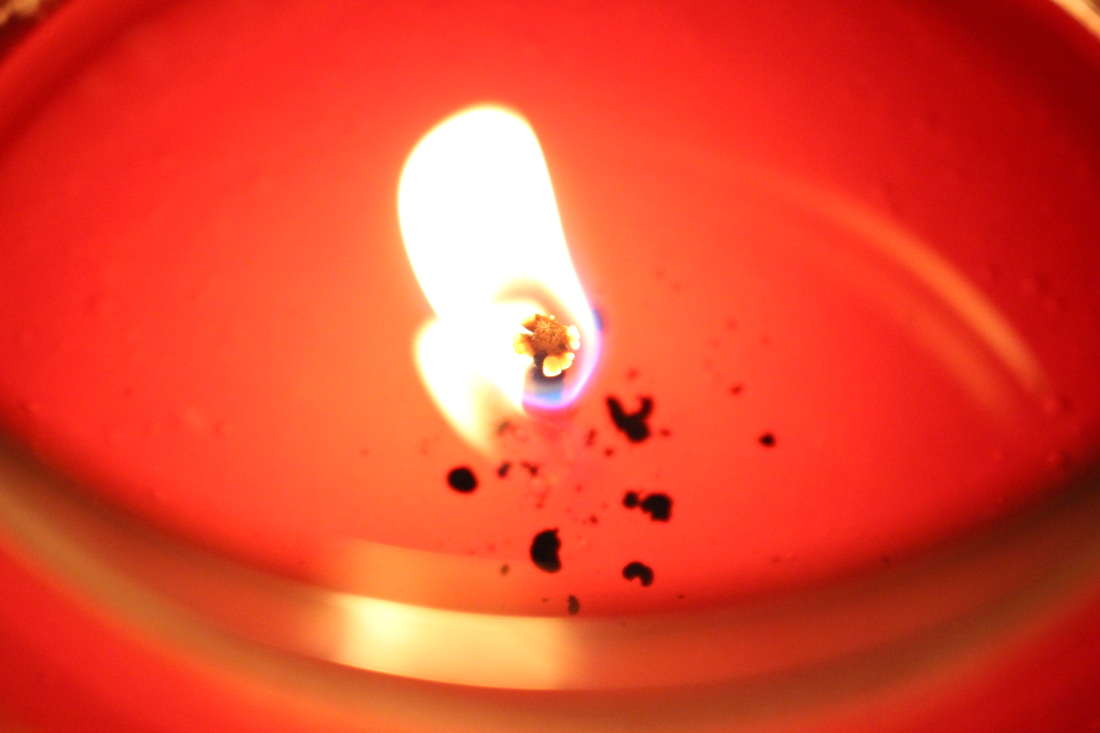
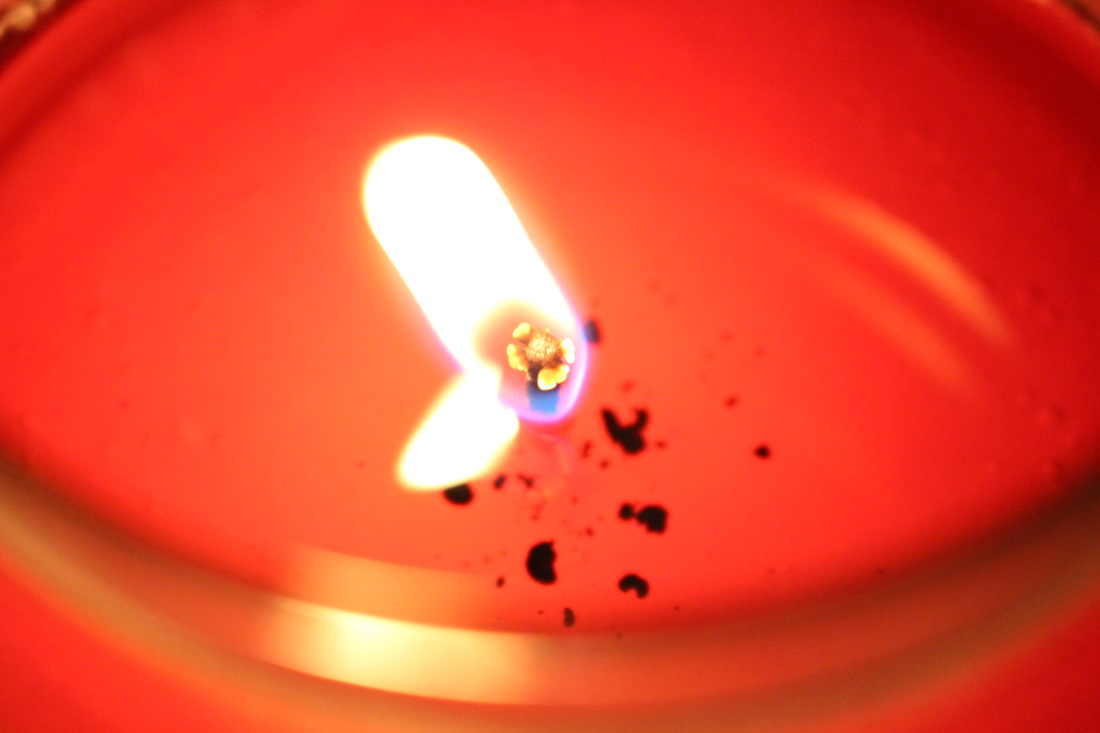
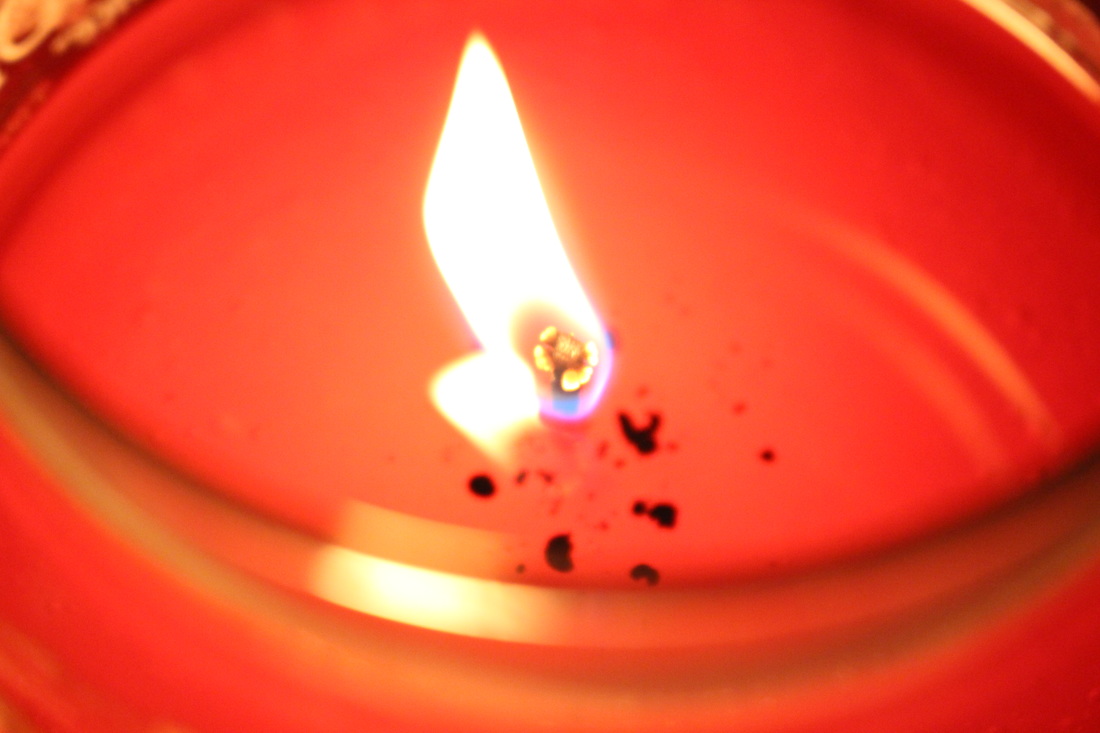
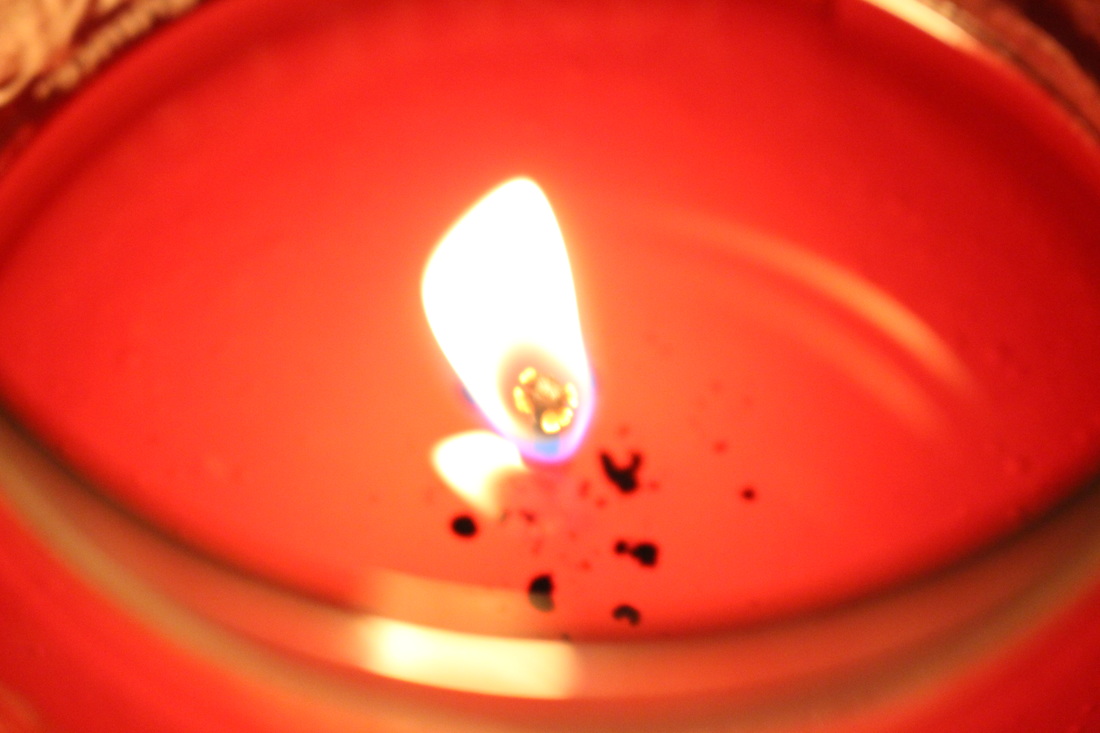
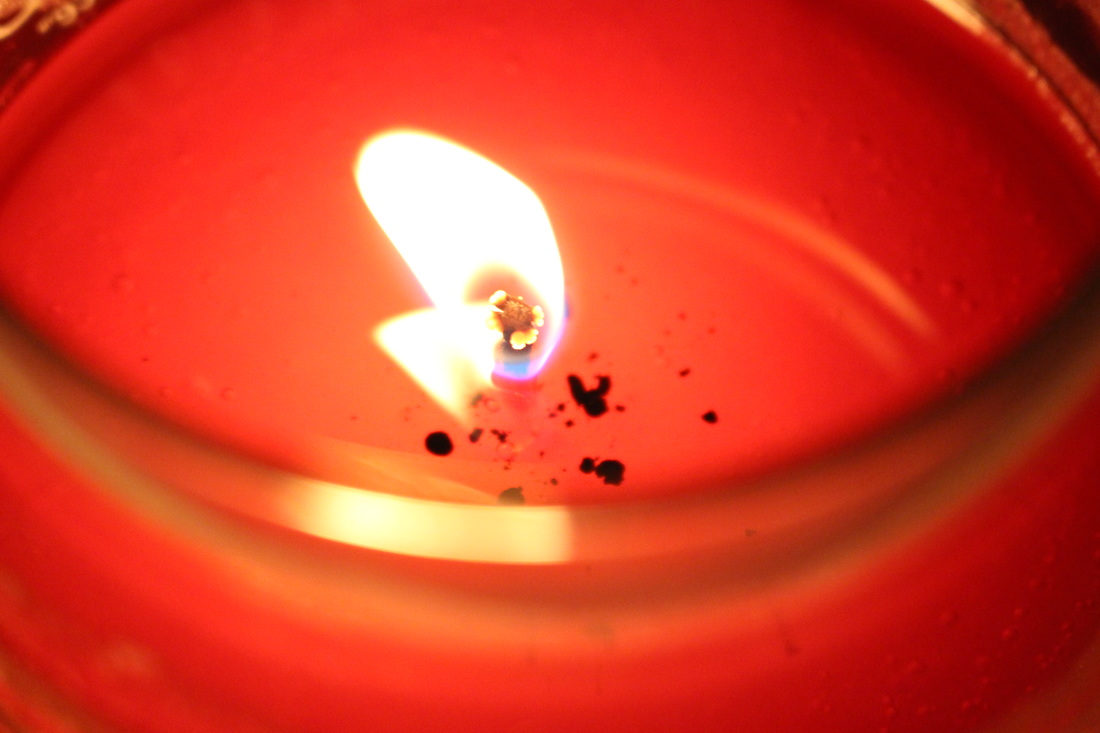
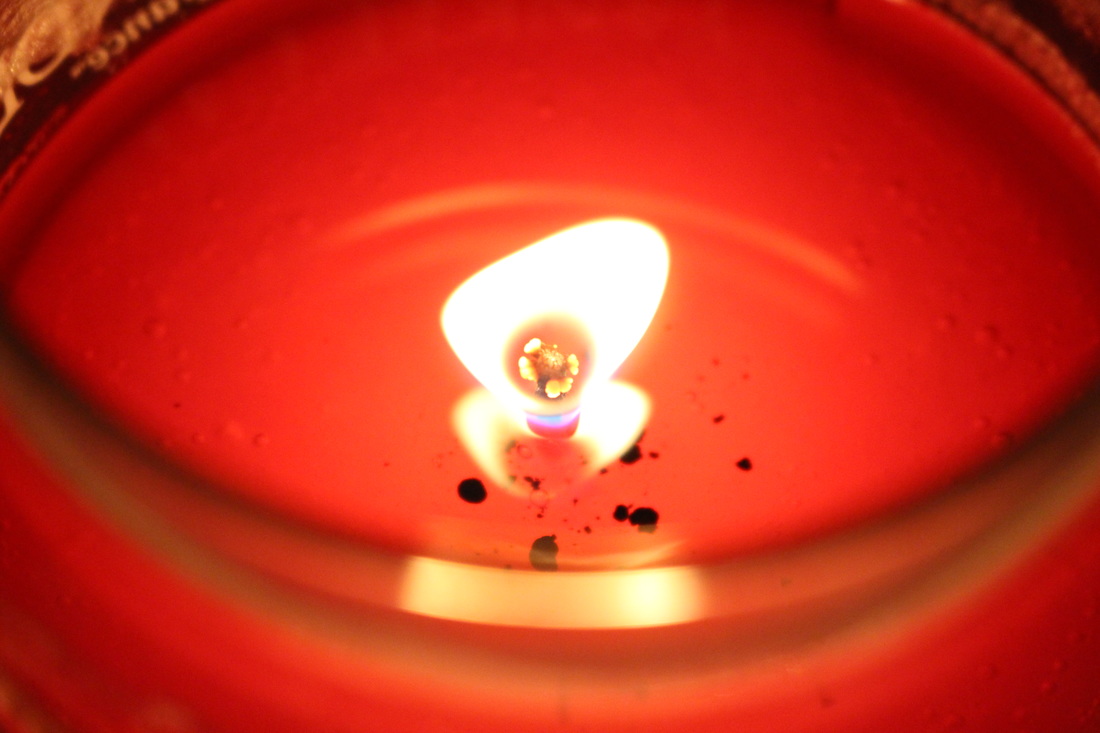
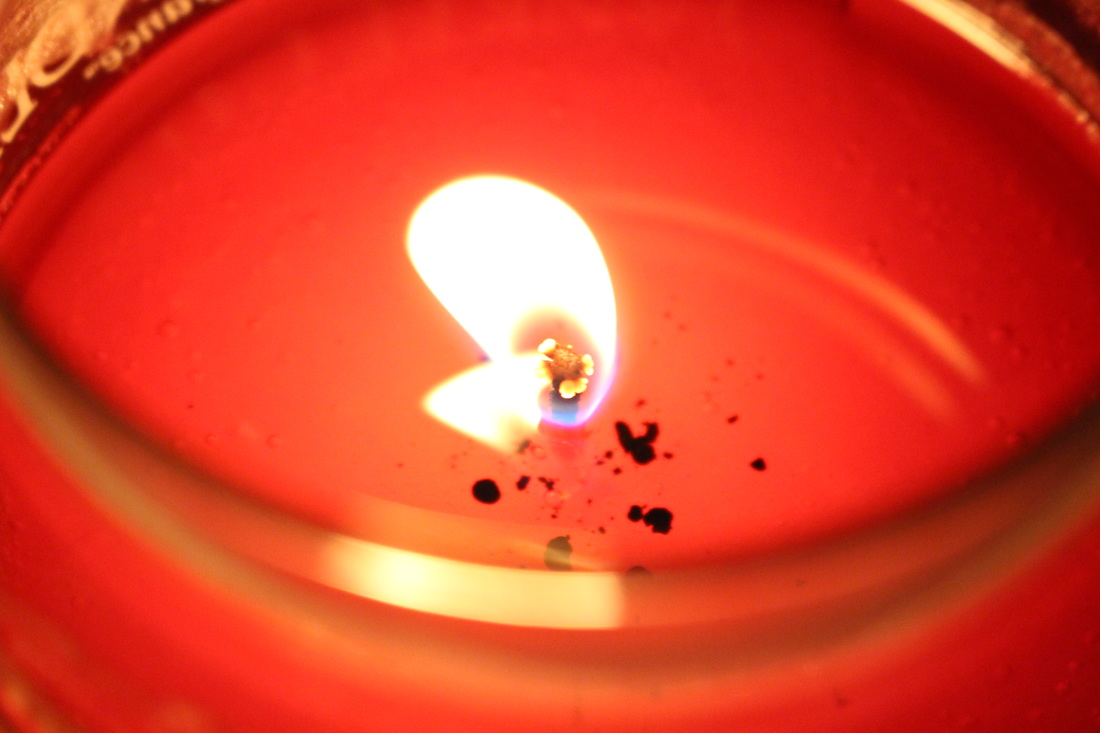
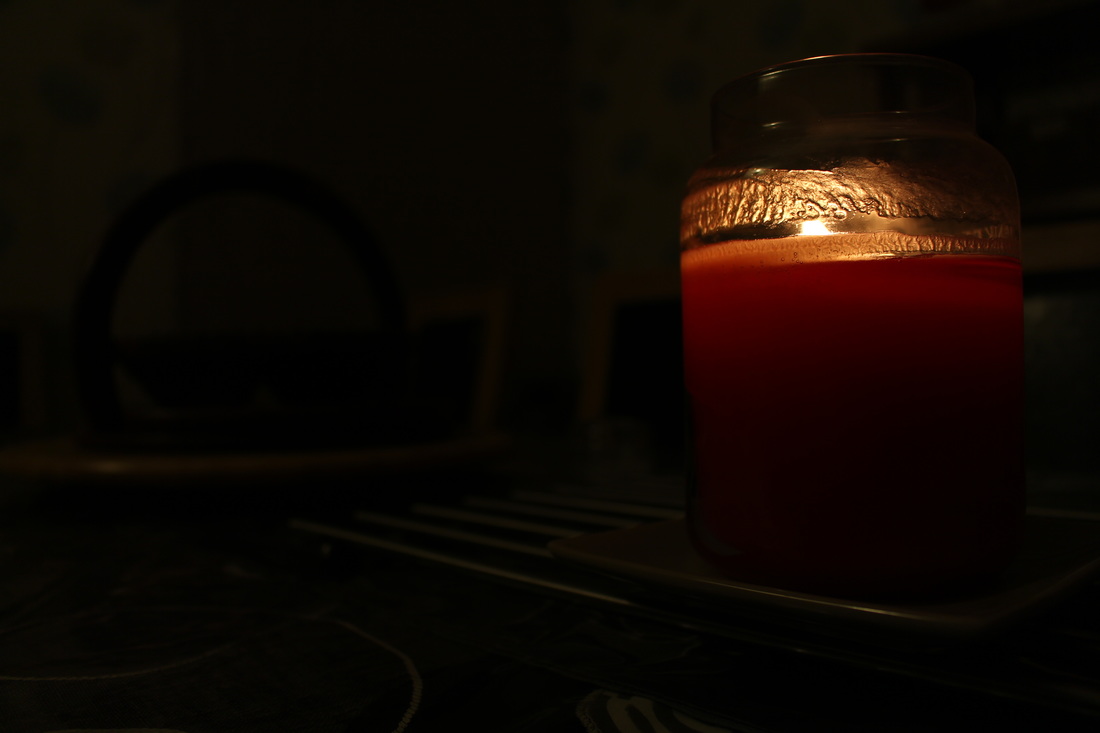
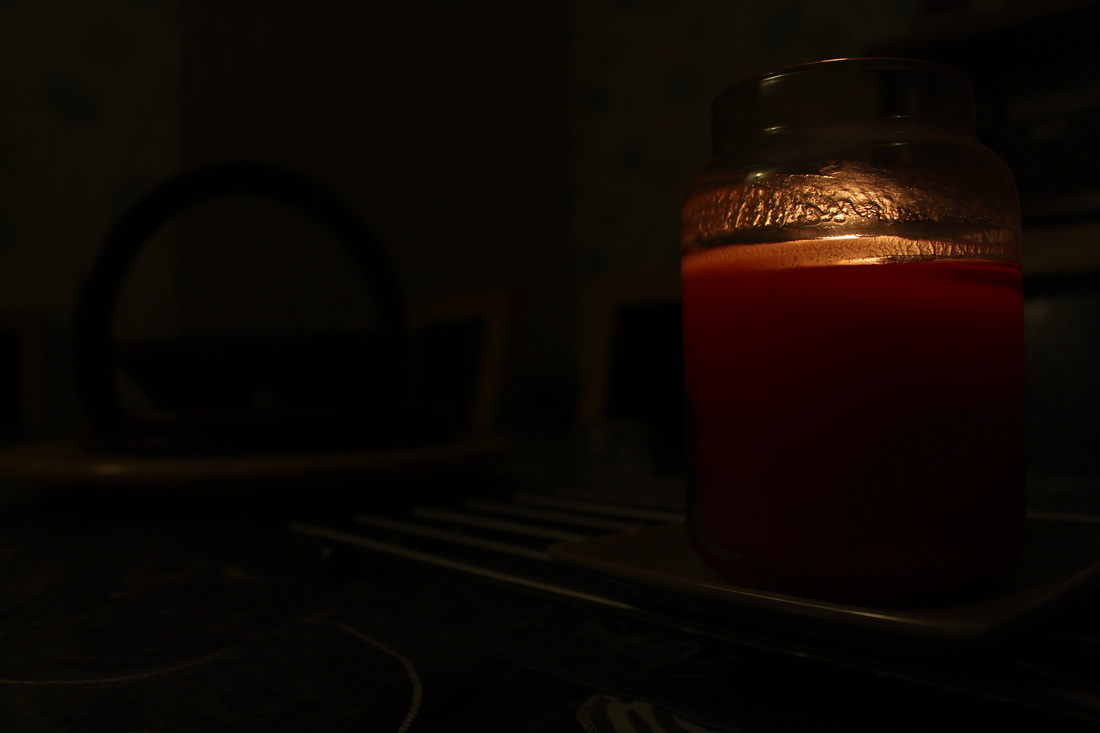
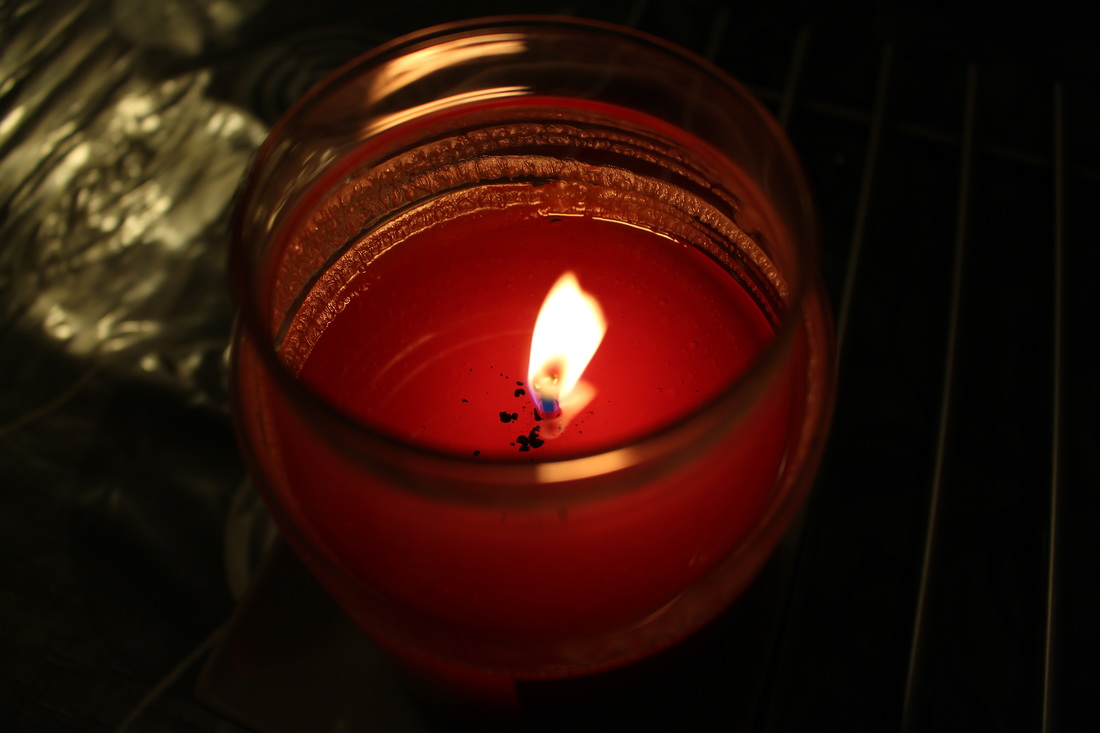
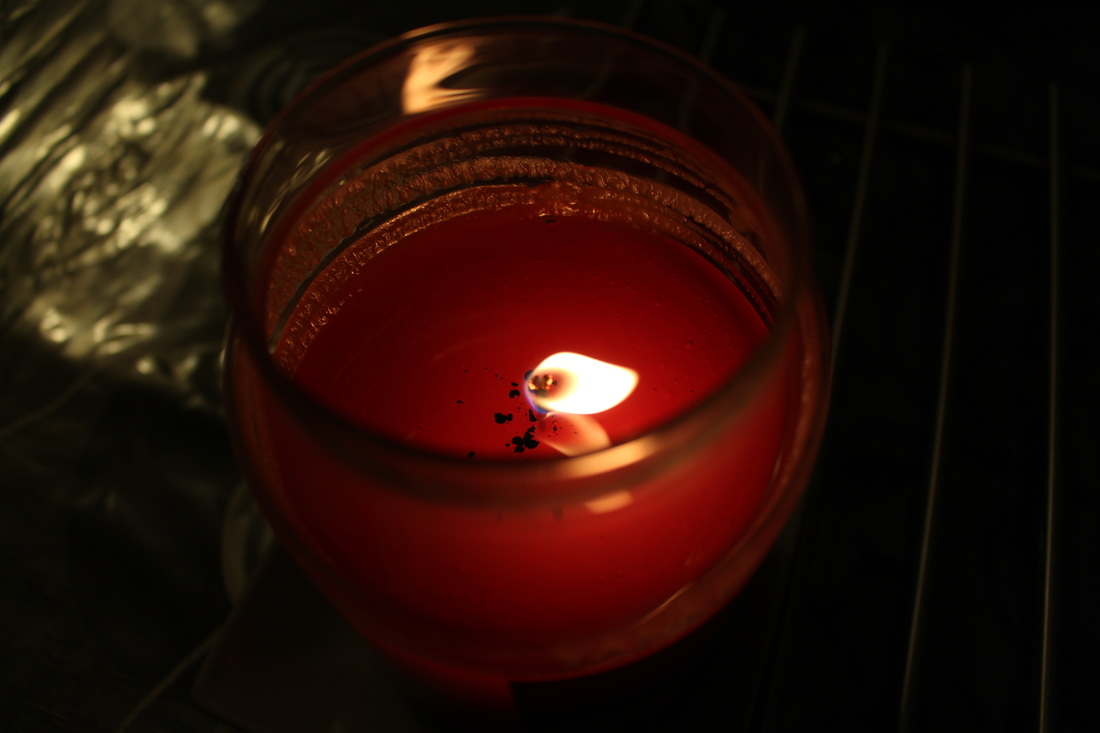
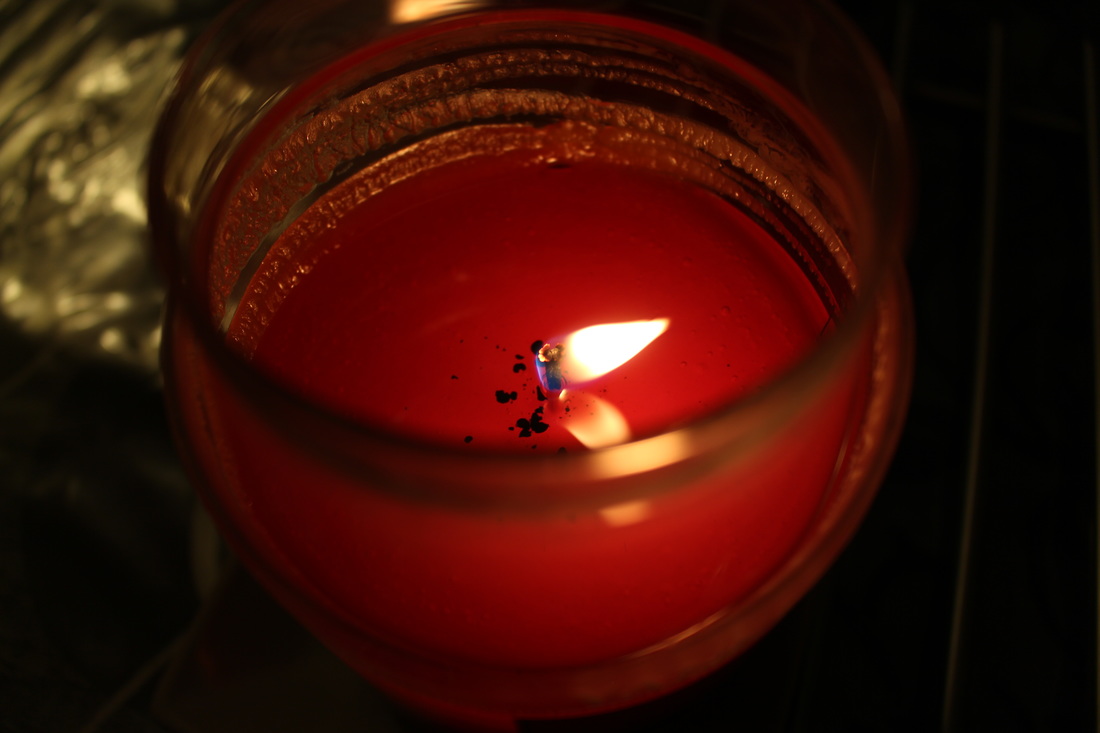
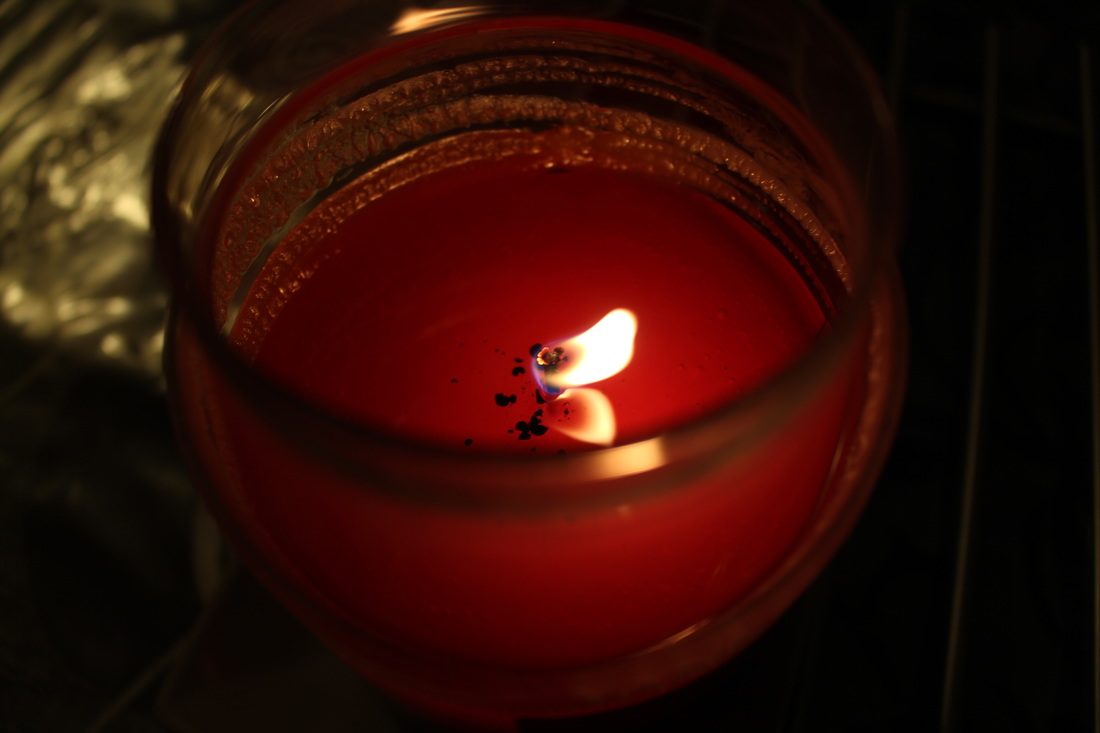
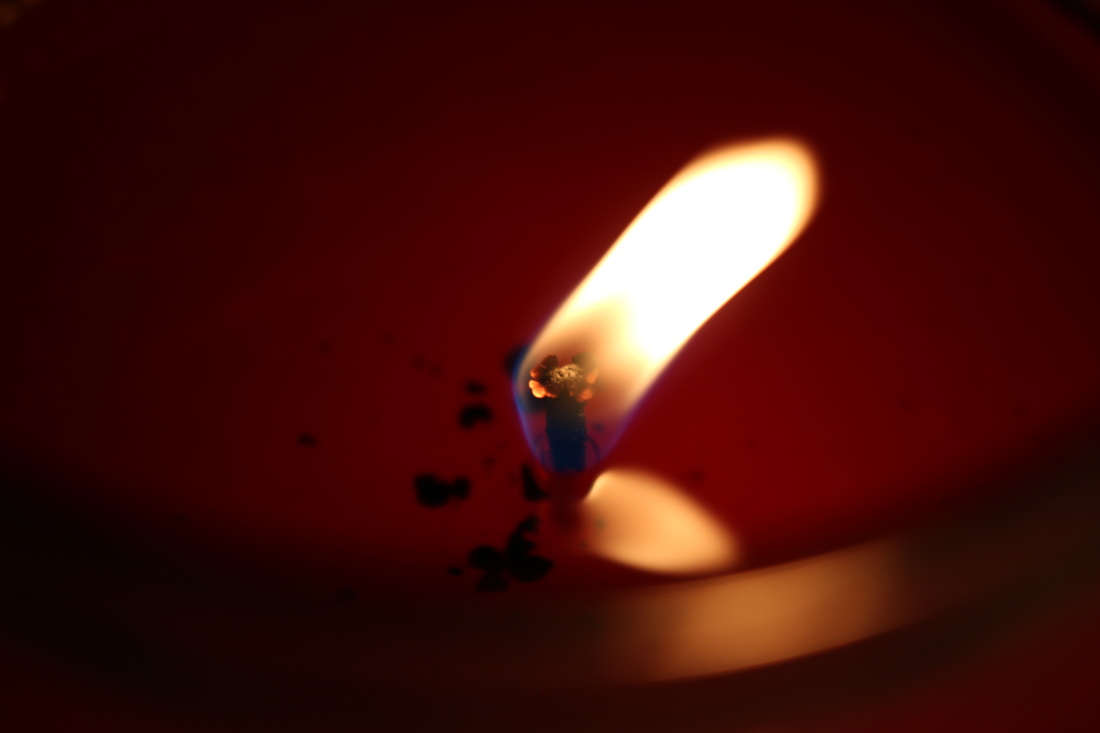
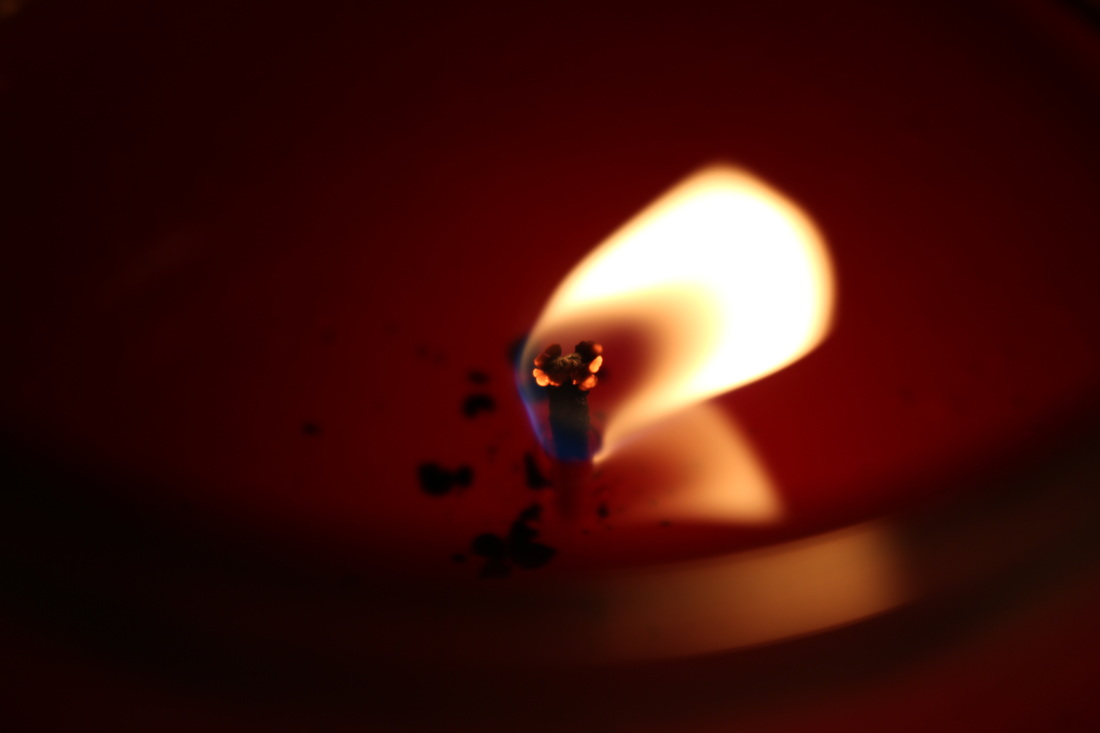
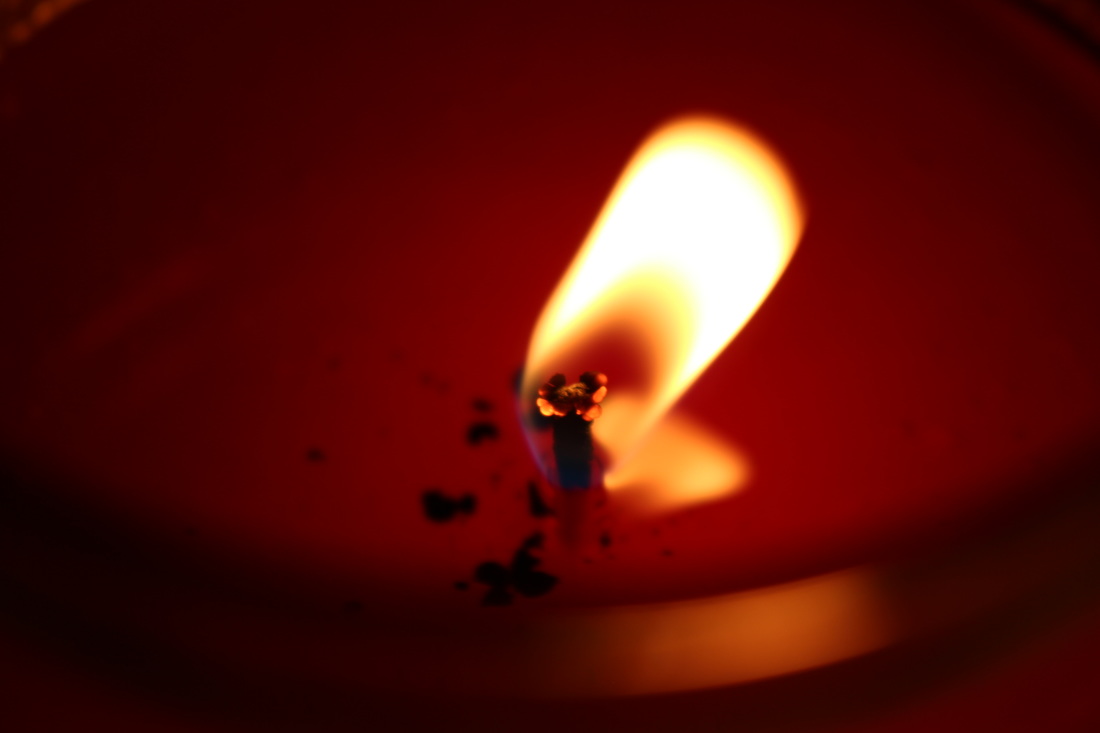
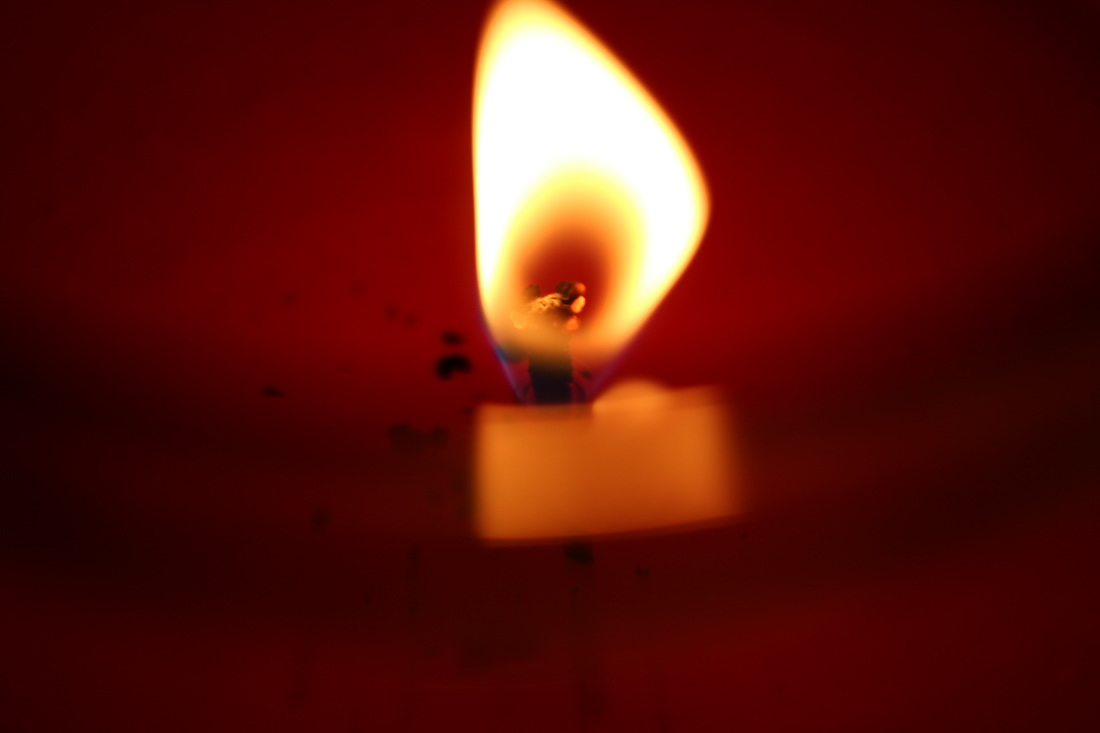
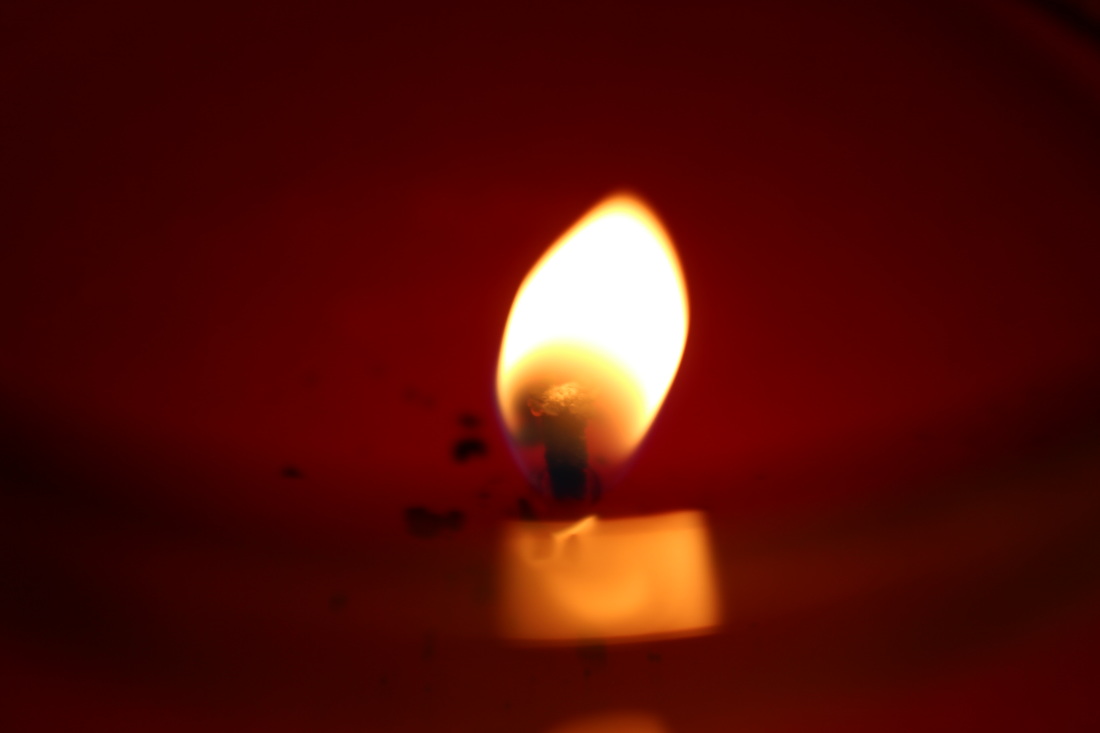
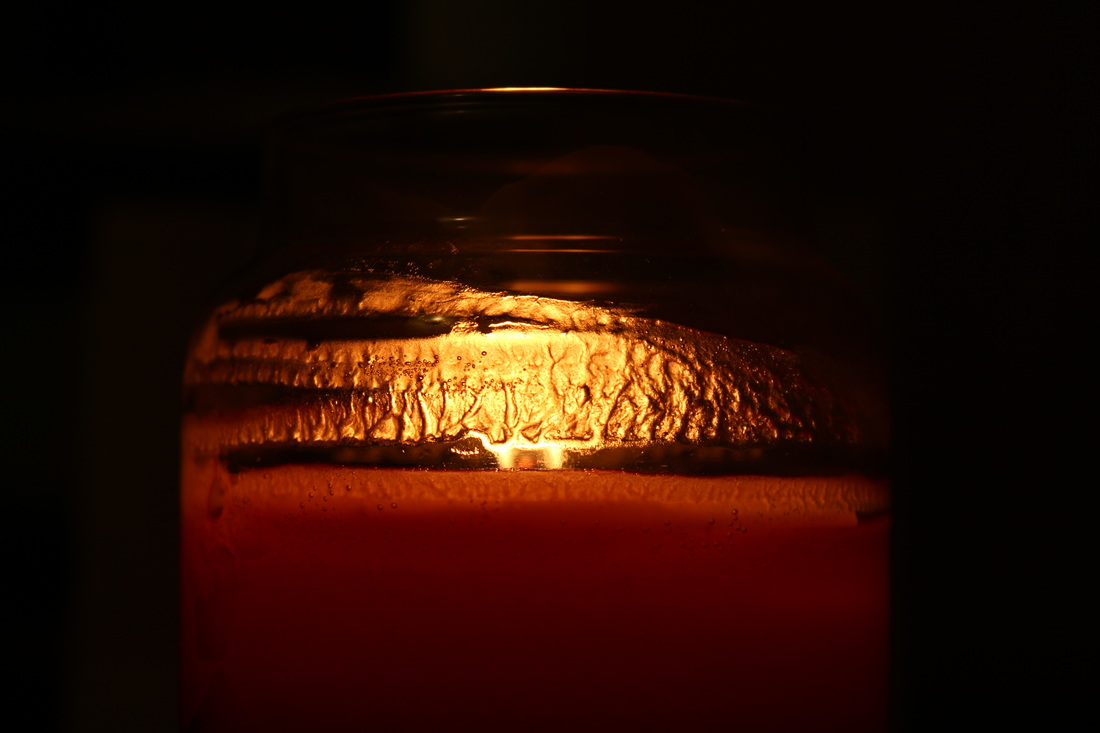
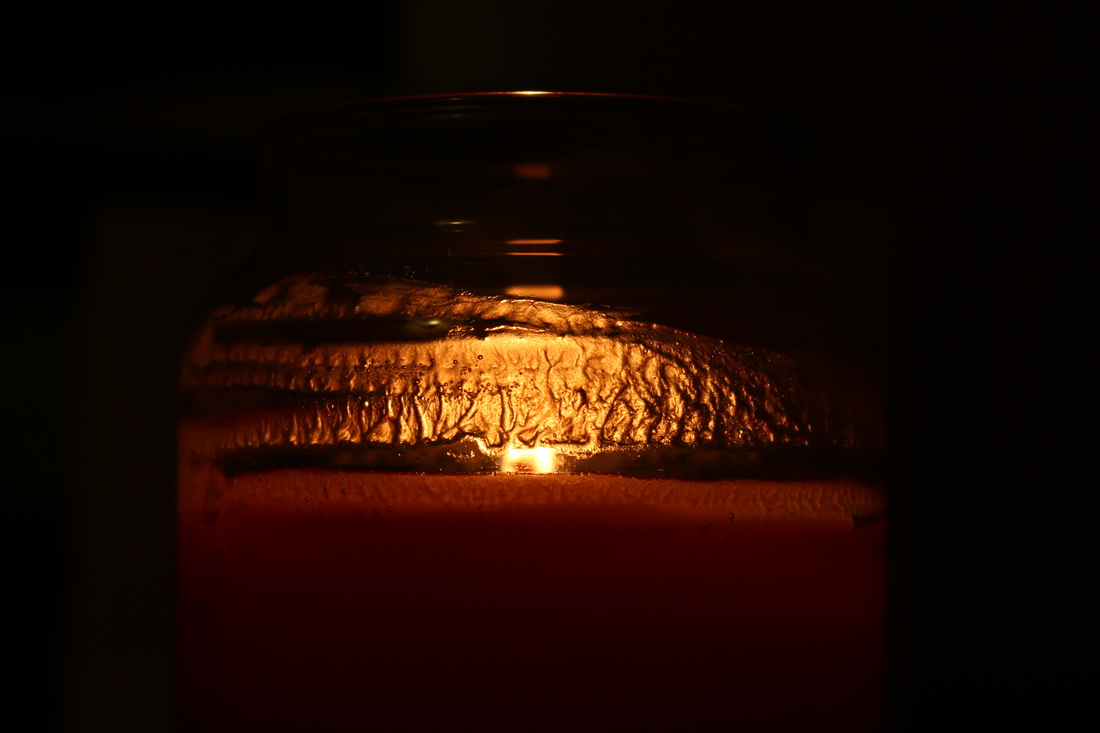
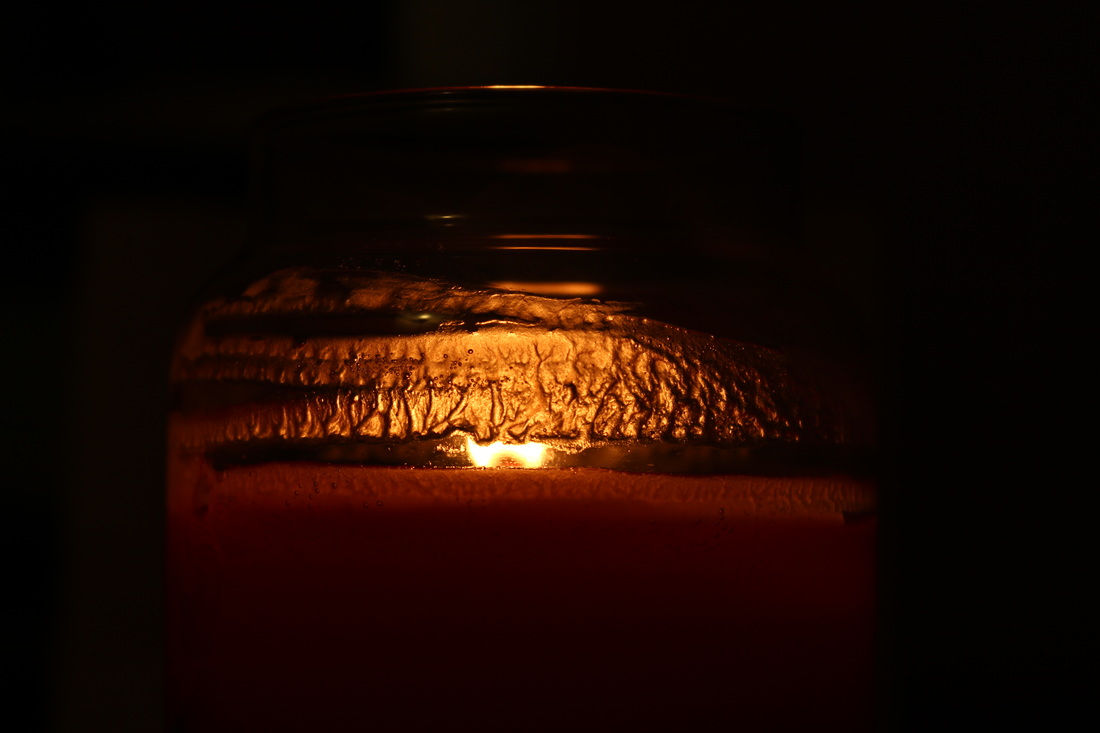
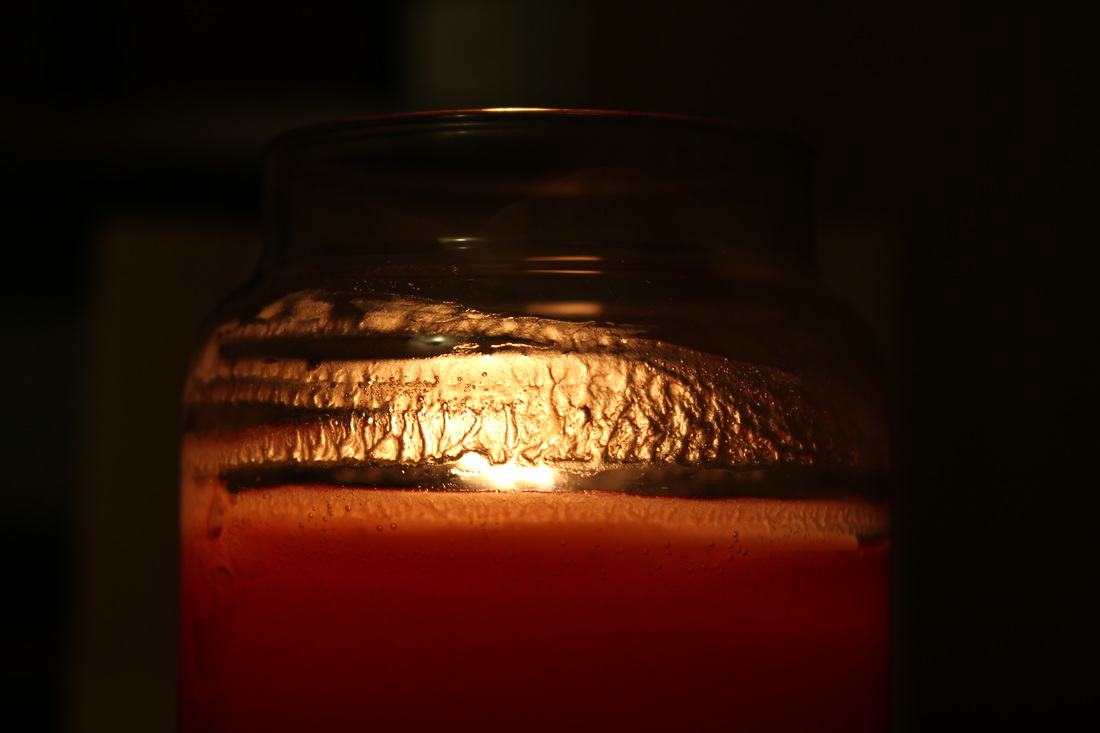
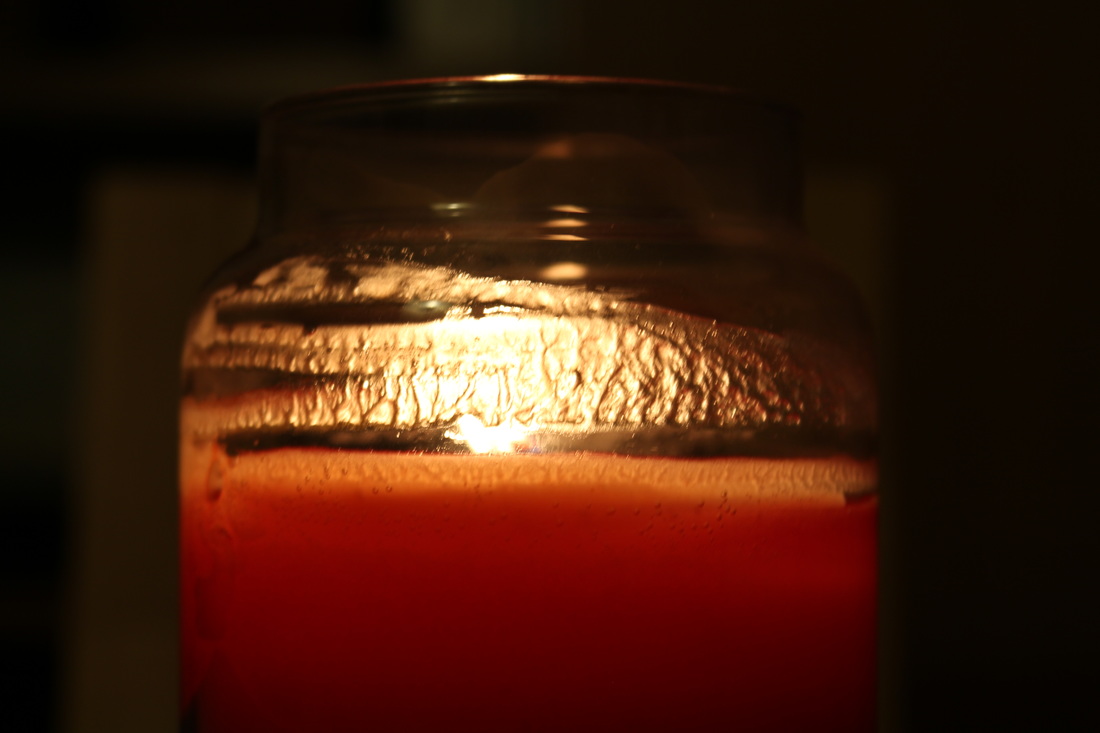
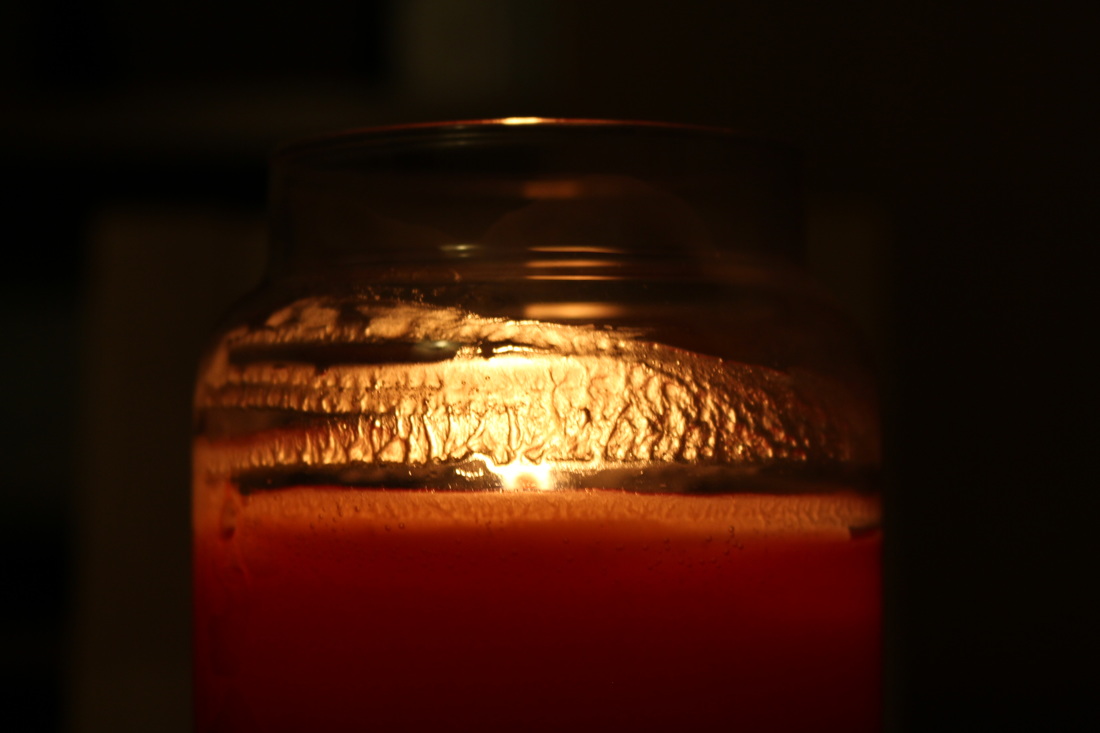
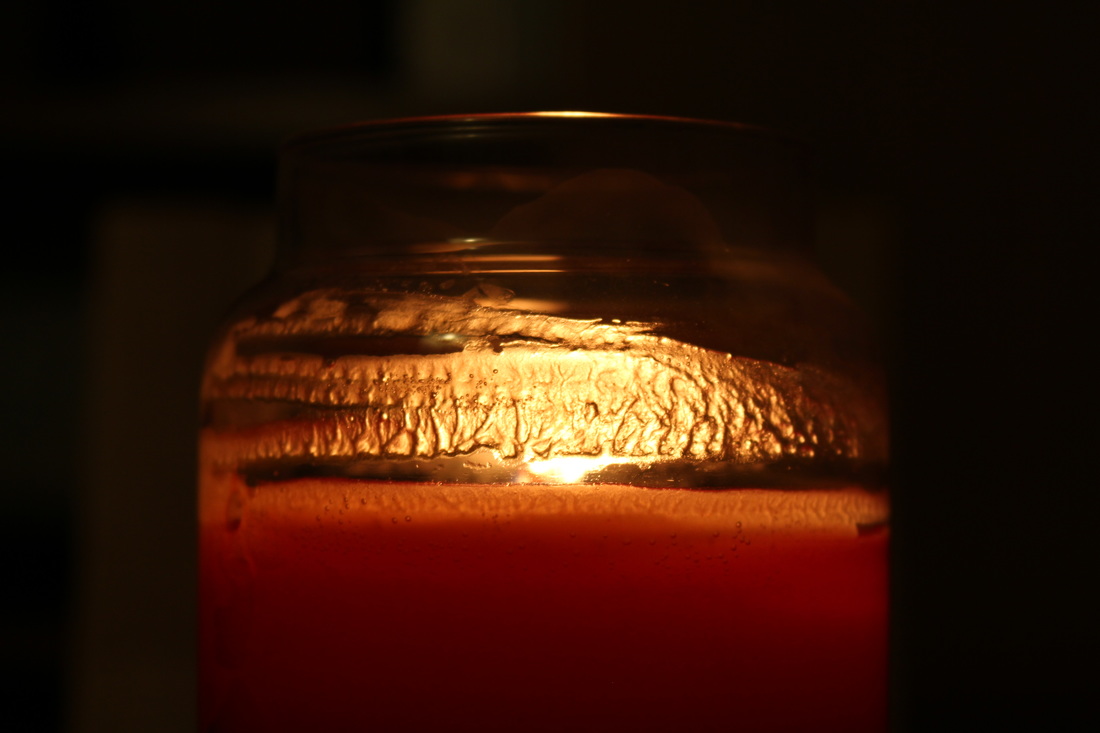
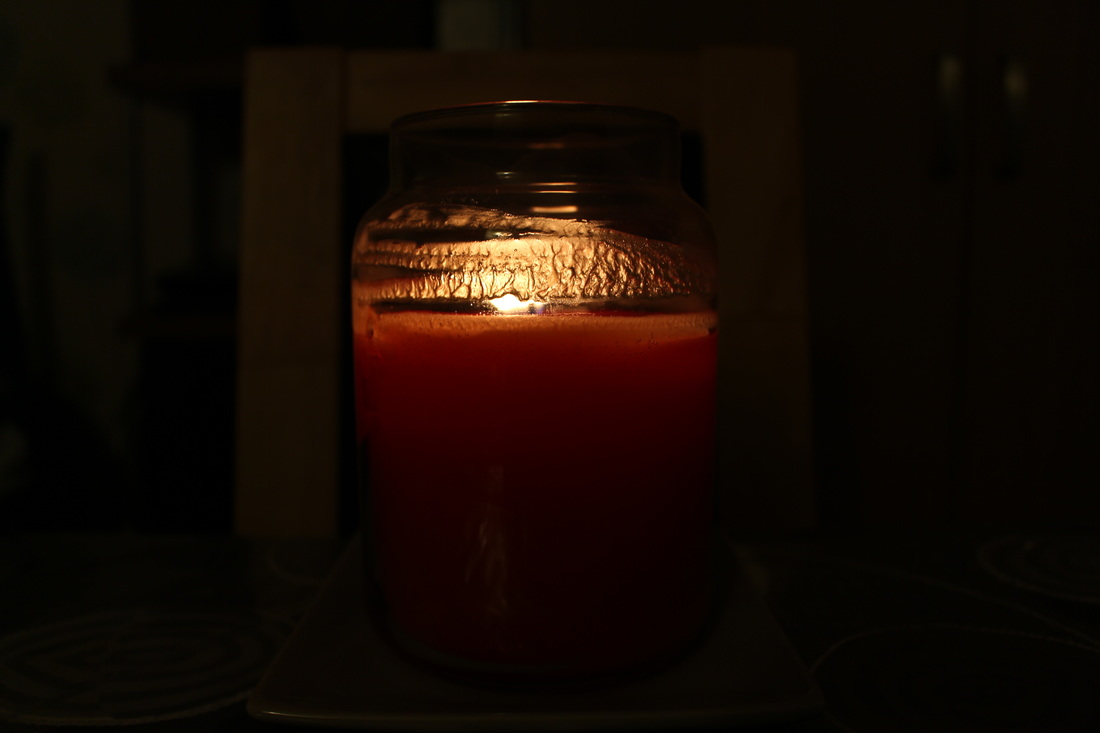
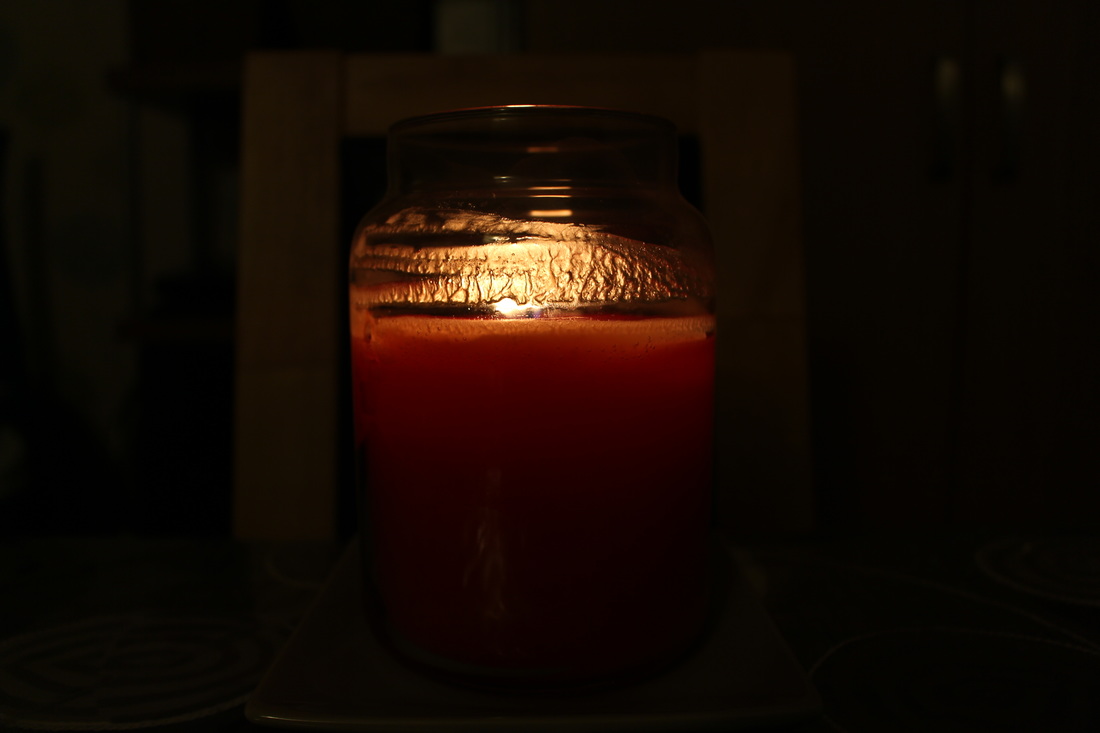
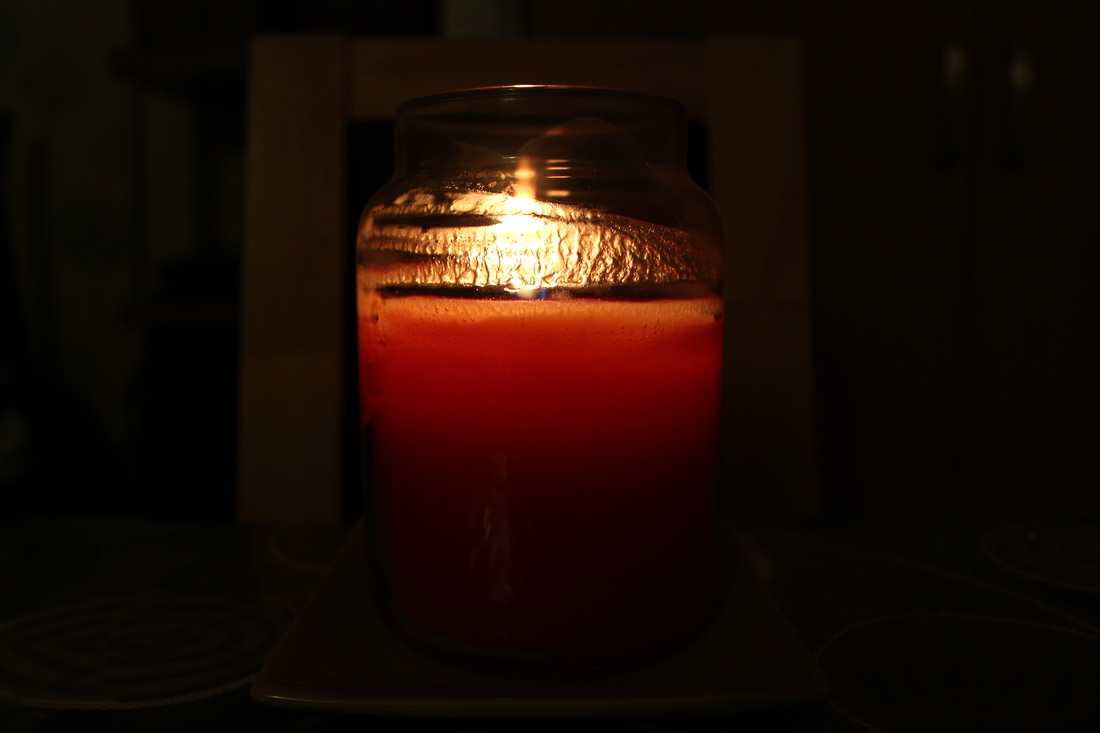
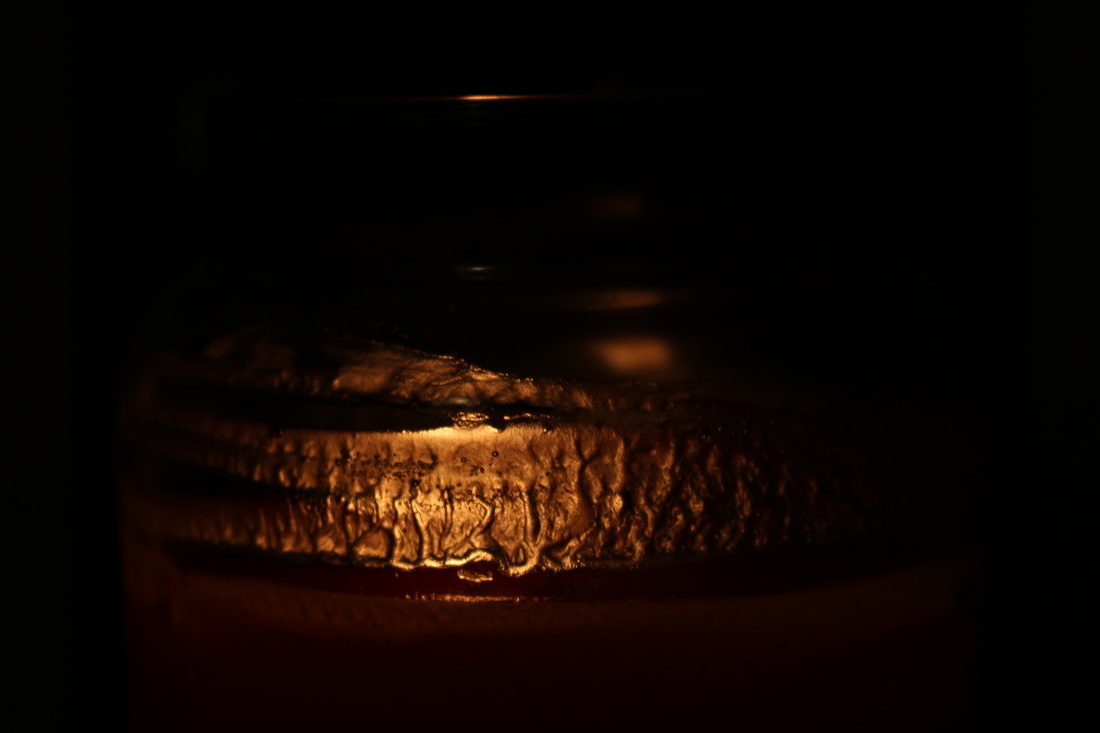
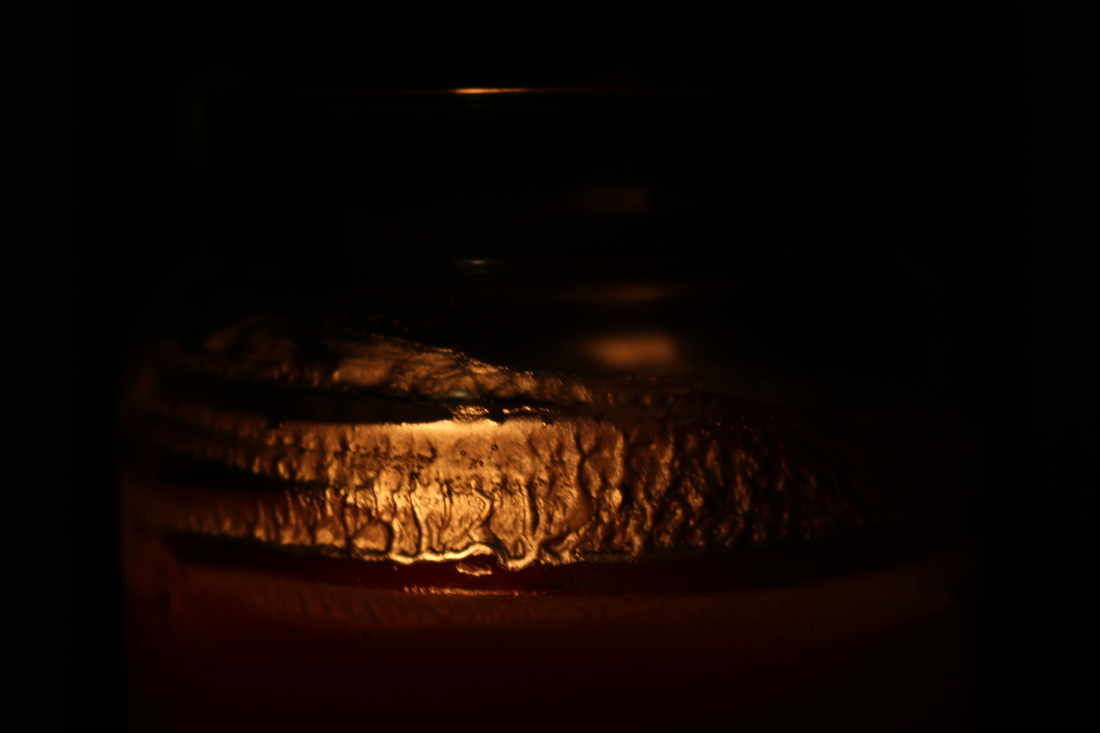
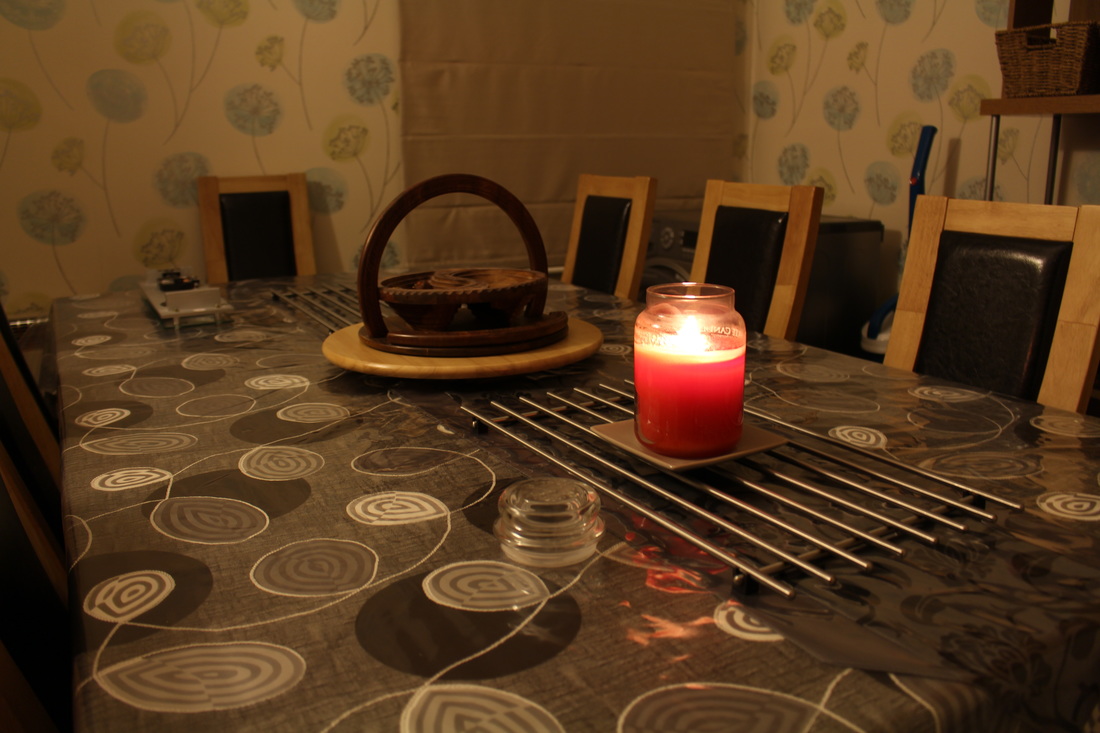
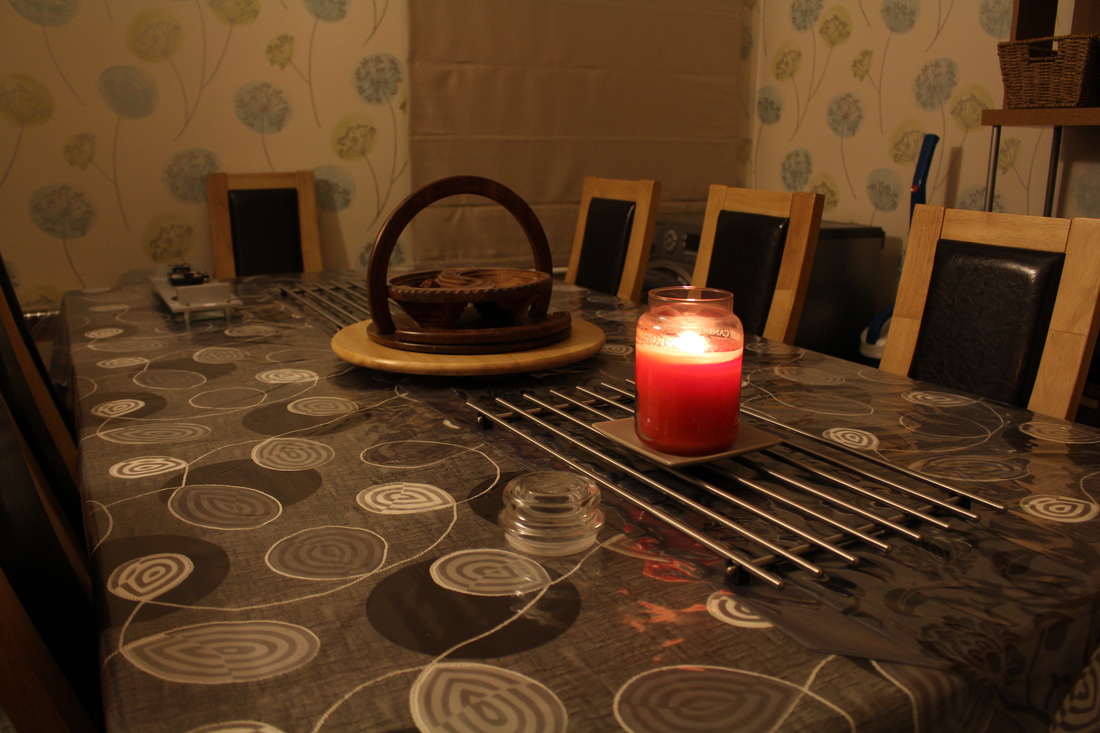
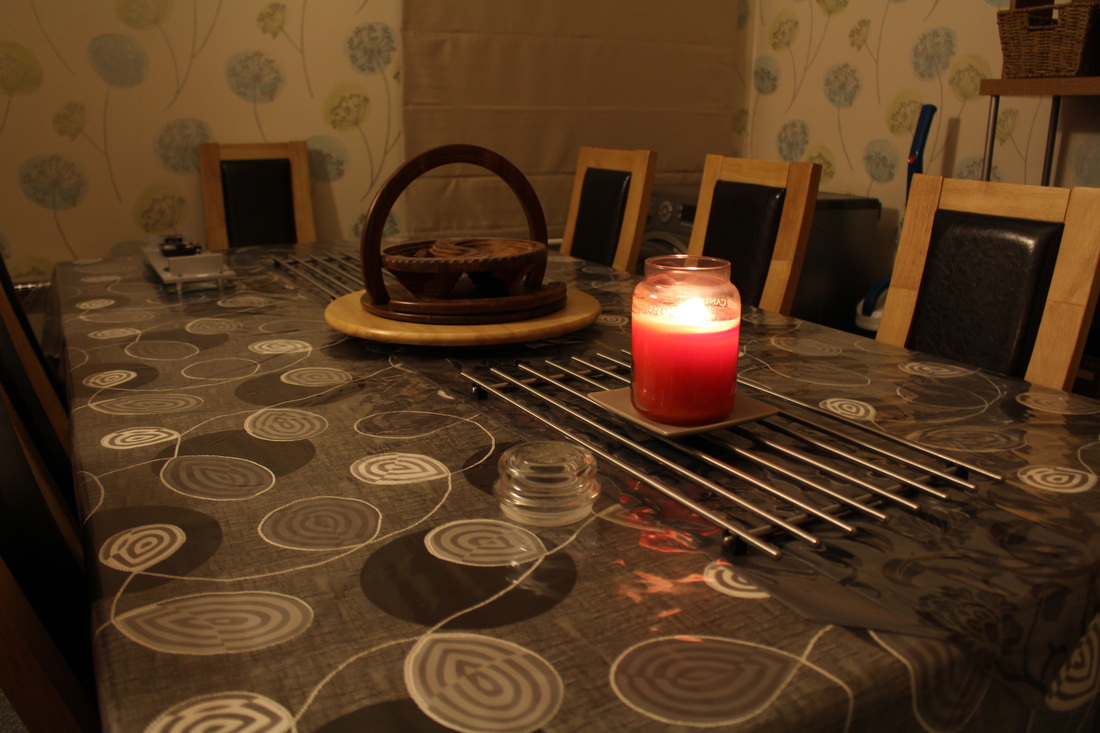
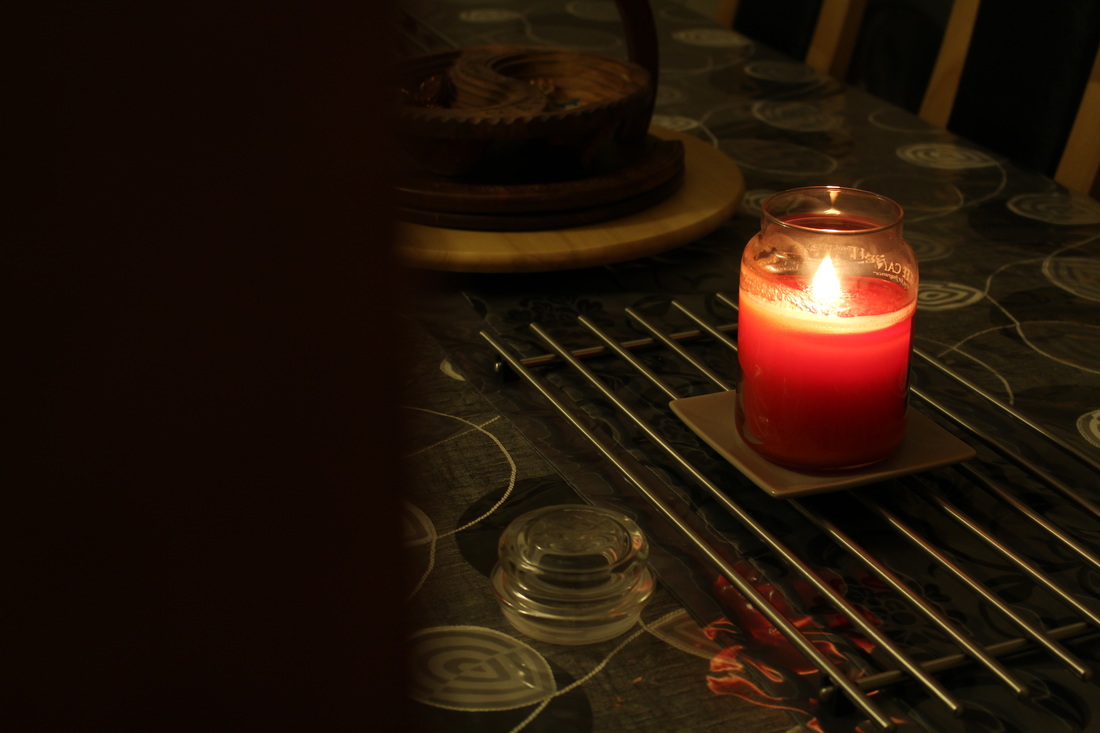
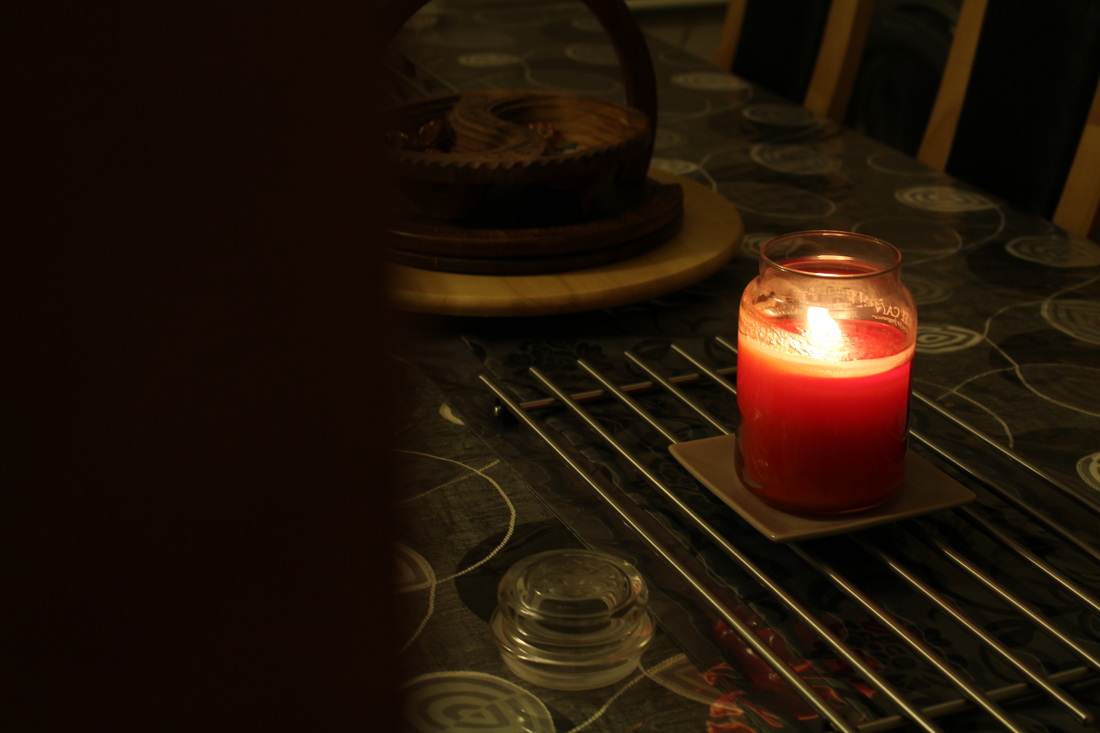
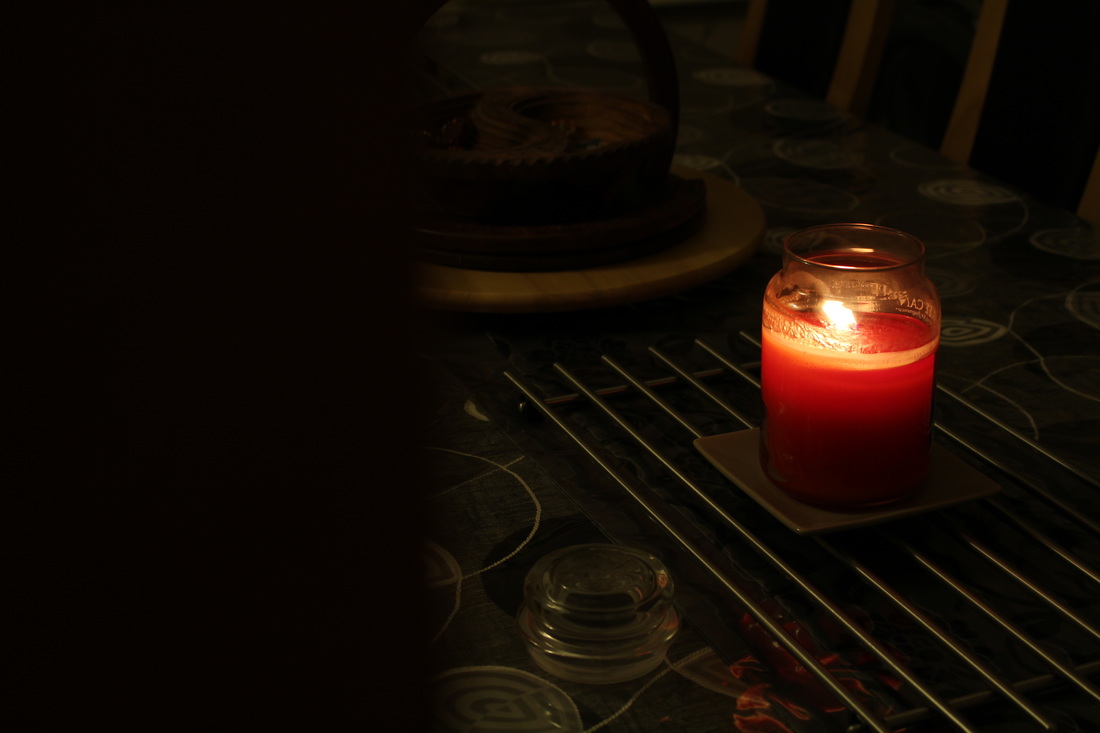
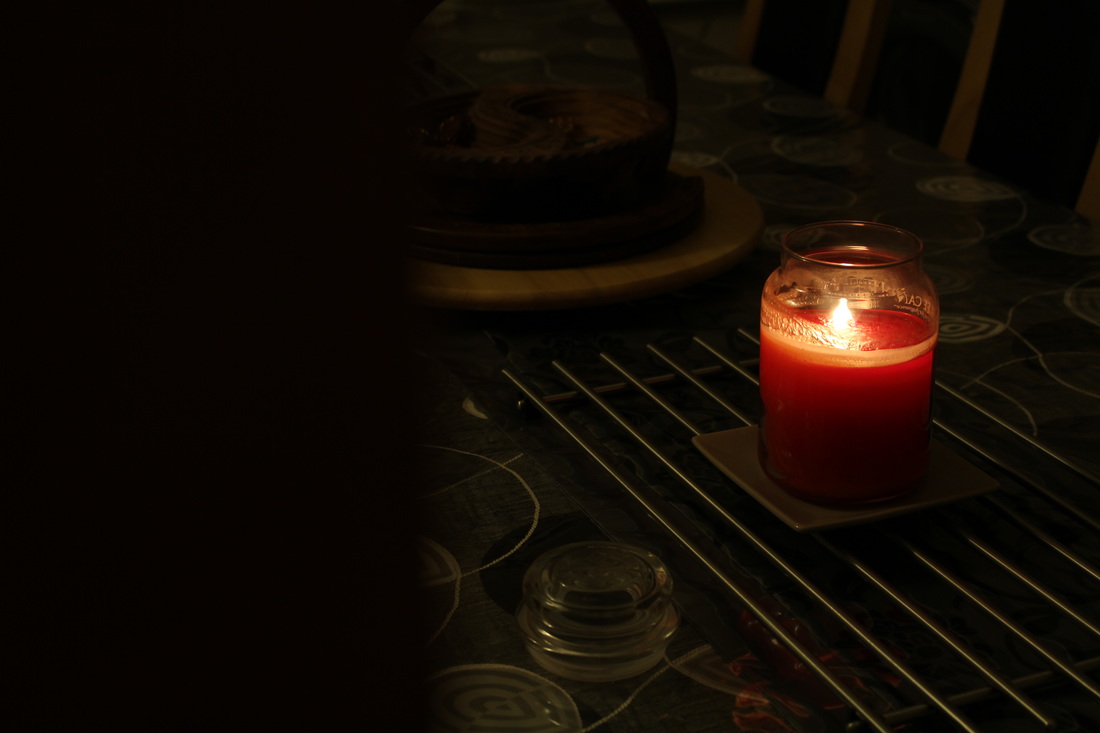
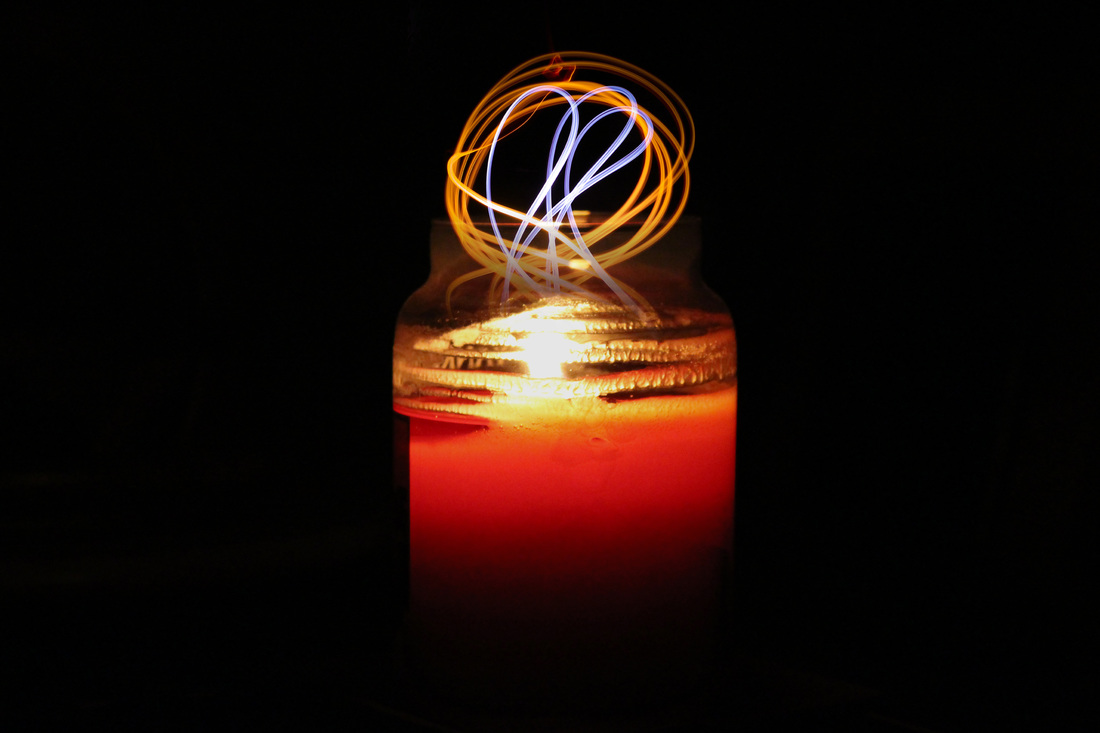
This was one of the strongest photos because I blacked out the room which didn't allow any light to be emitted from anywhere except the flame on the candle wick, I also turned down the ISO setting to 200 and the aperture was in the centre (0) however at some points I did turn the aperture up and down down by 1 to achieve optimal results. I also used the rule of thirds here with the candle being in the centre and the remaining areas were blacked out.
|
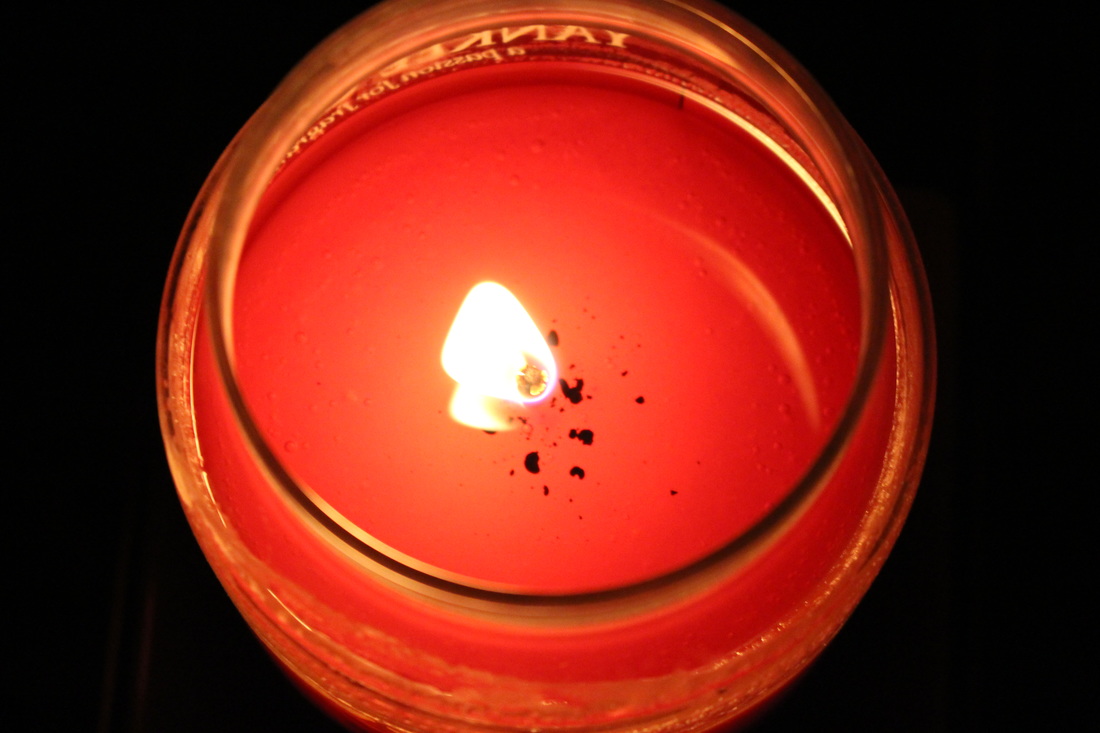
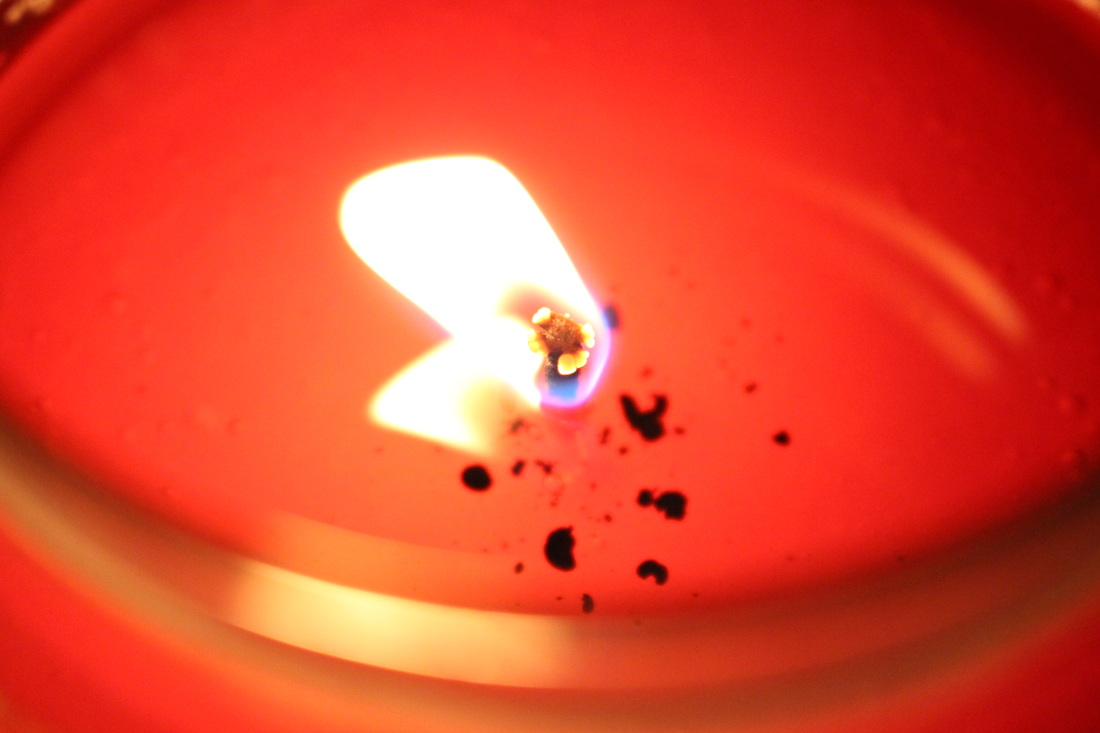
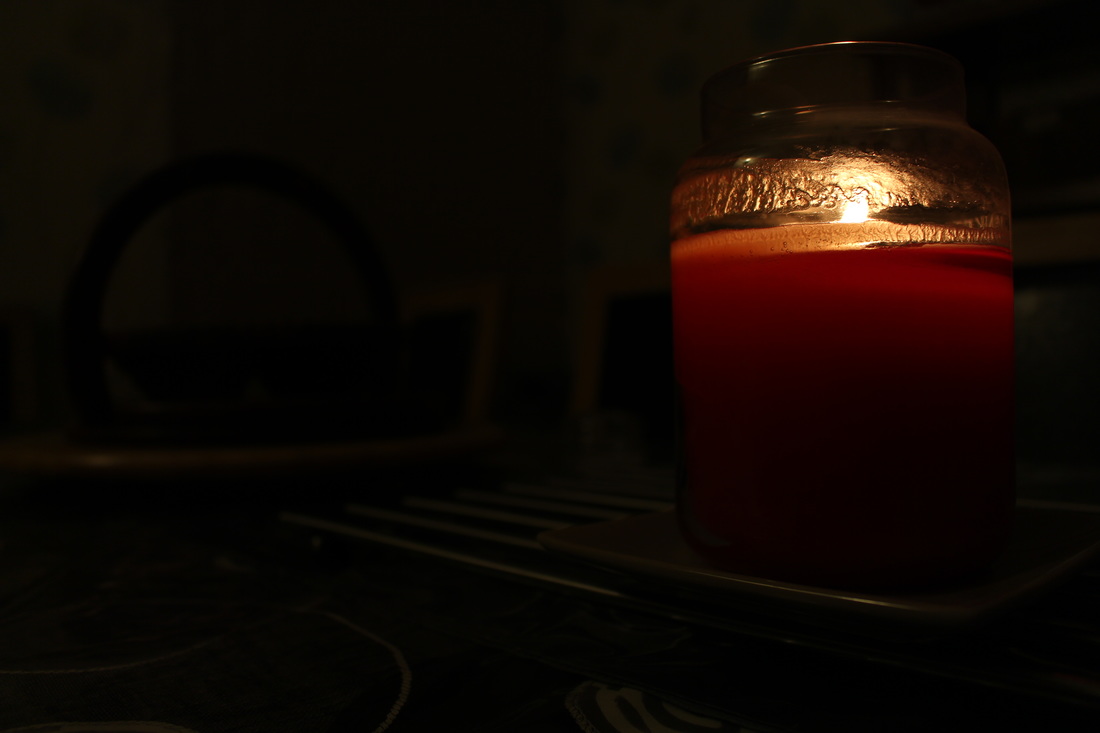
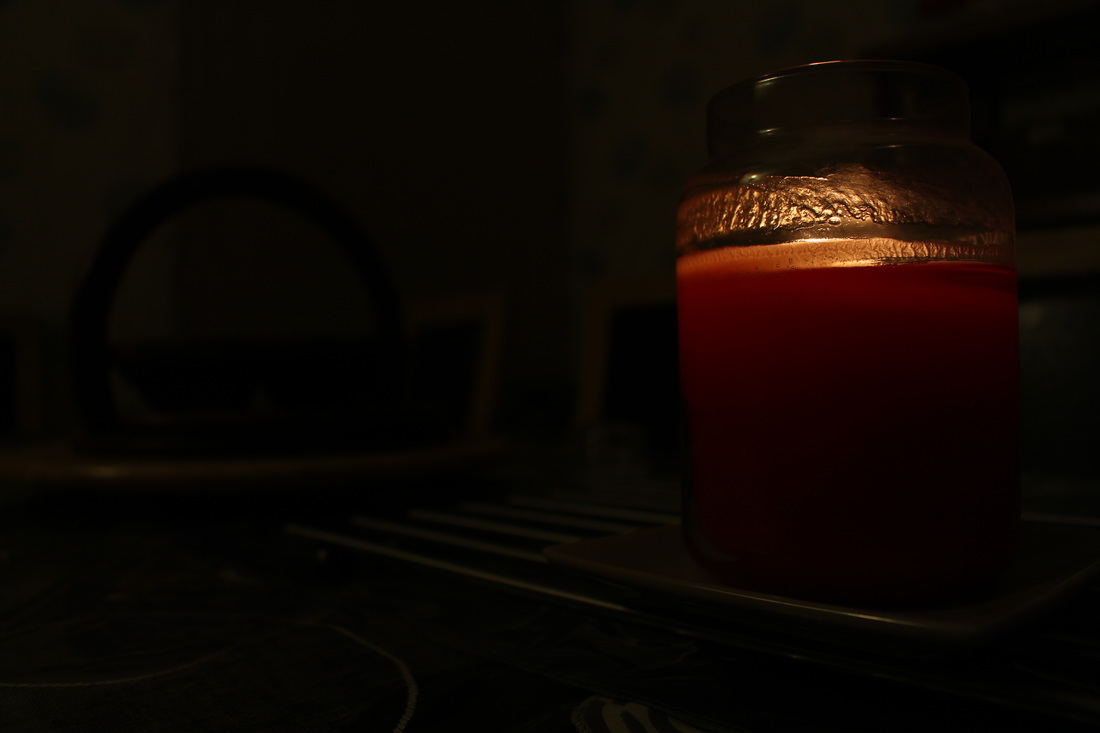
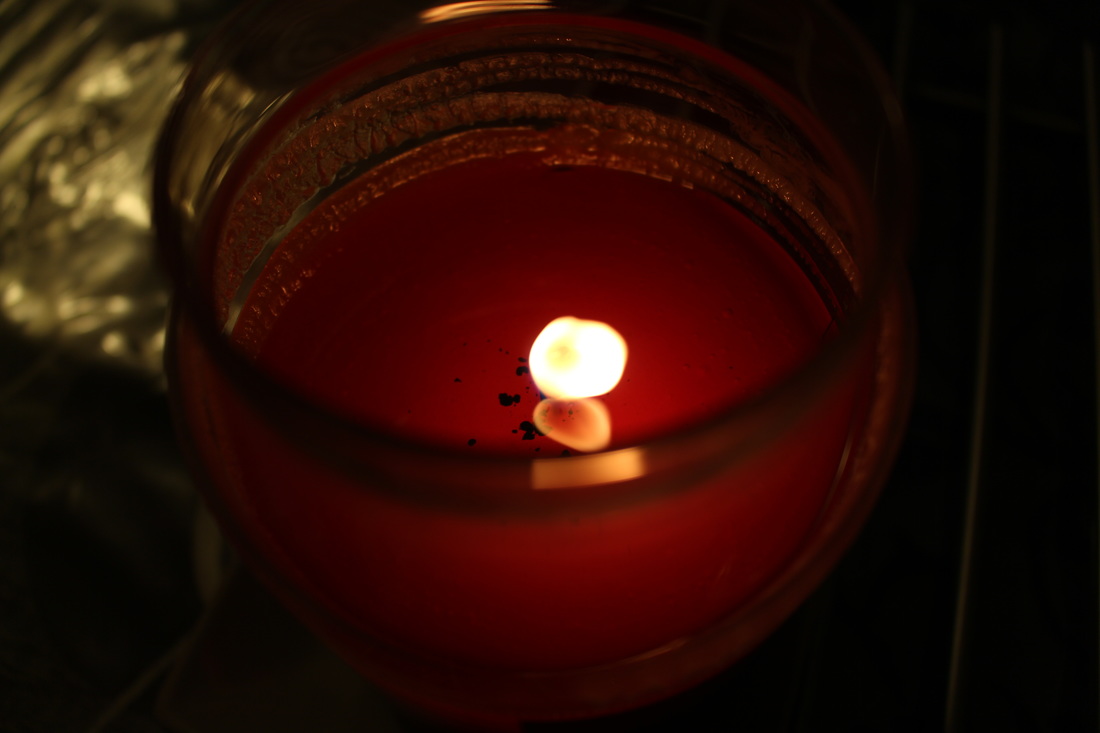
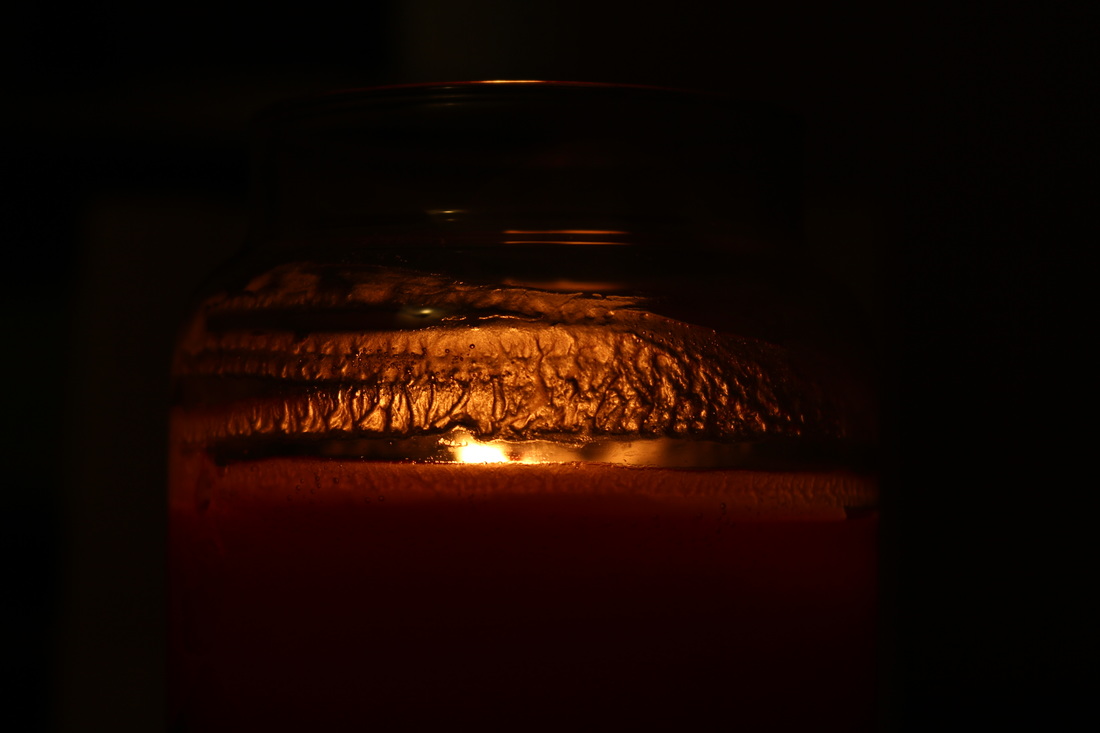
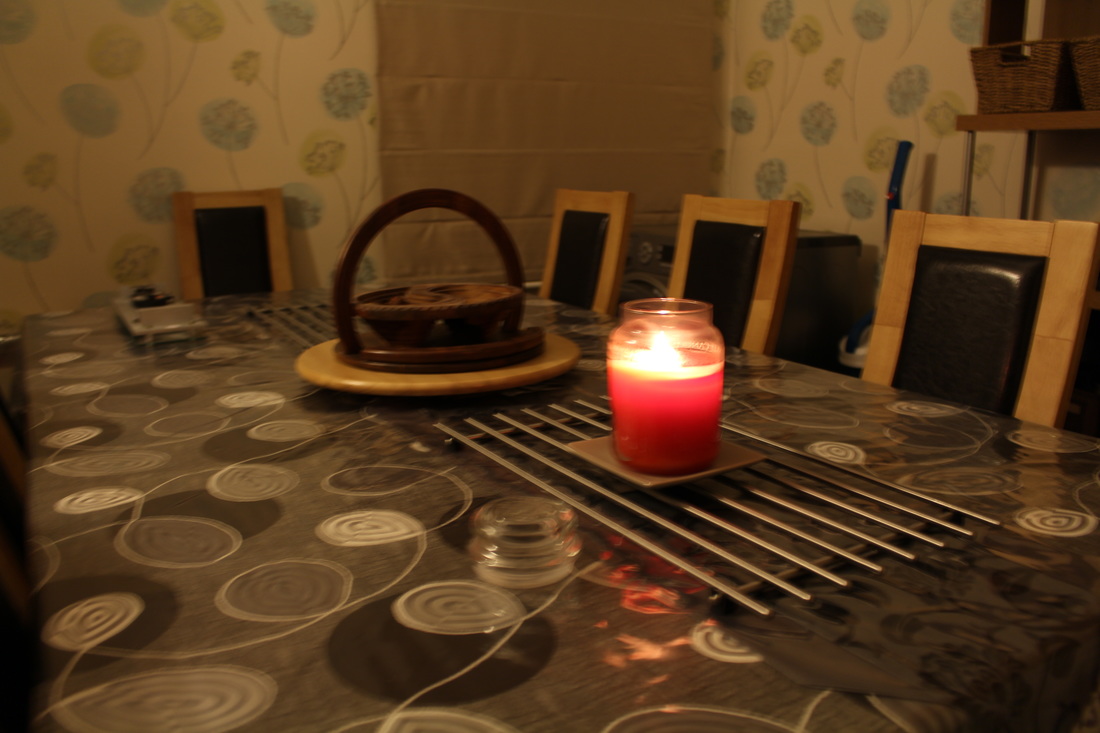
Worst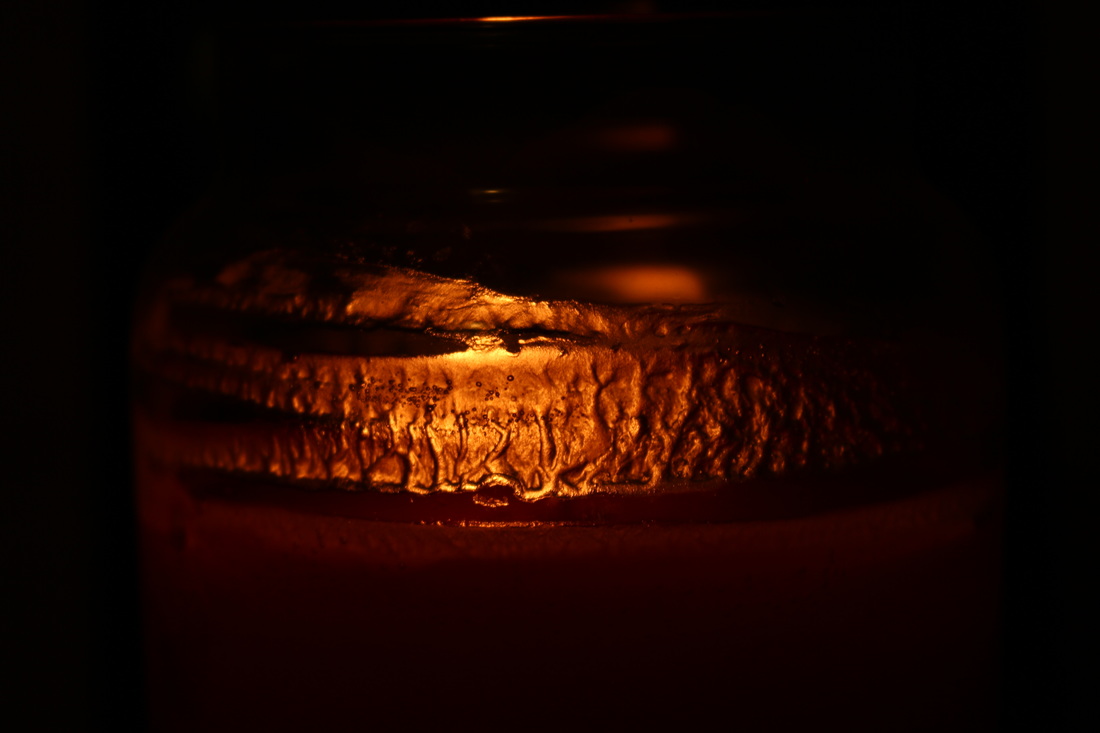
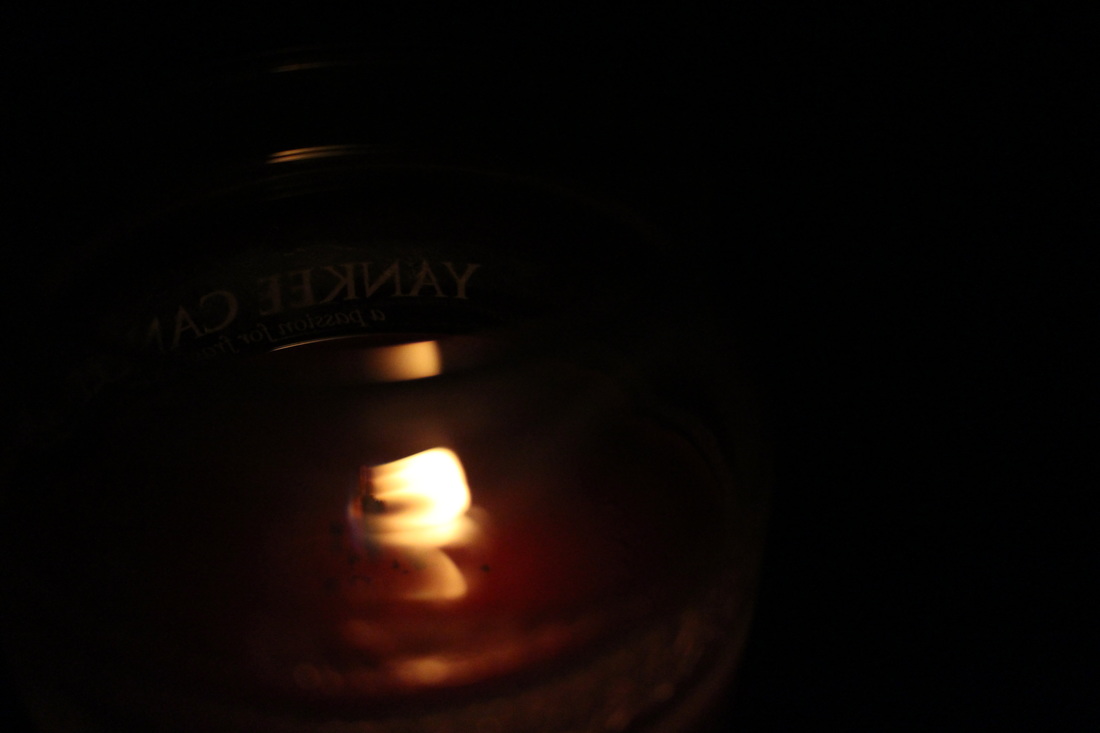
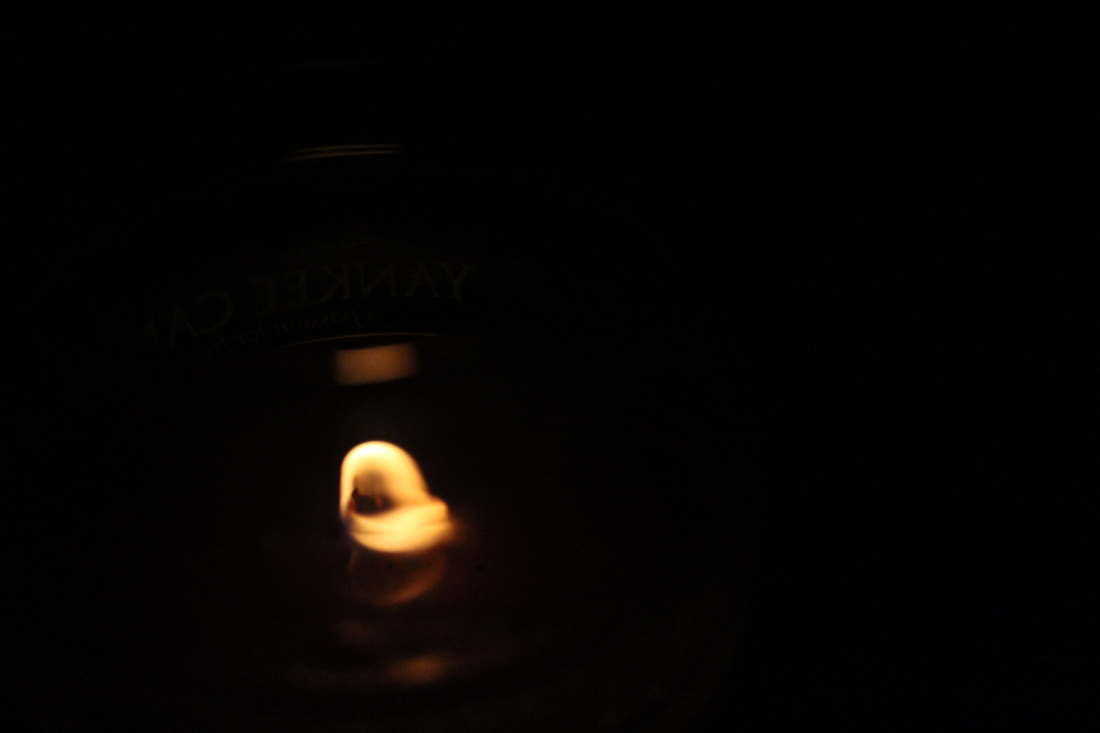
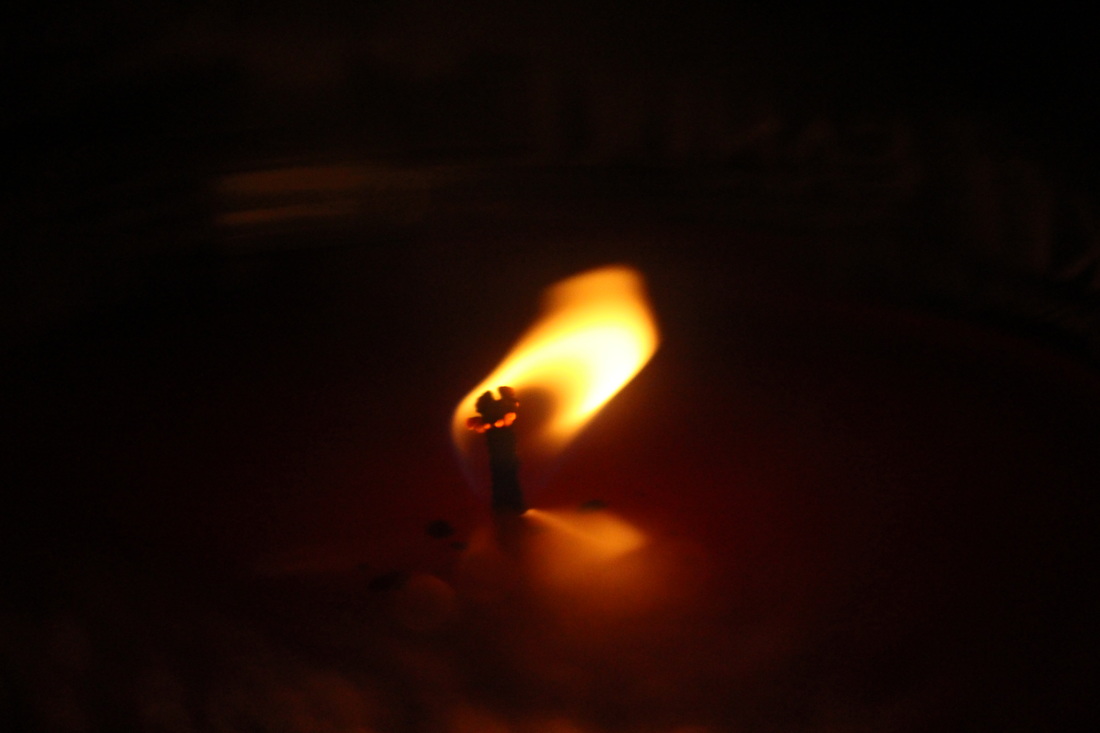
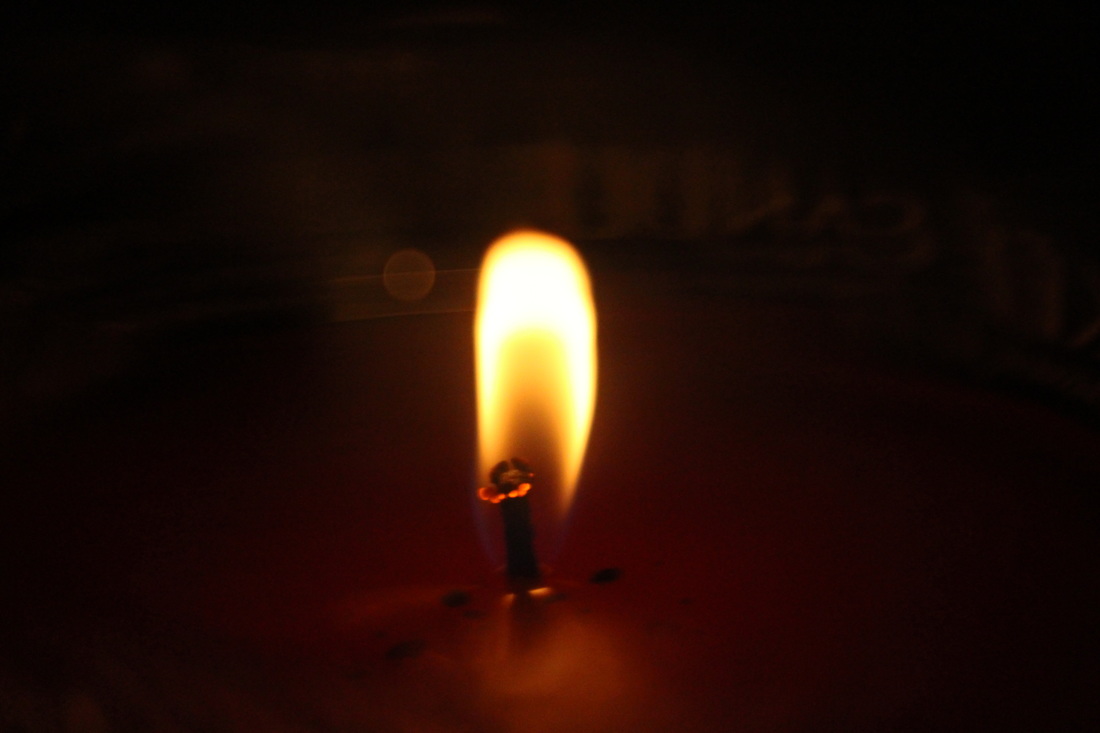
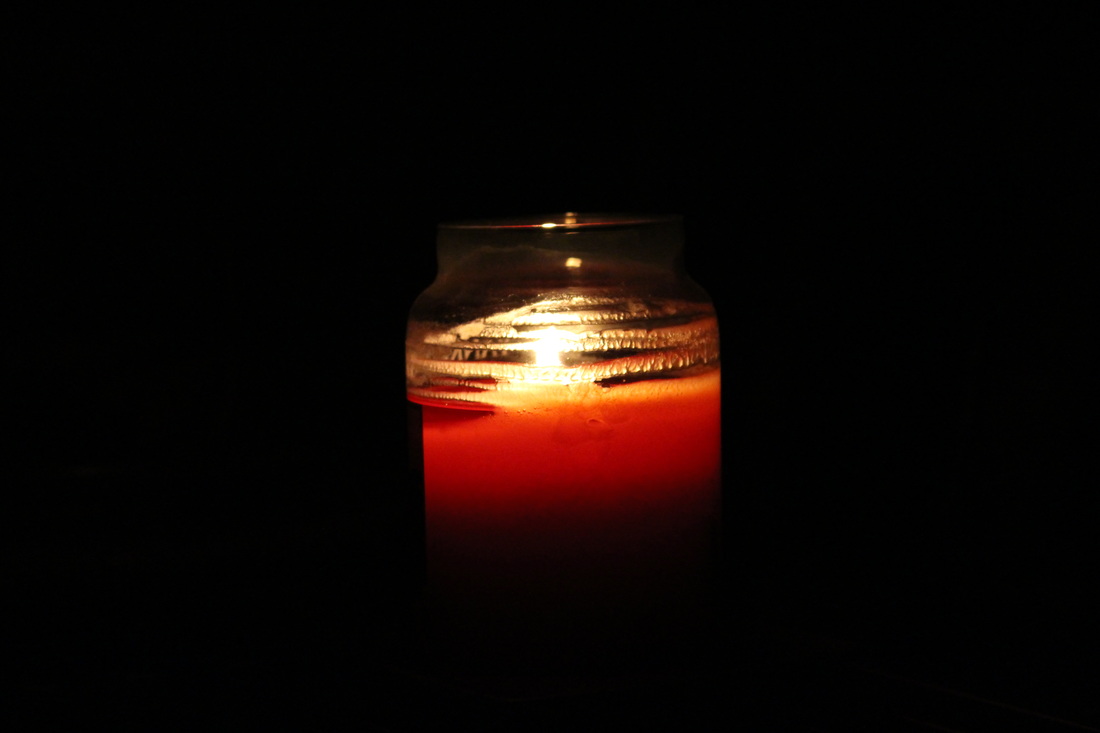
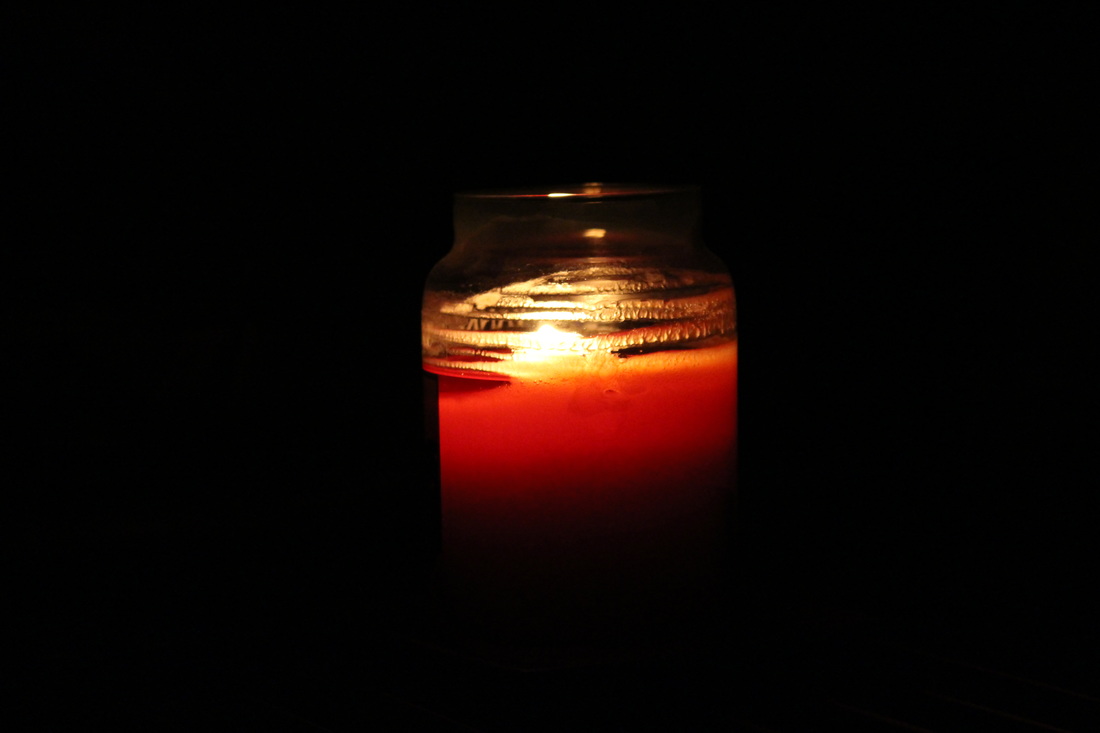
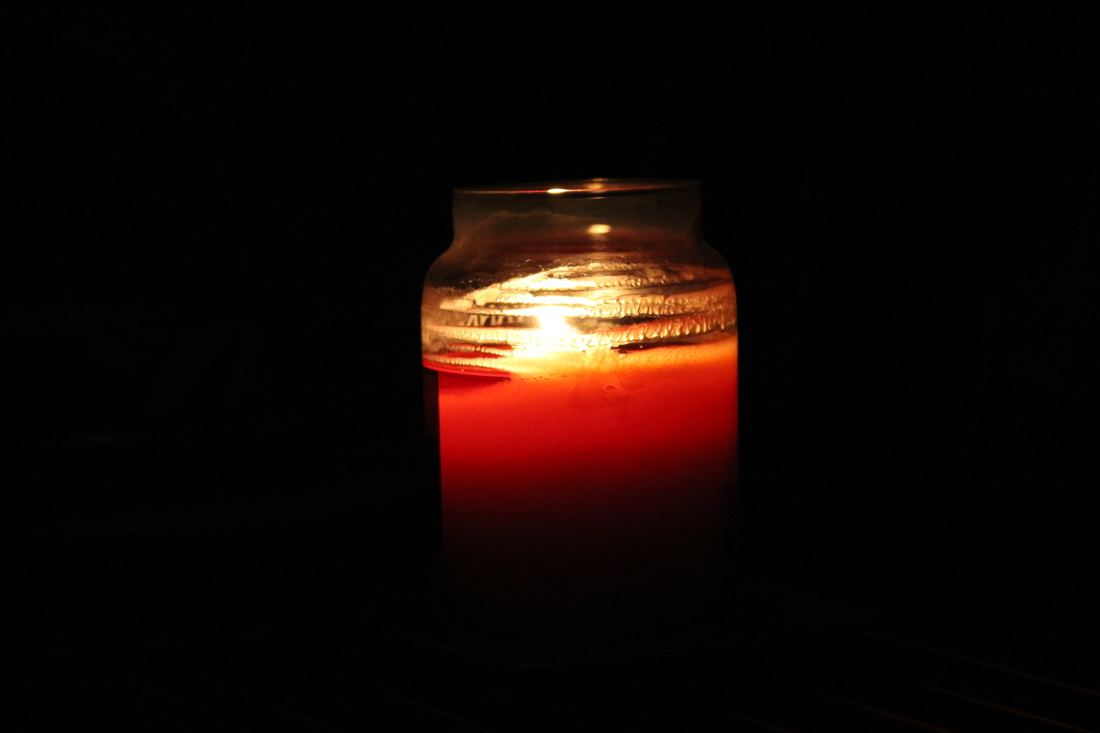
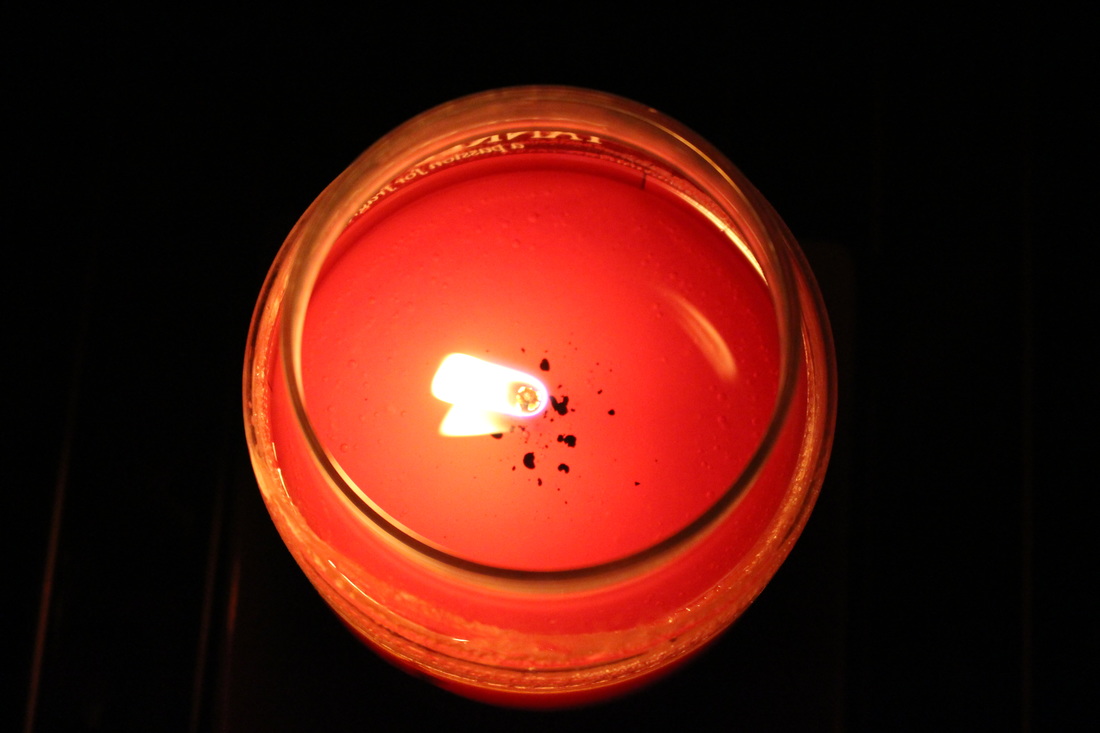
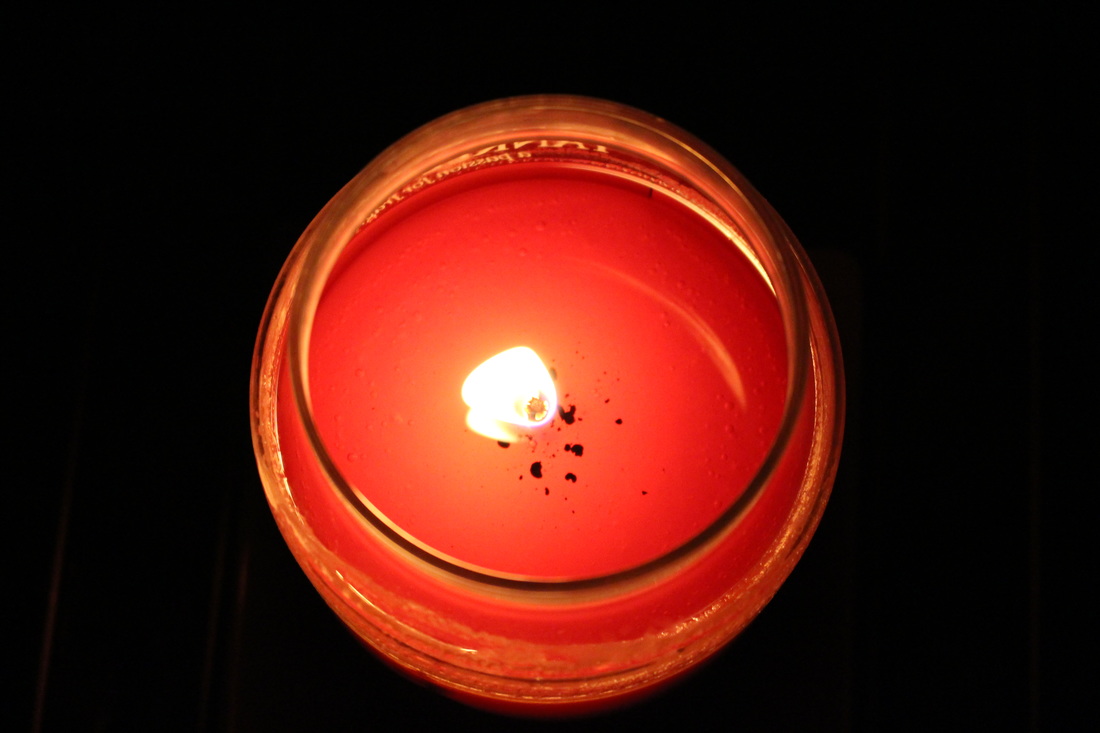
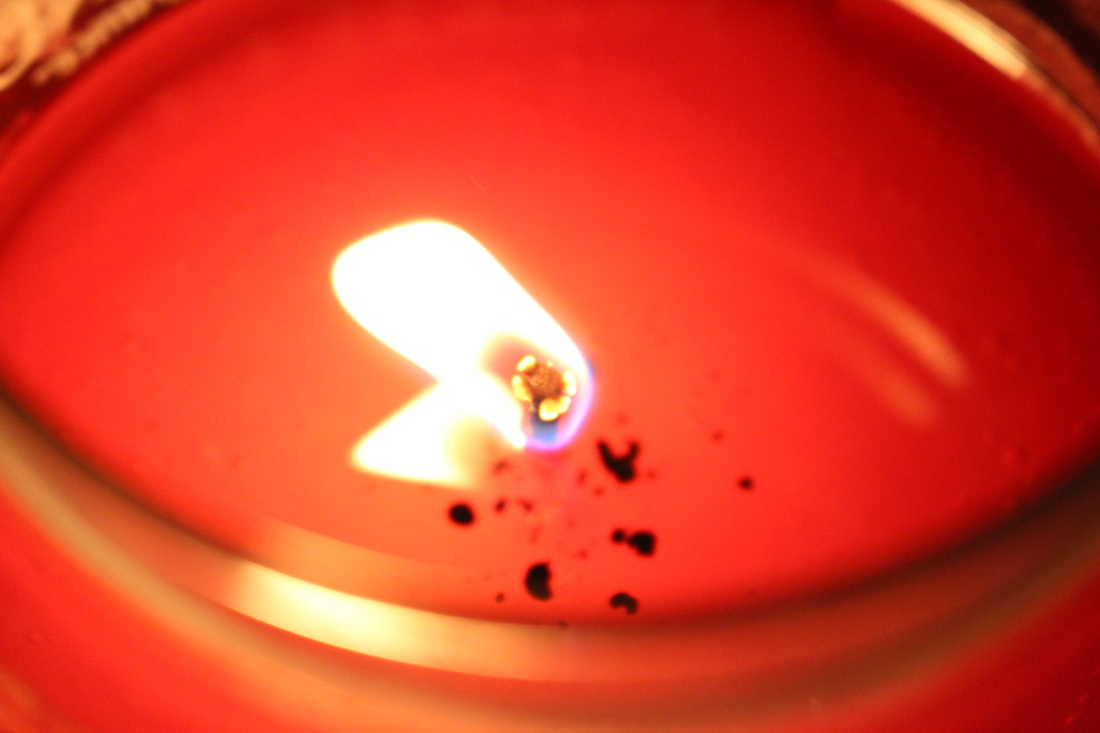
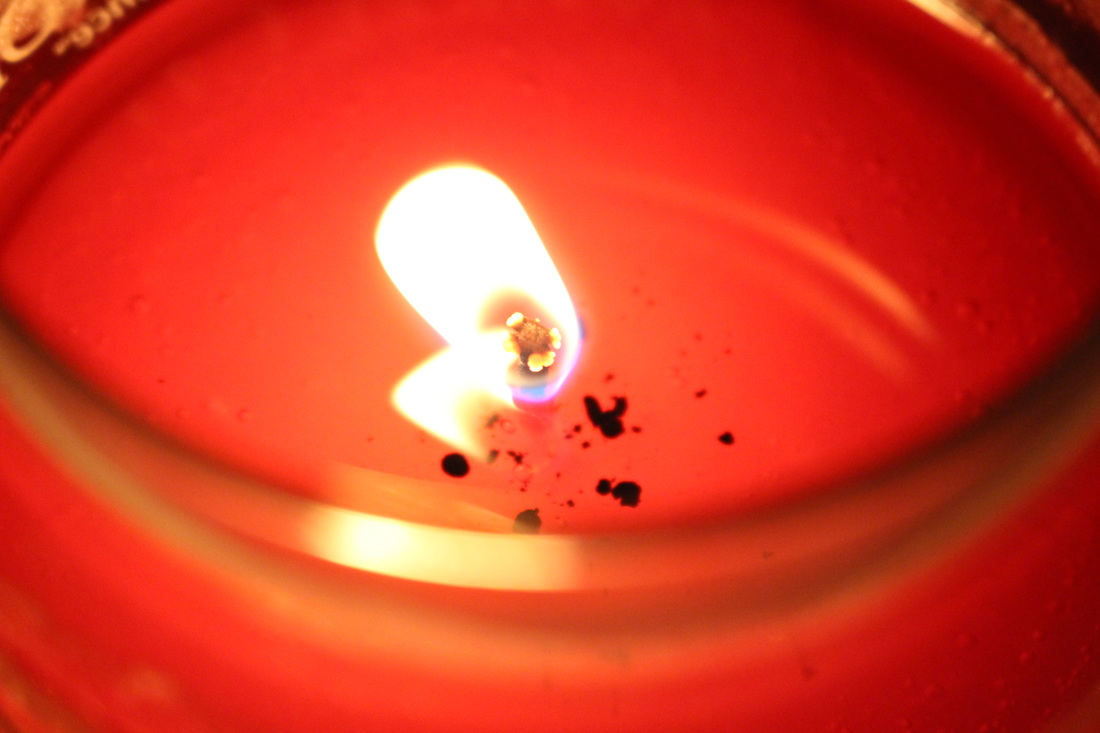
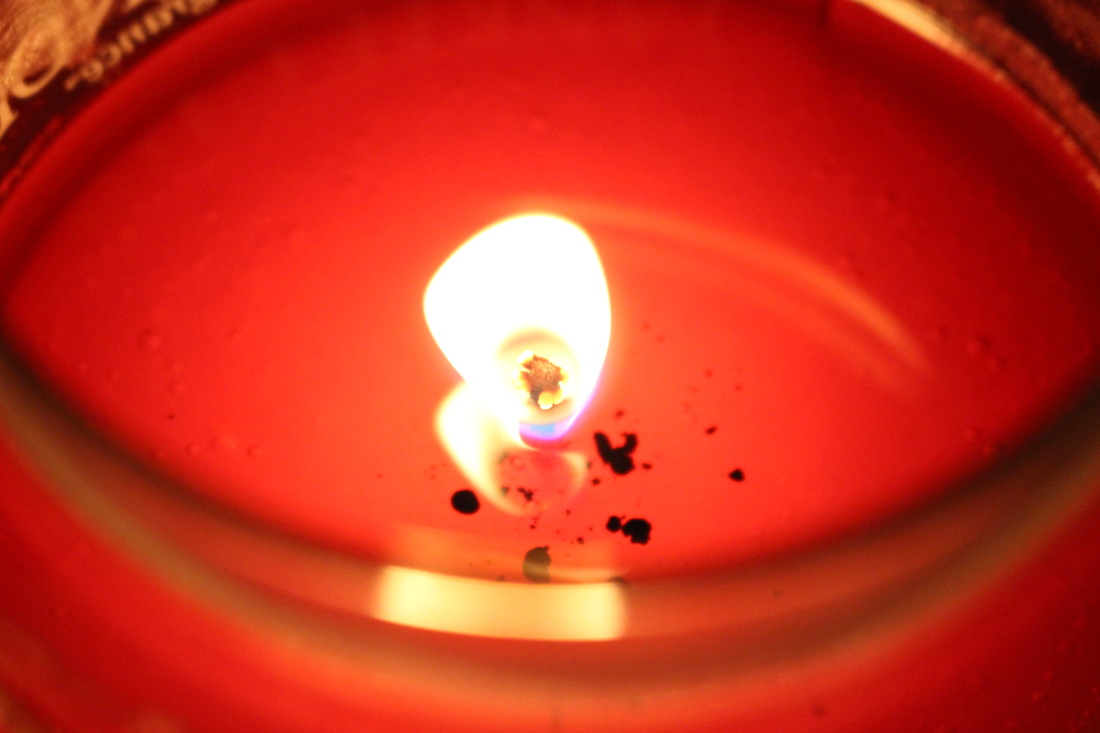
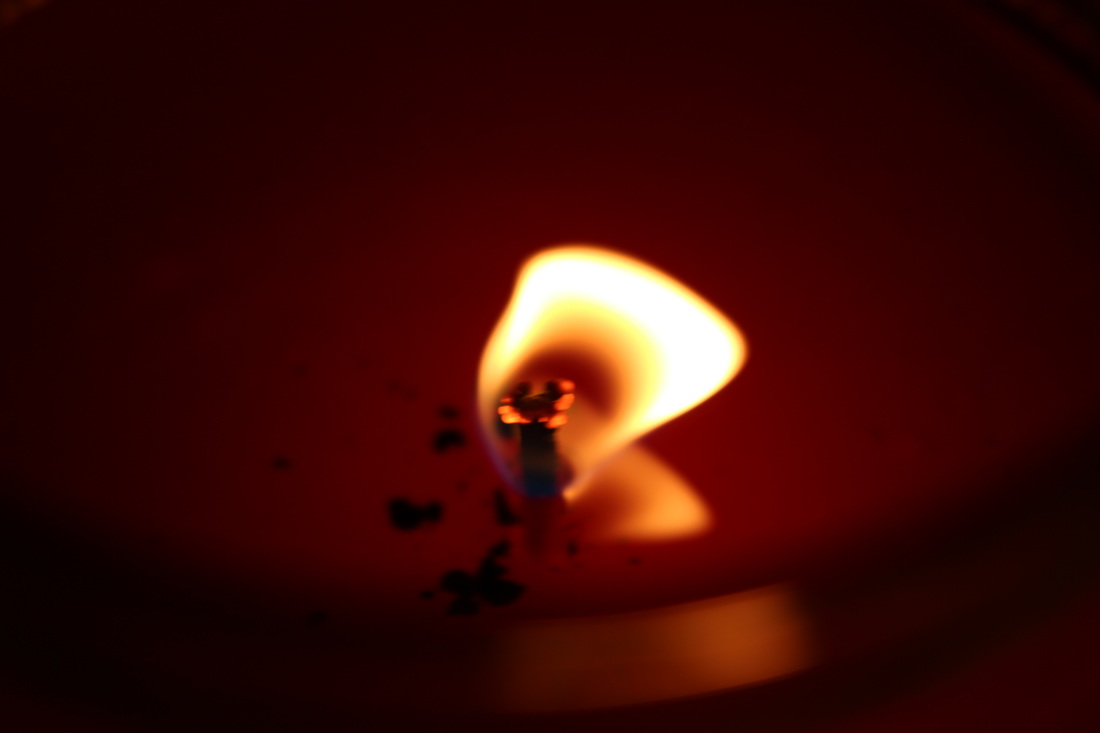
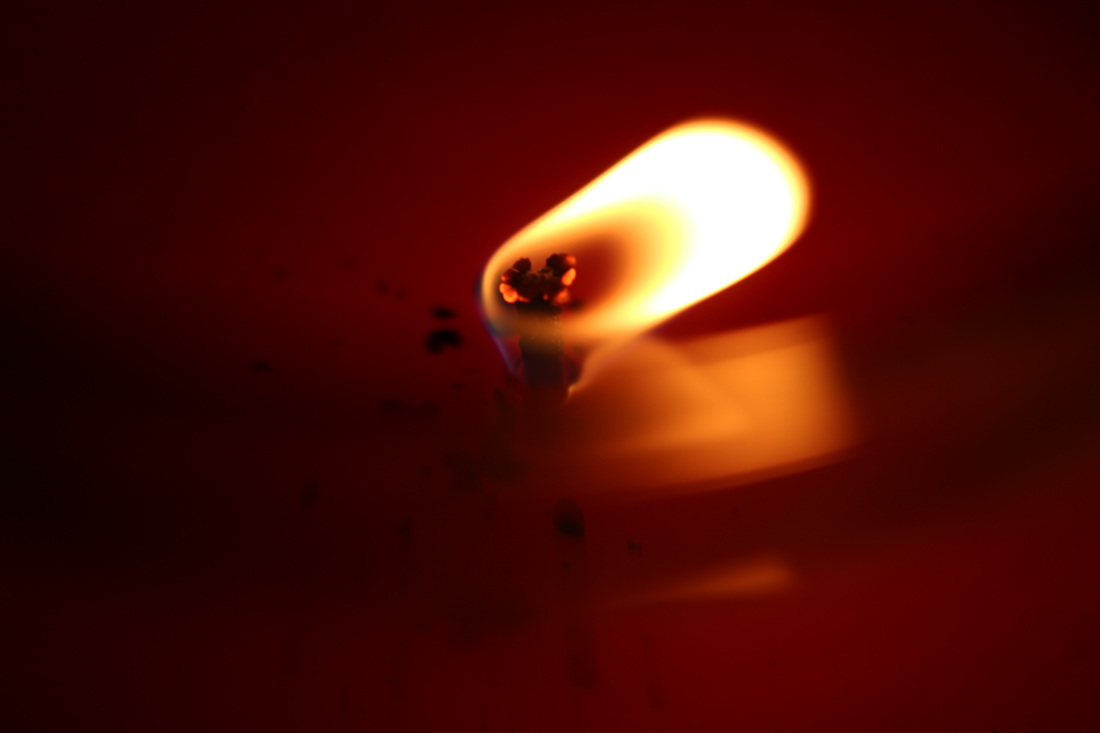
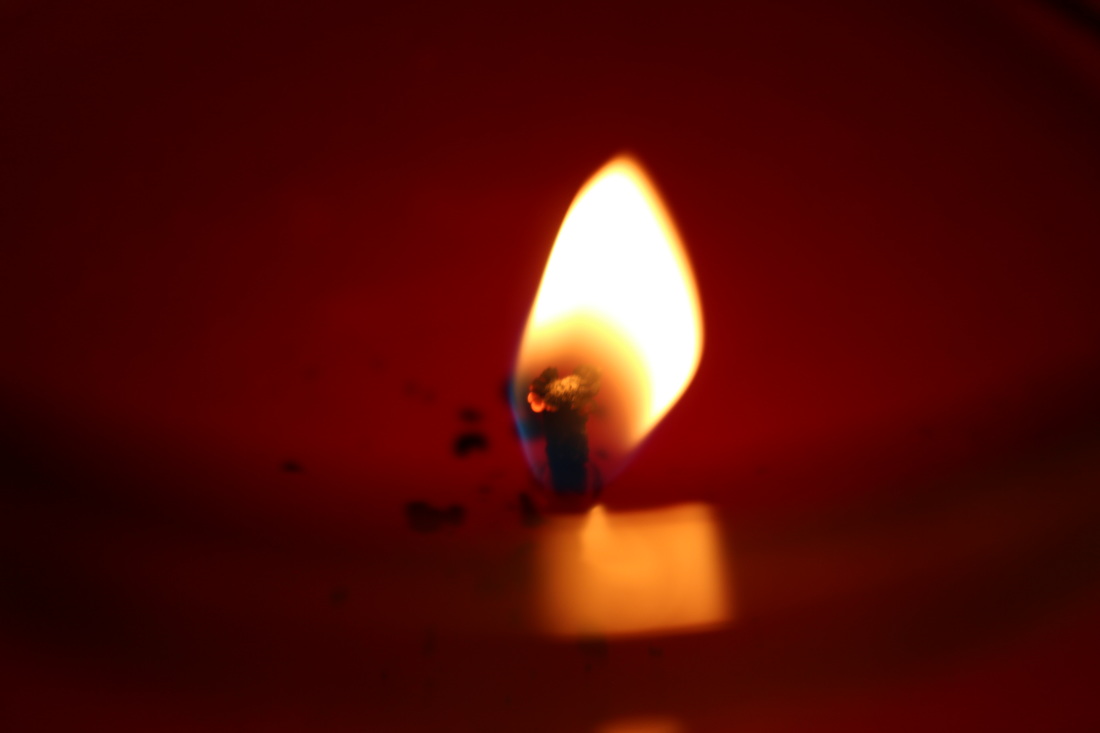
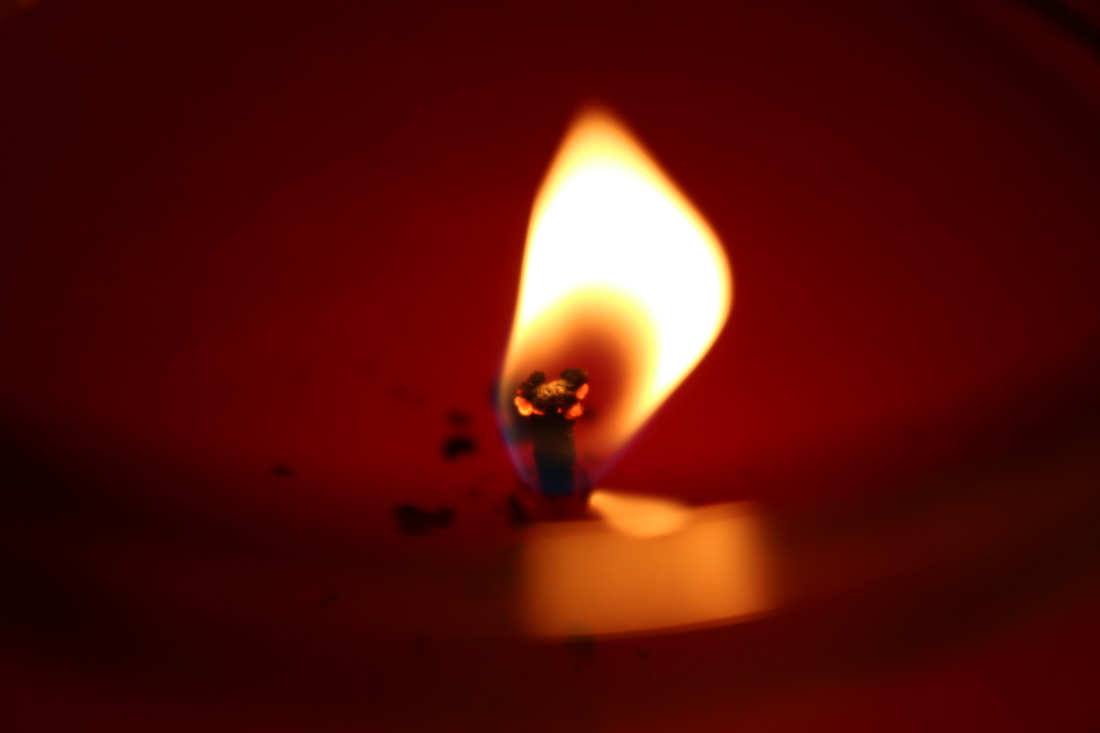
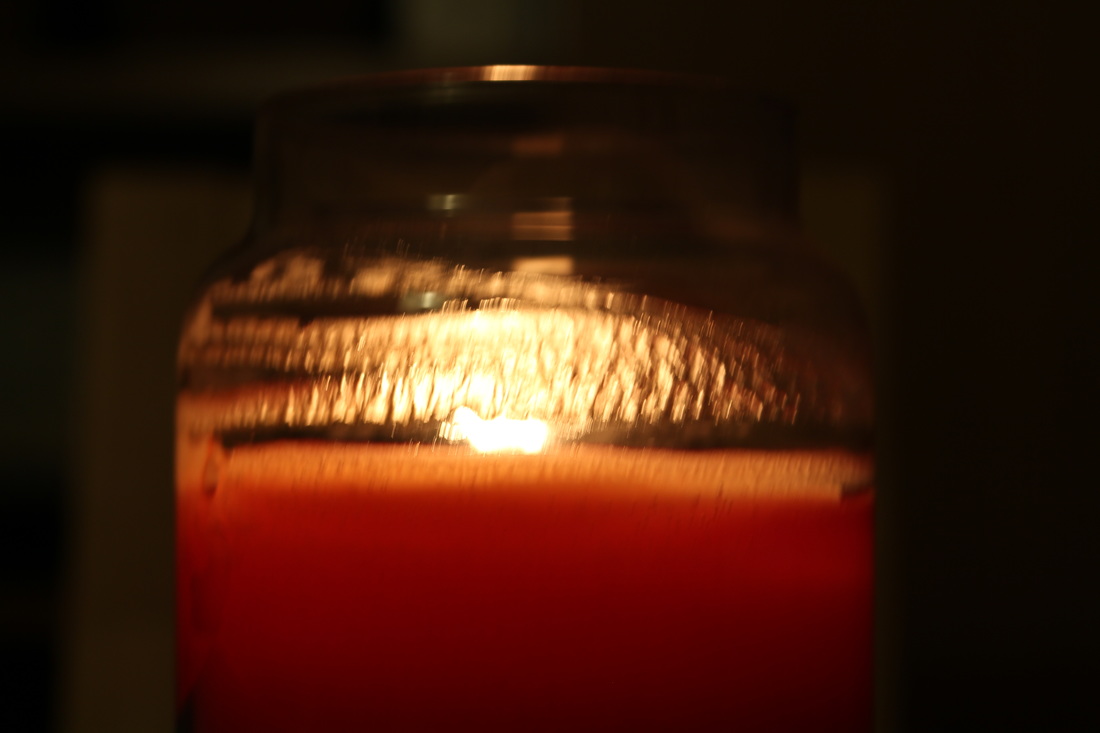
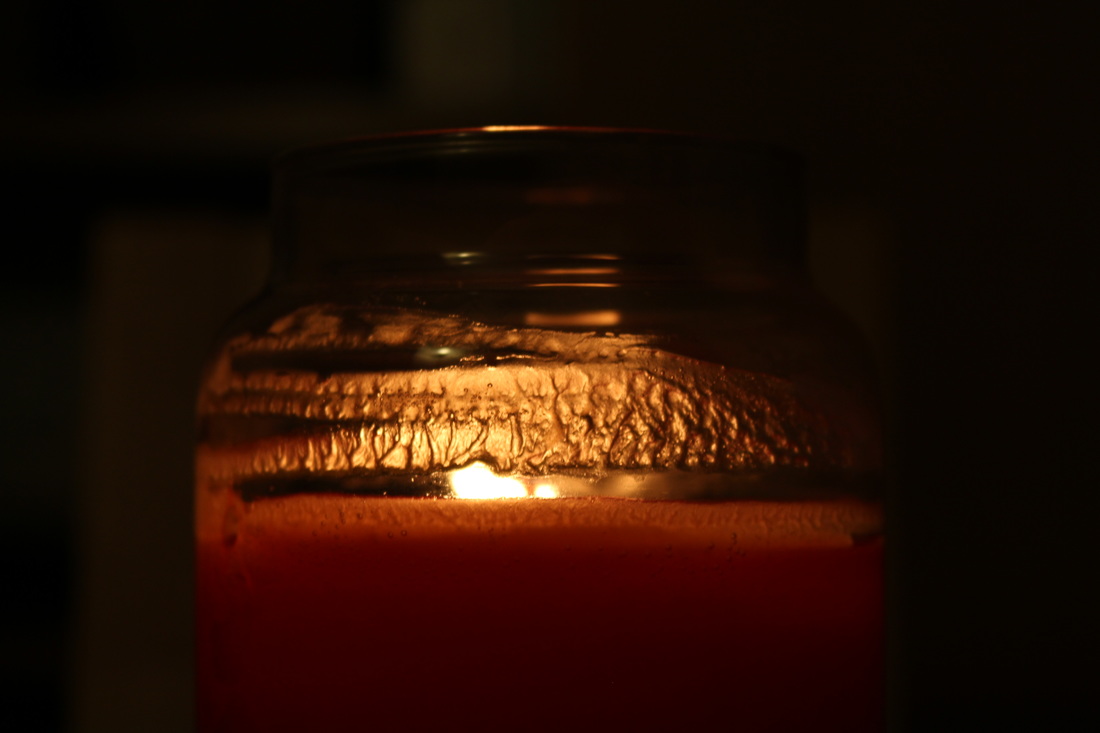
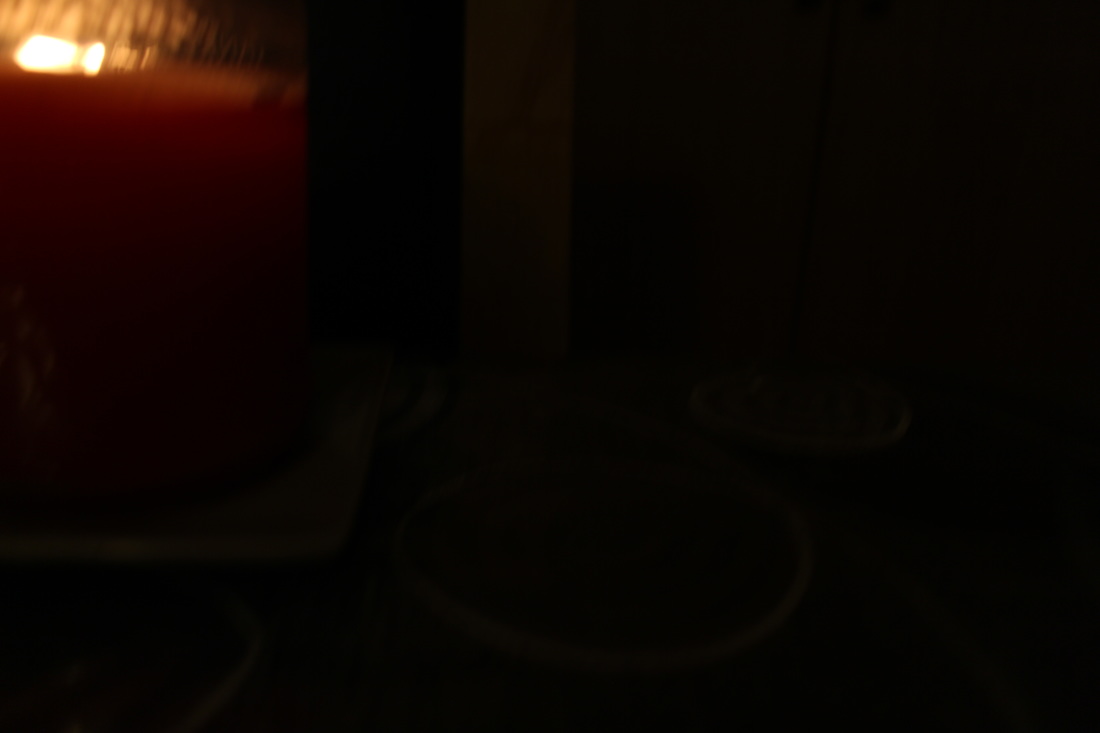
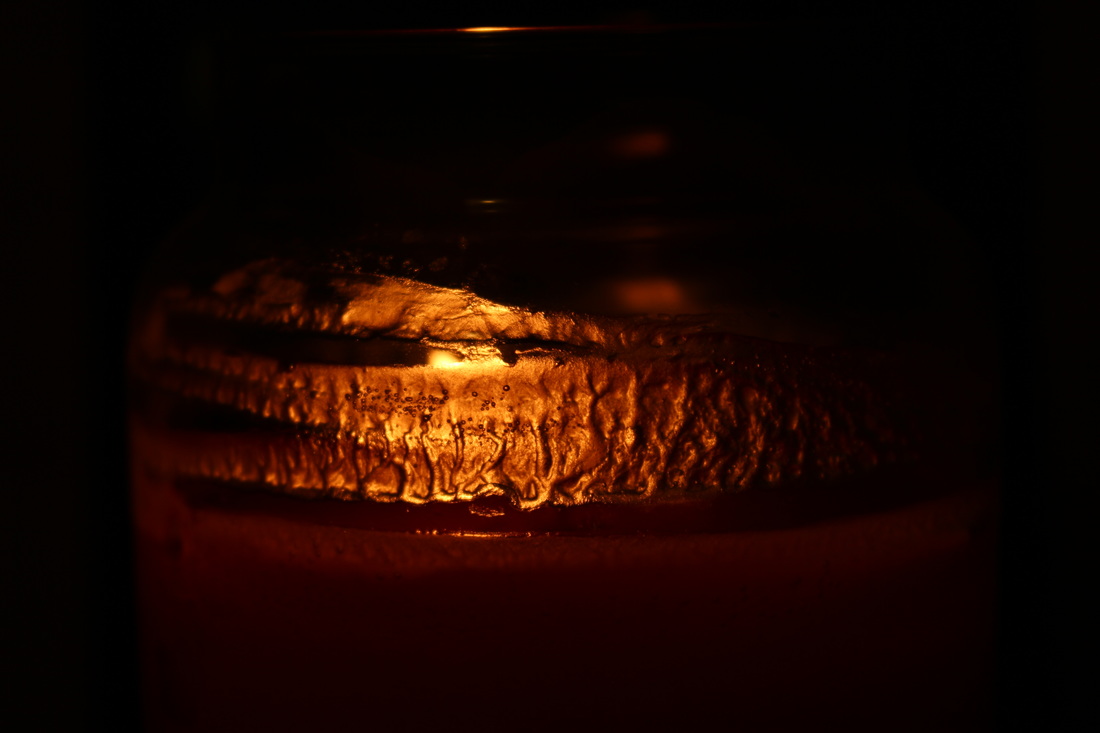
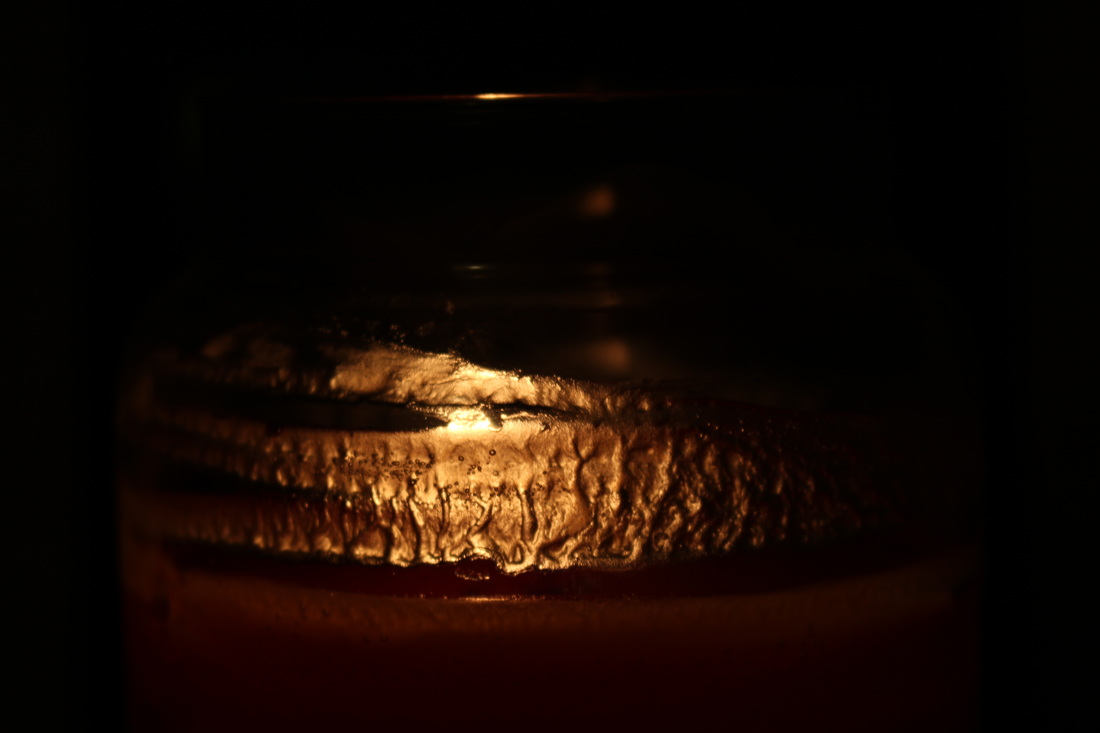
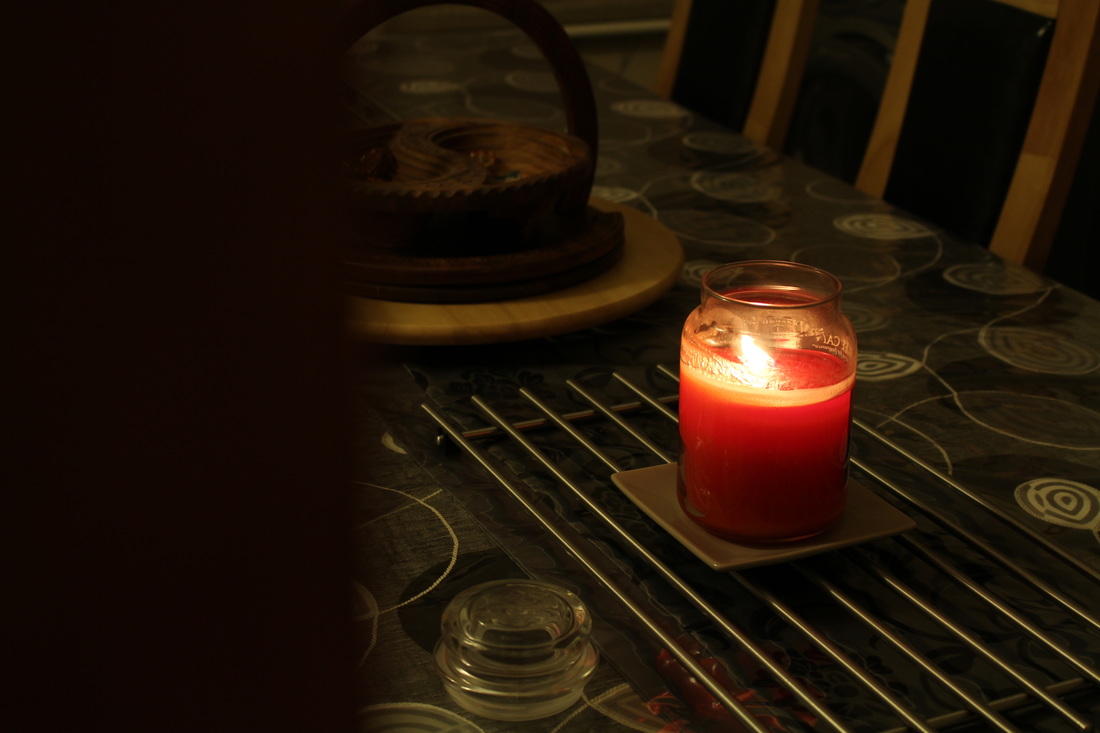
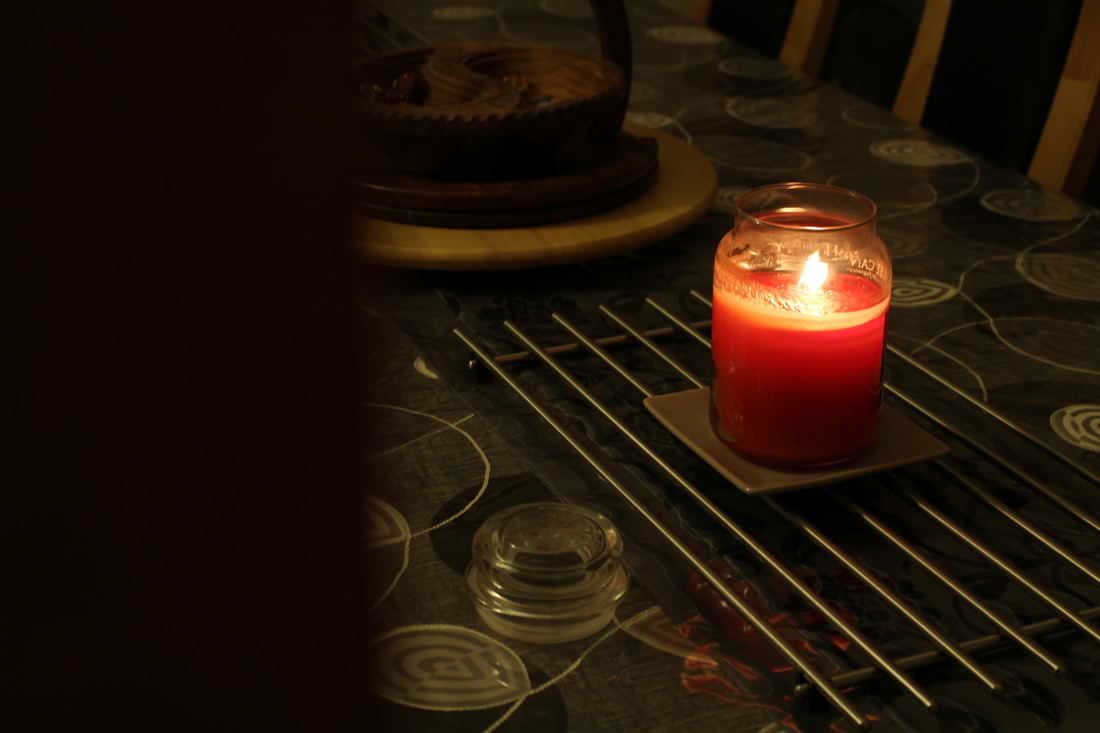
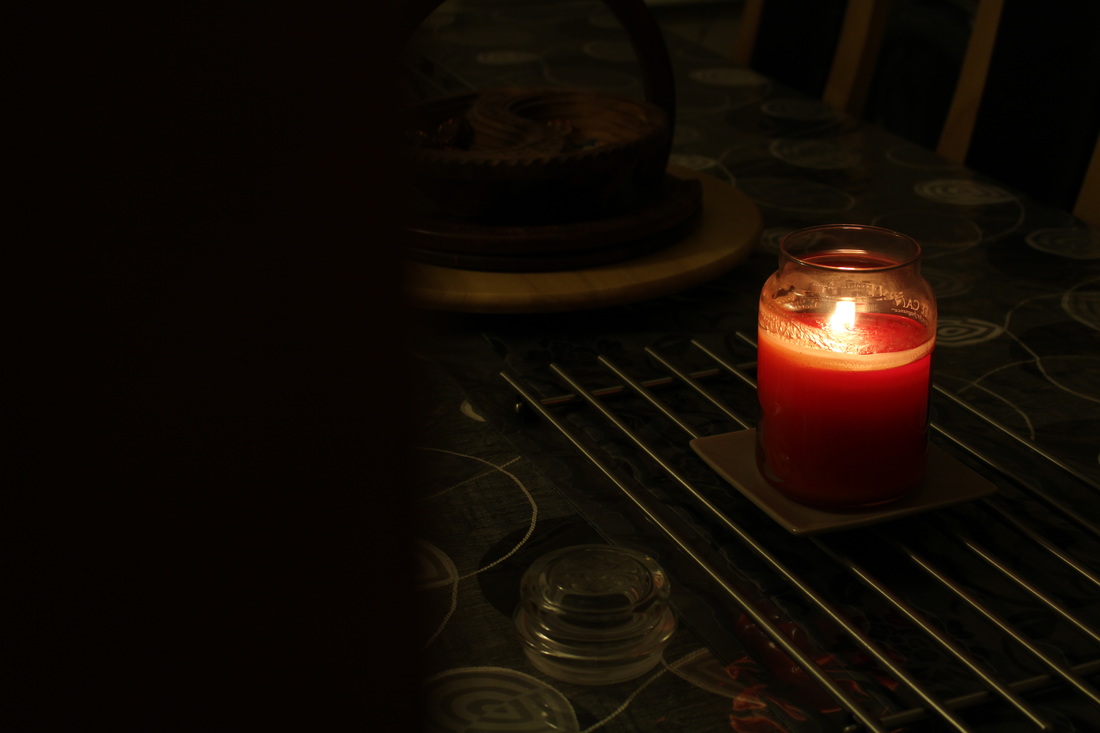
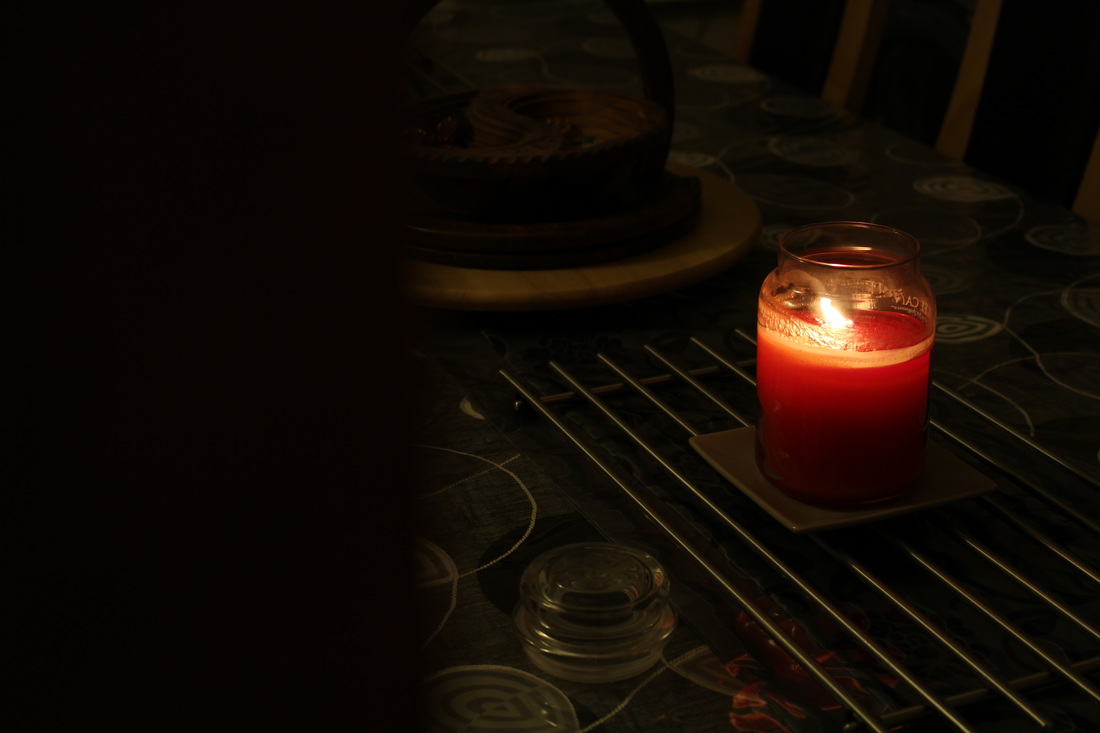
This would have been a nice photo however it fell into the weaker category of this shoot because the flame on the candle wick isn't visible. To fix this I could have used something to remove the excess wax around the edges which would've given a better picture overall. Other than that the camera settings (ISO, aperture, white balance, etc) was perfectly fine.
|
Shoot Two: Combining Part 1 and 2 (Editing Process)


Plan for Shoot Four
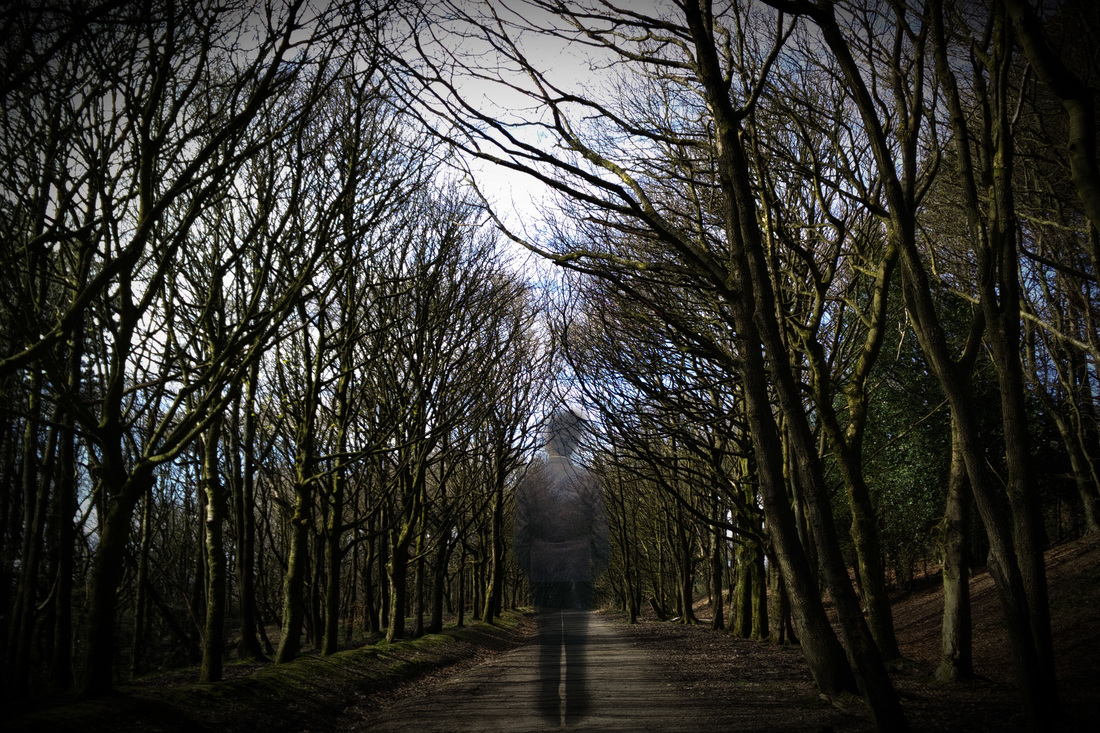
In this shoot I would like to work in the style of another photographer that I have spoken about. I will be working in the style of Martin Stranka. Below is an example that I'll be replicating.
Shoot Four:


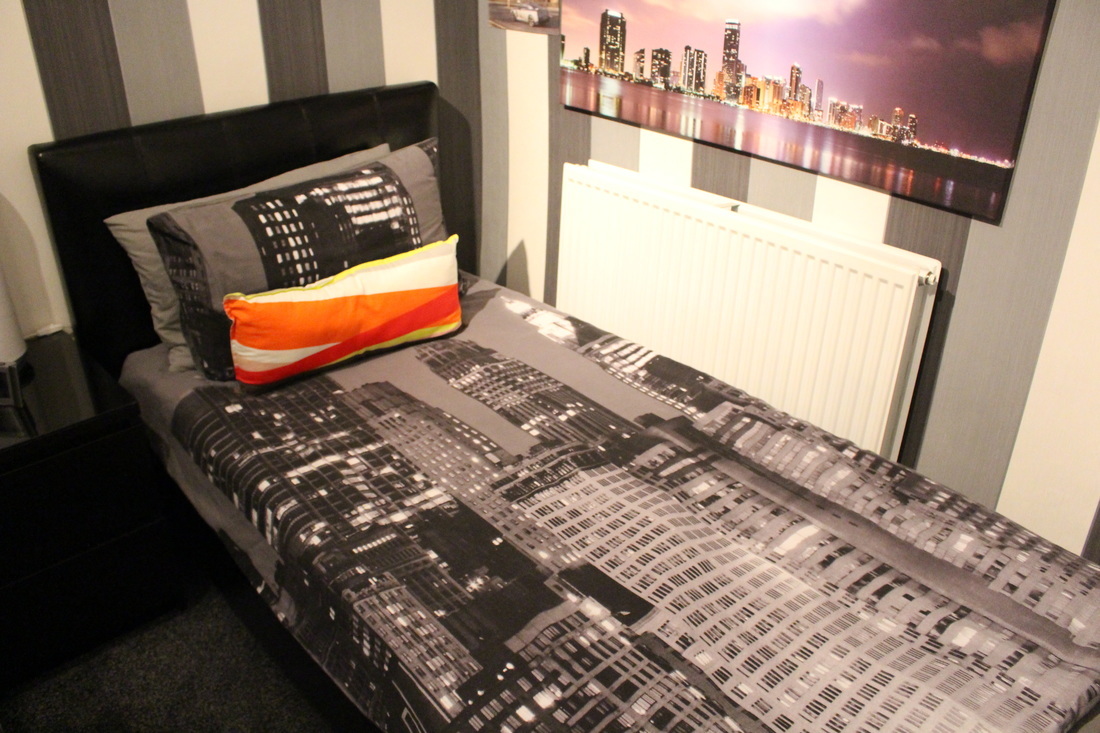
Shoot Five
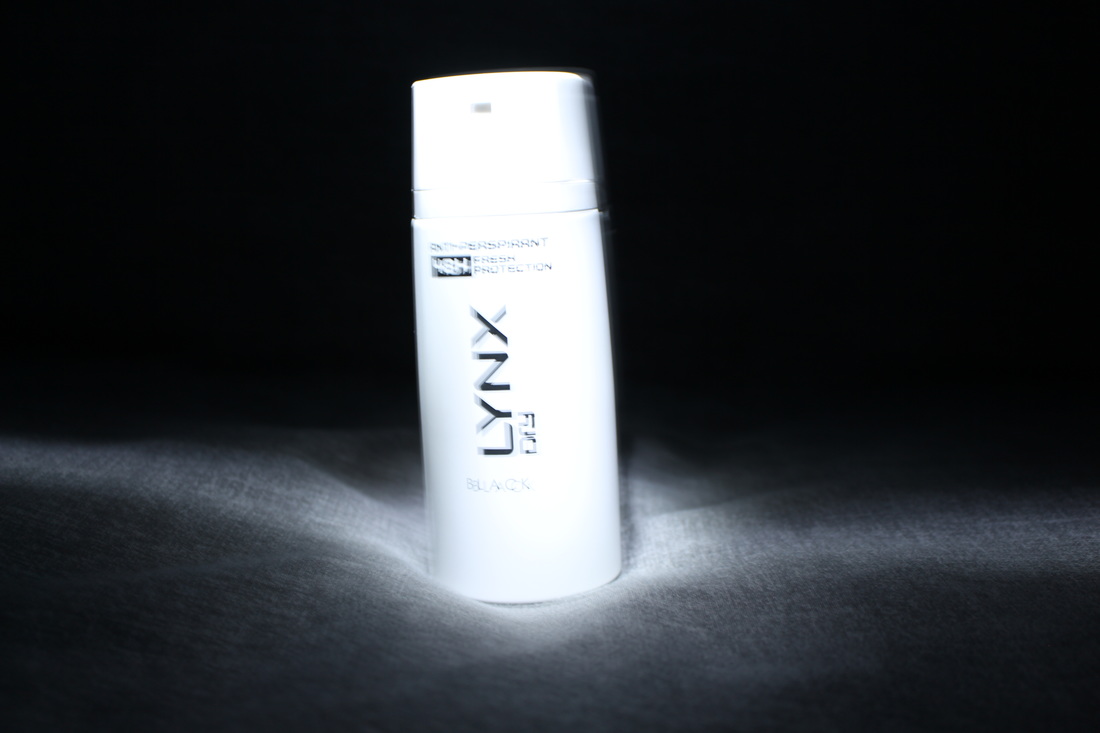
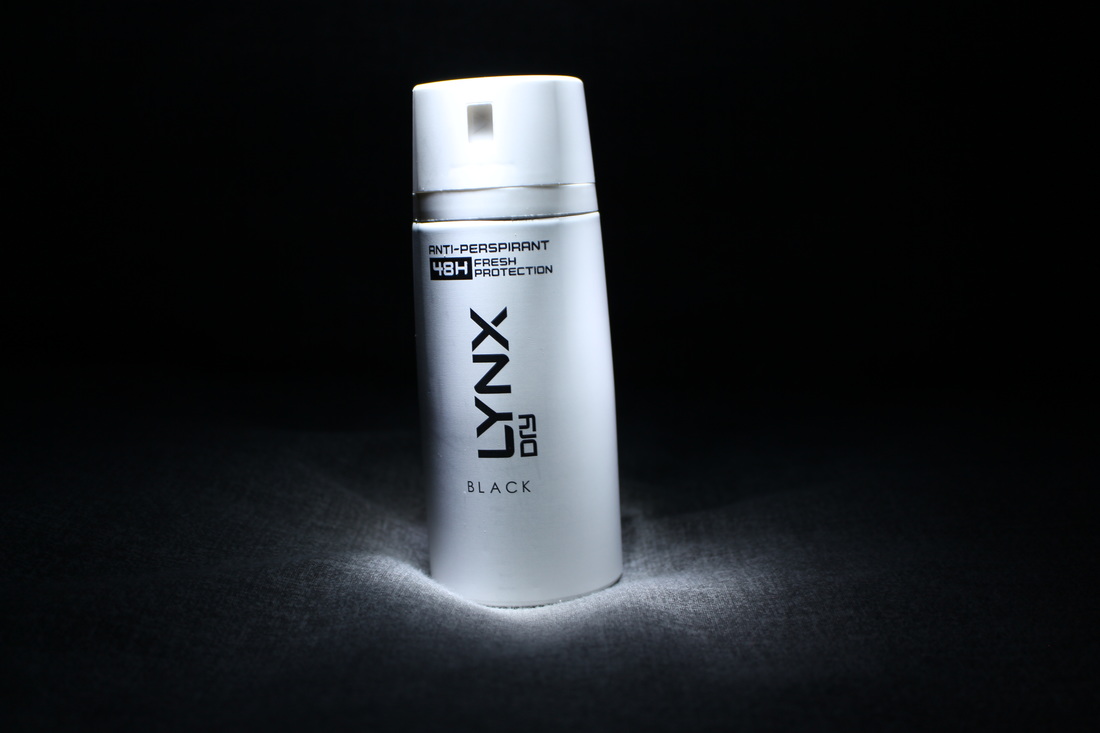
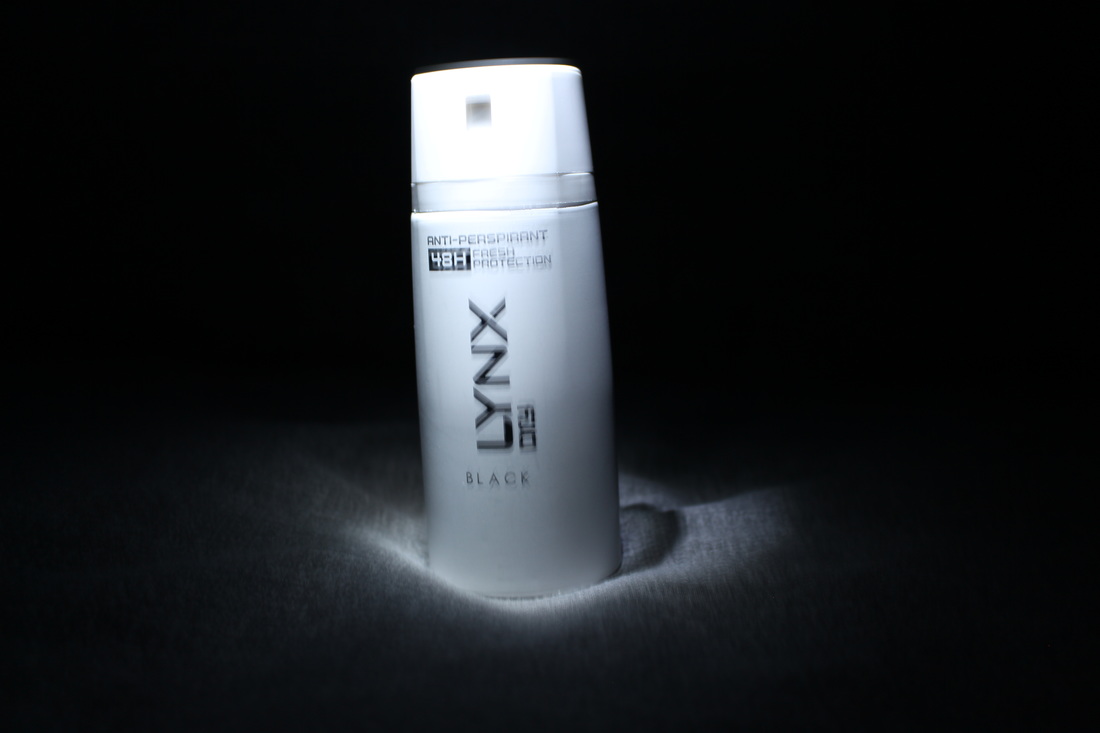

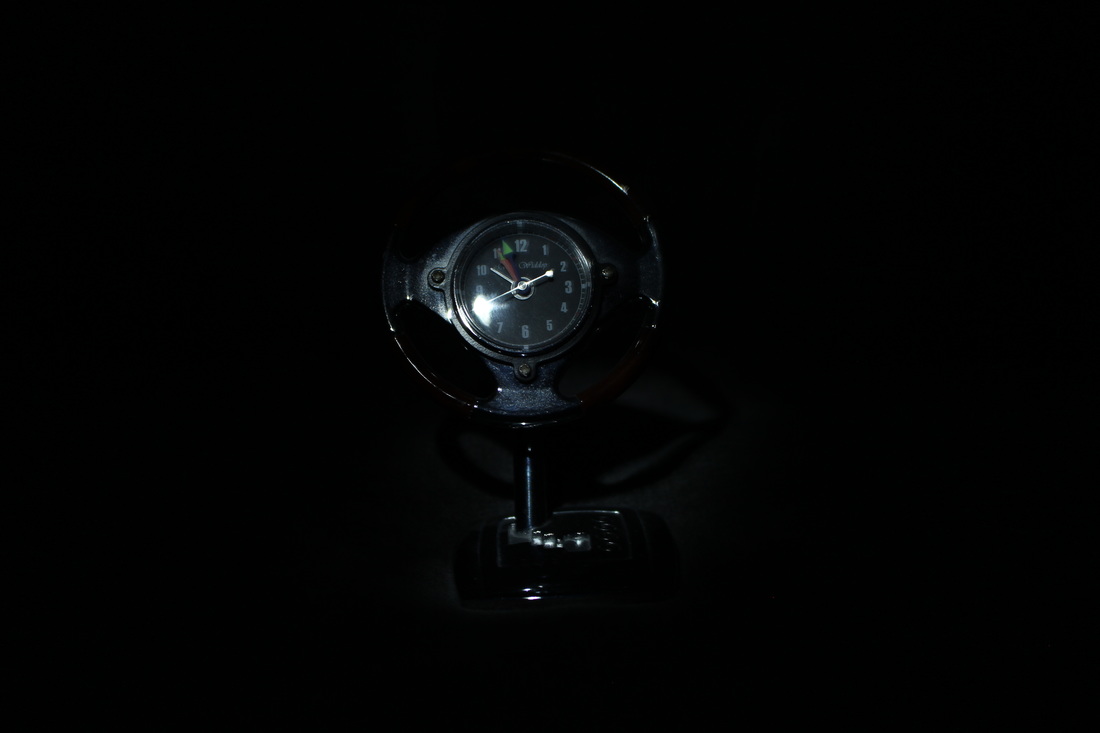
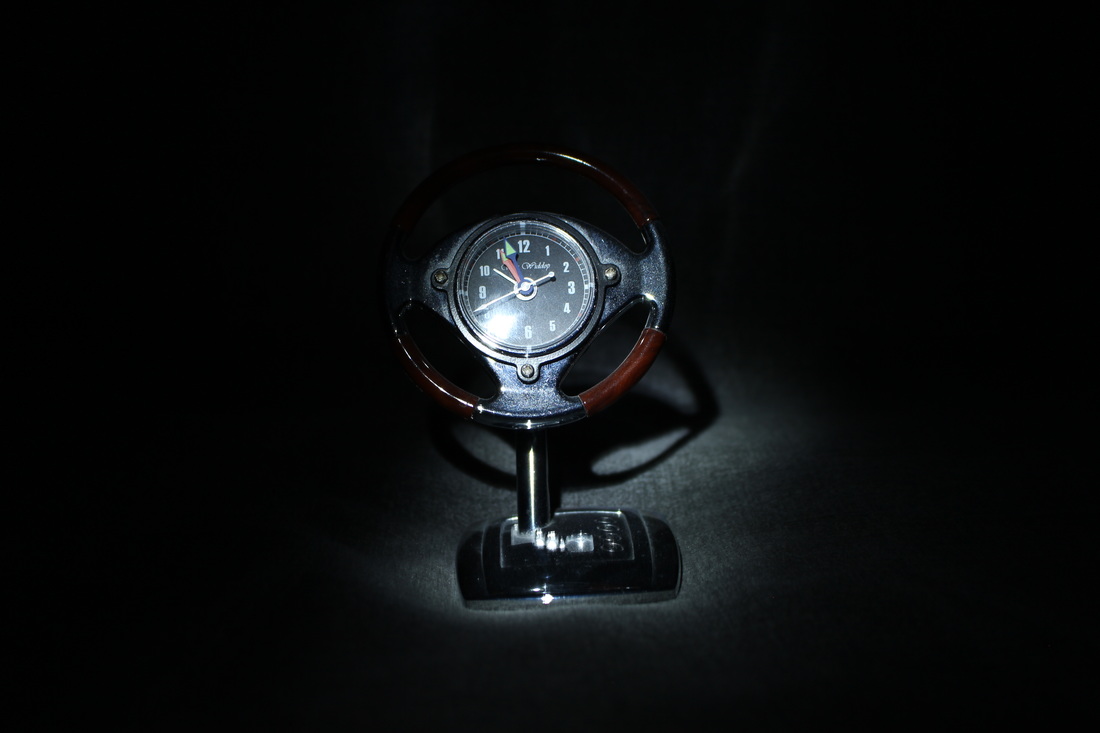
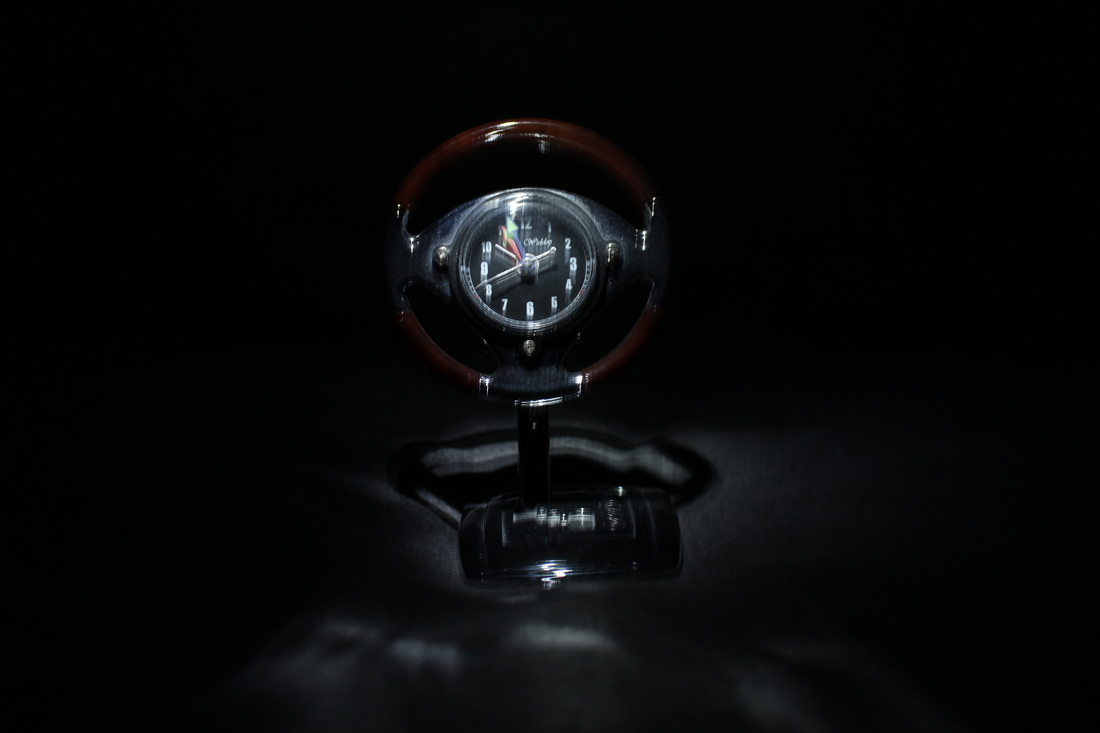
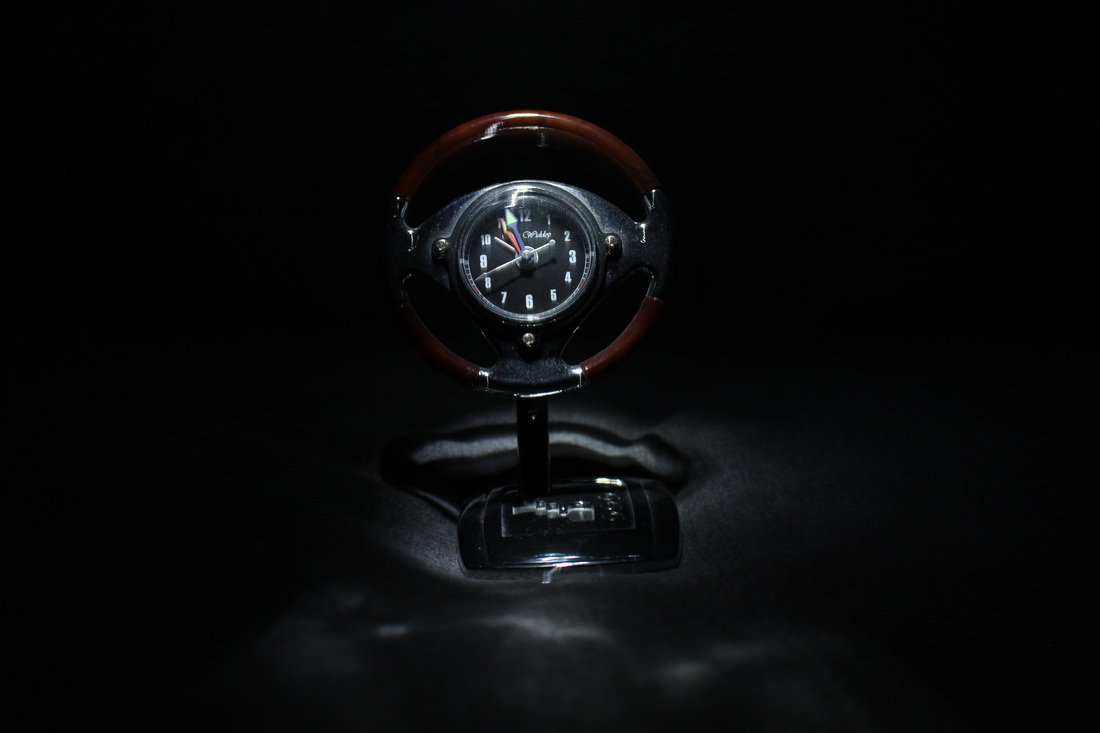


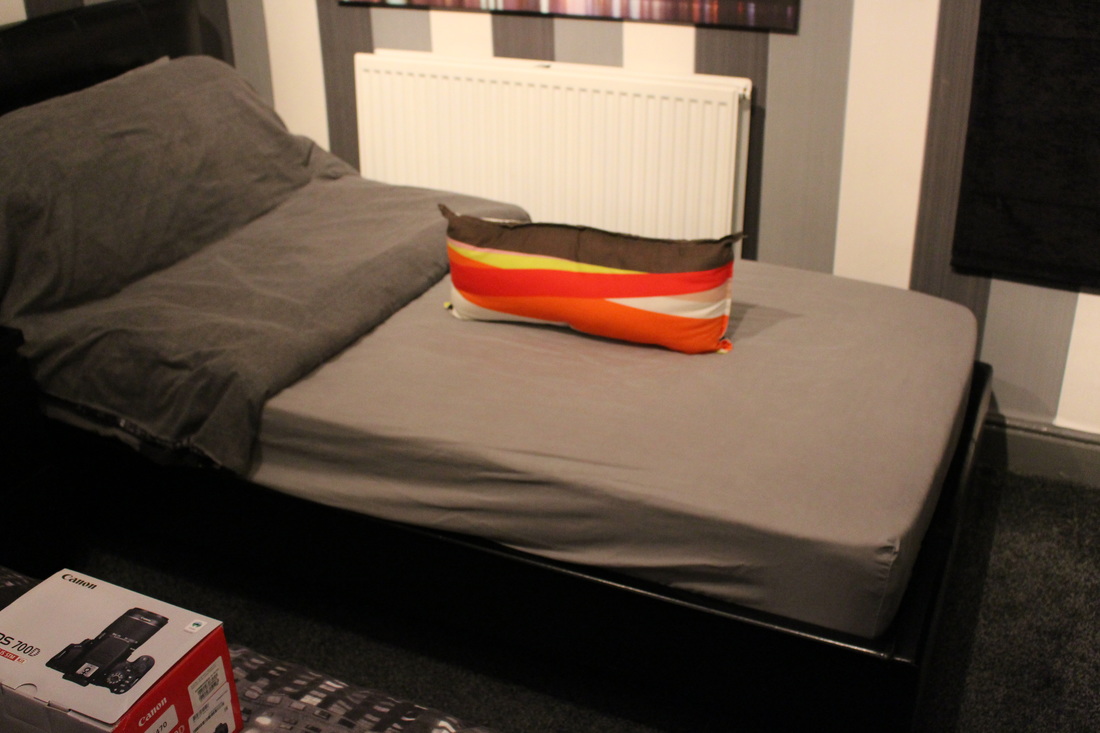
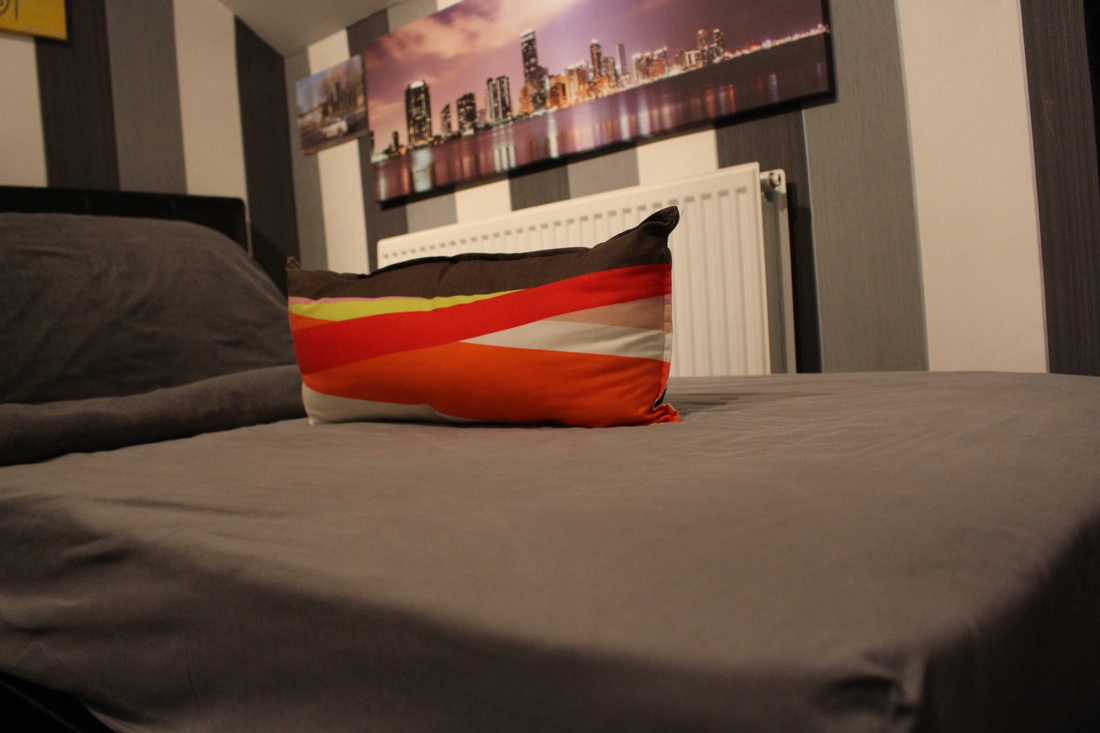
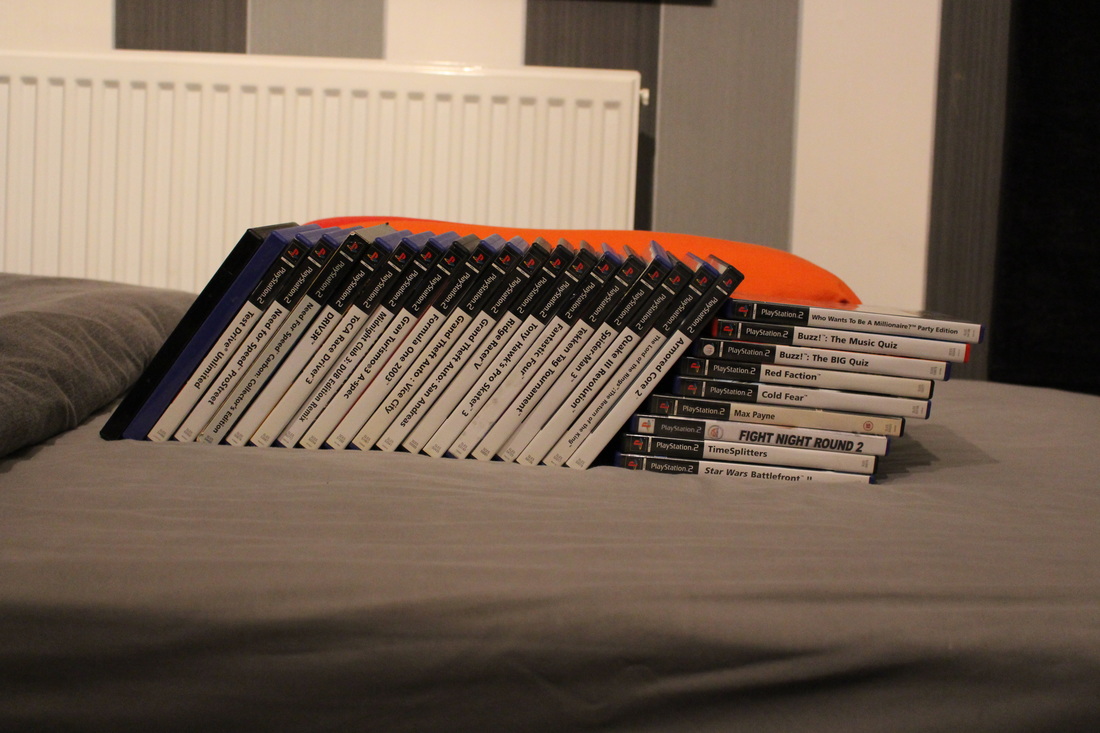
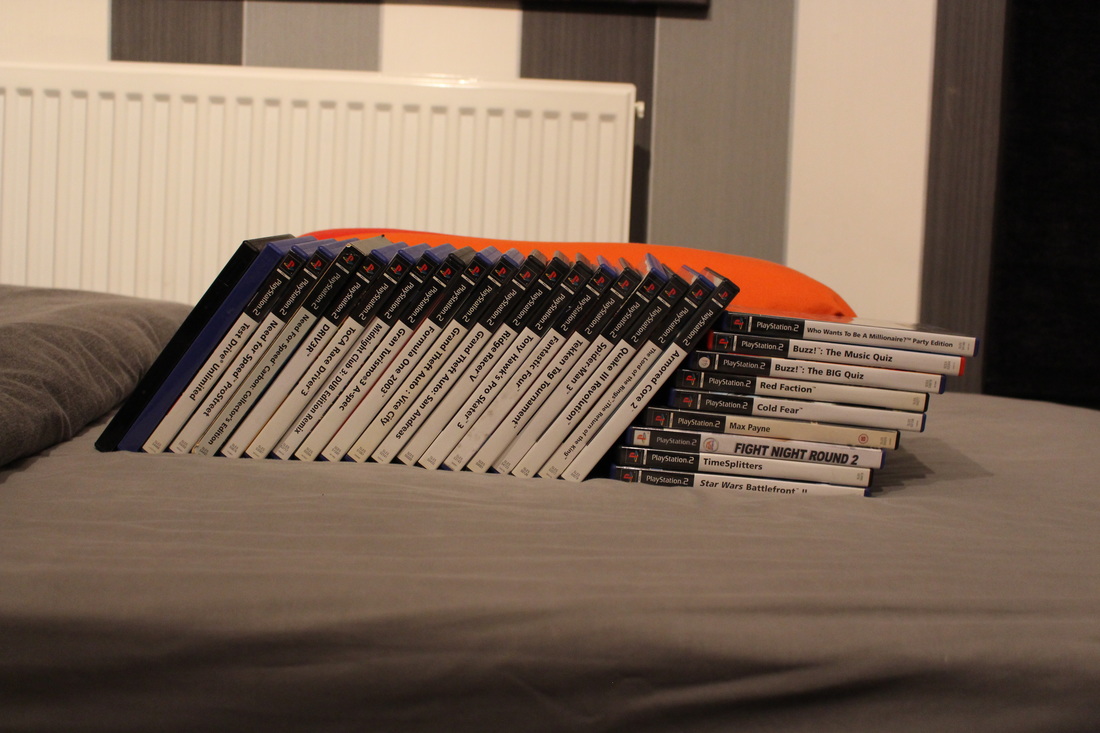
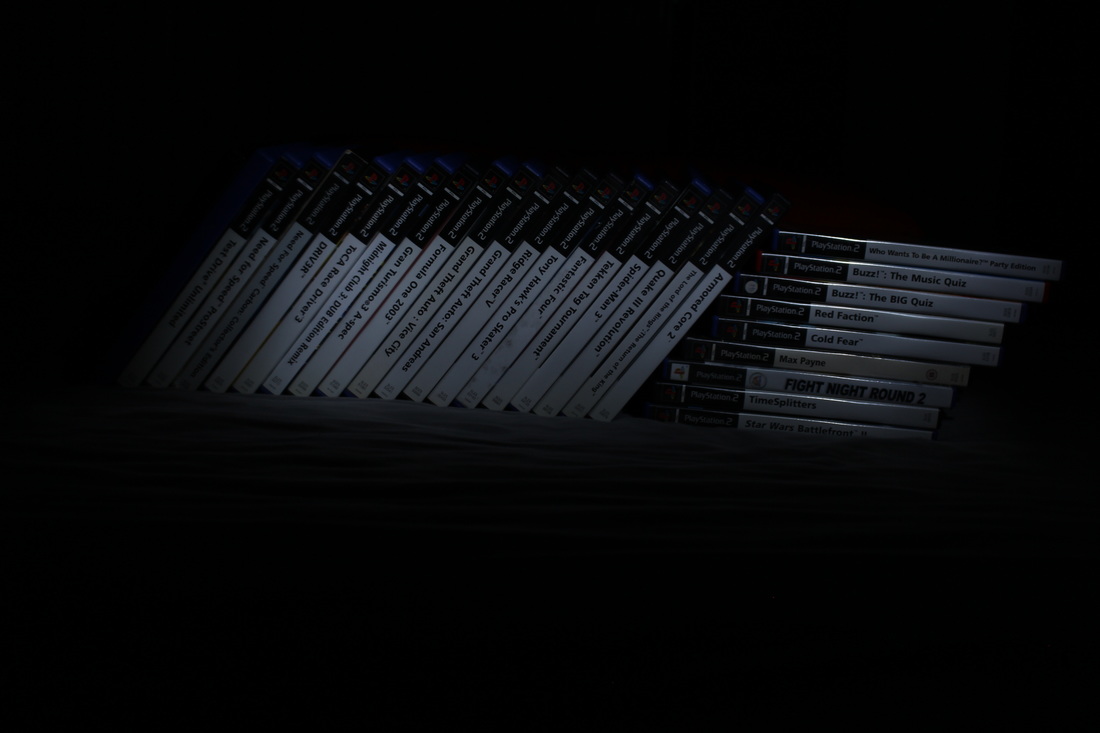
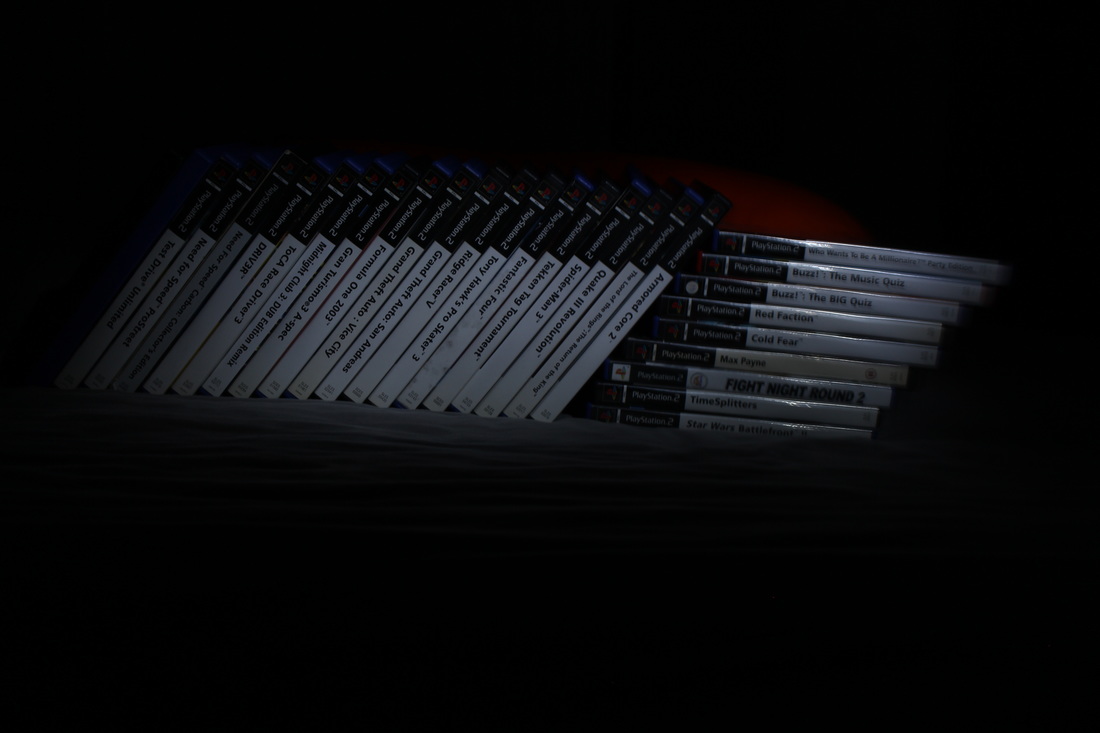
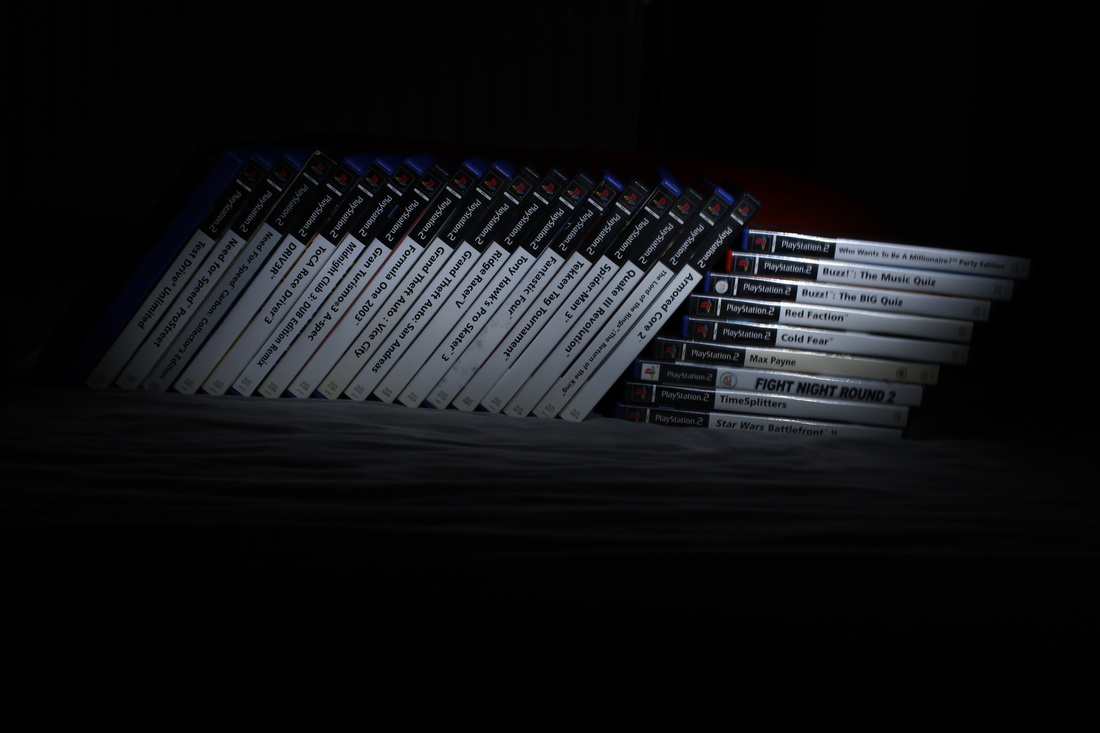
Photography & Editing Process:
|
|
|
|
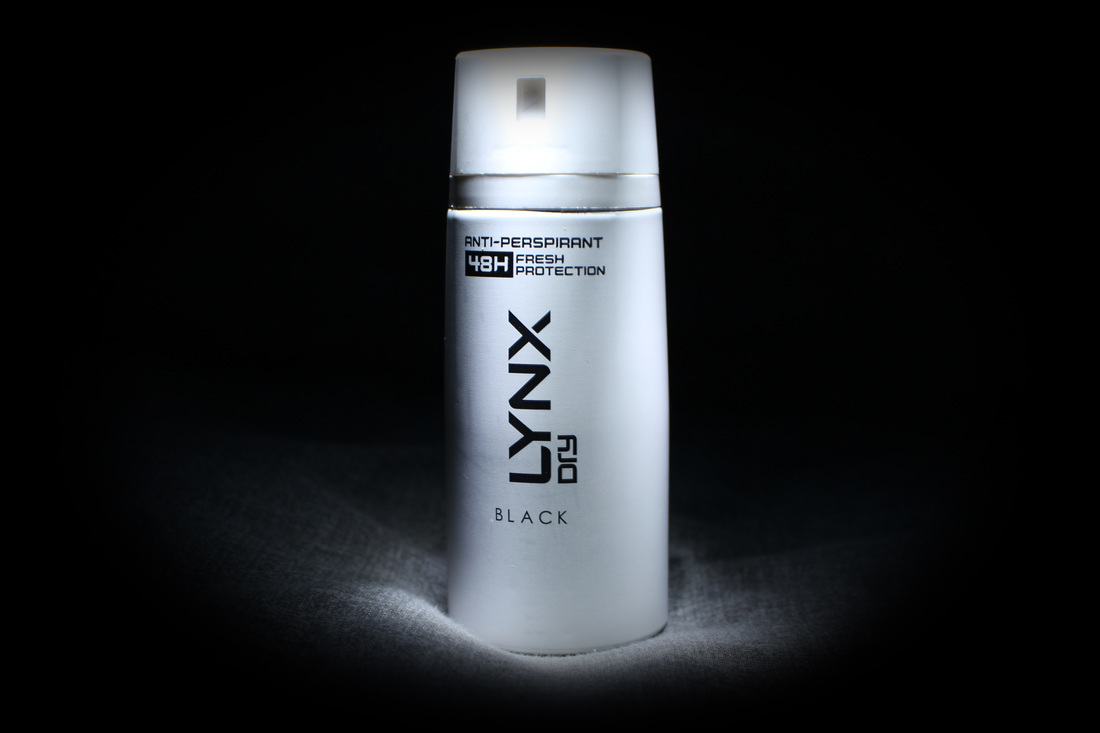
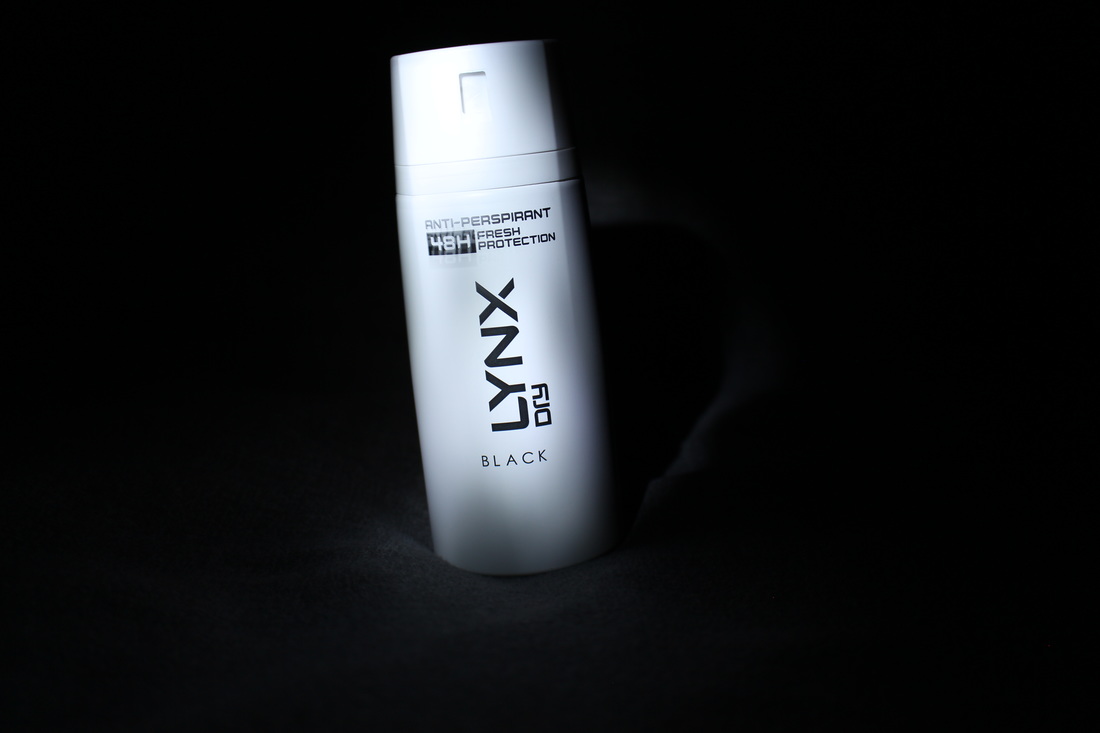
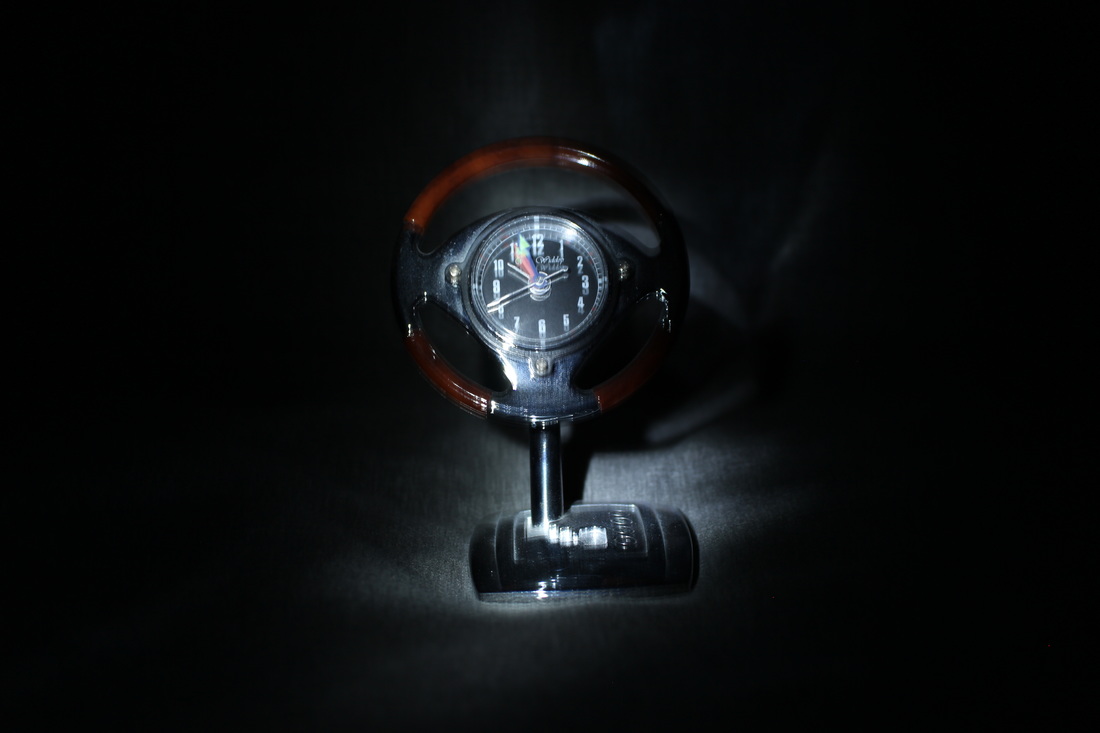
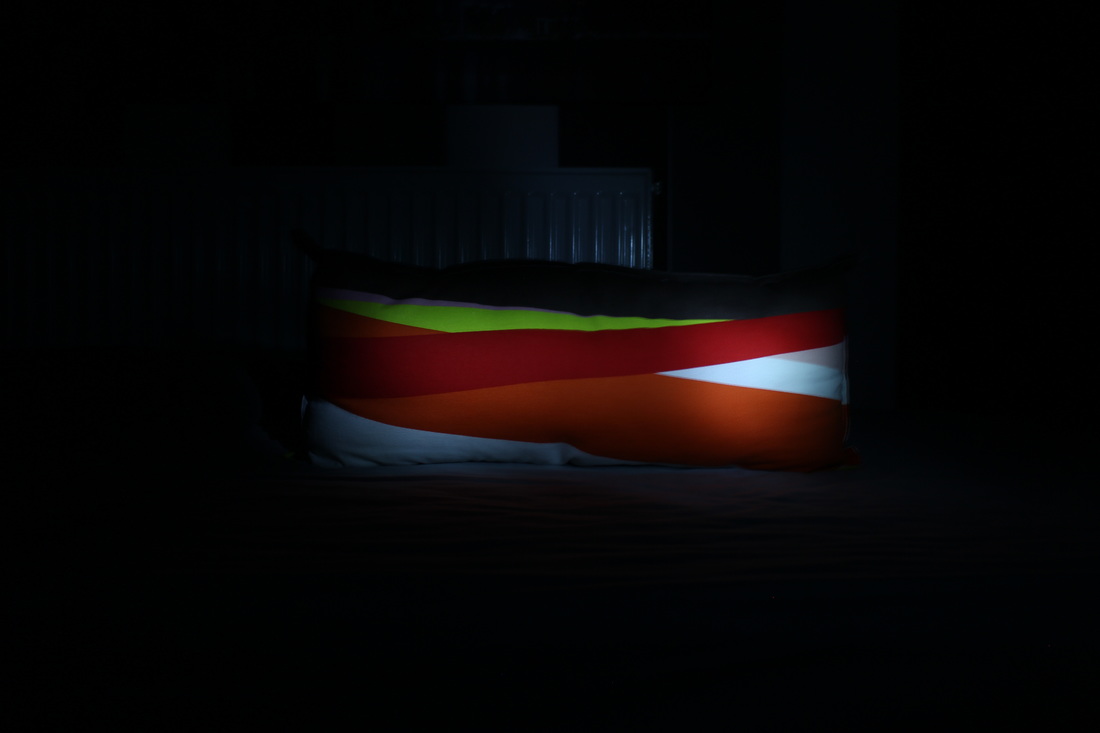
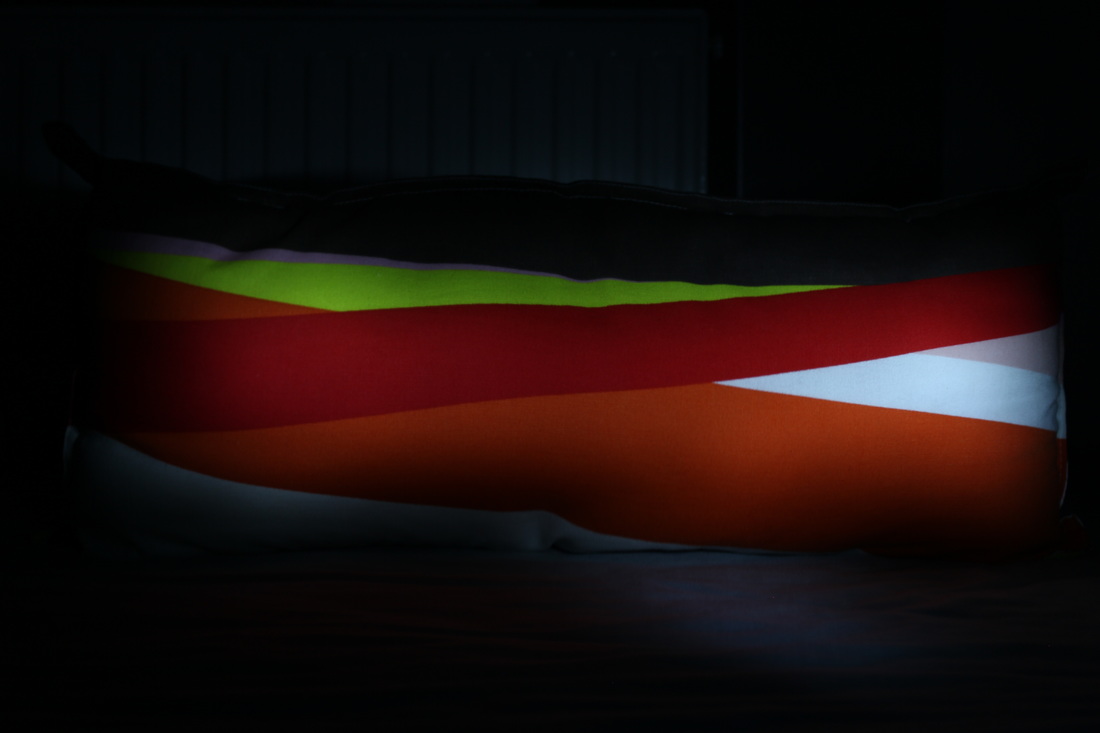
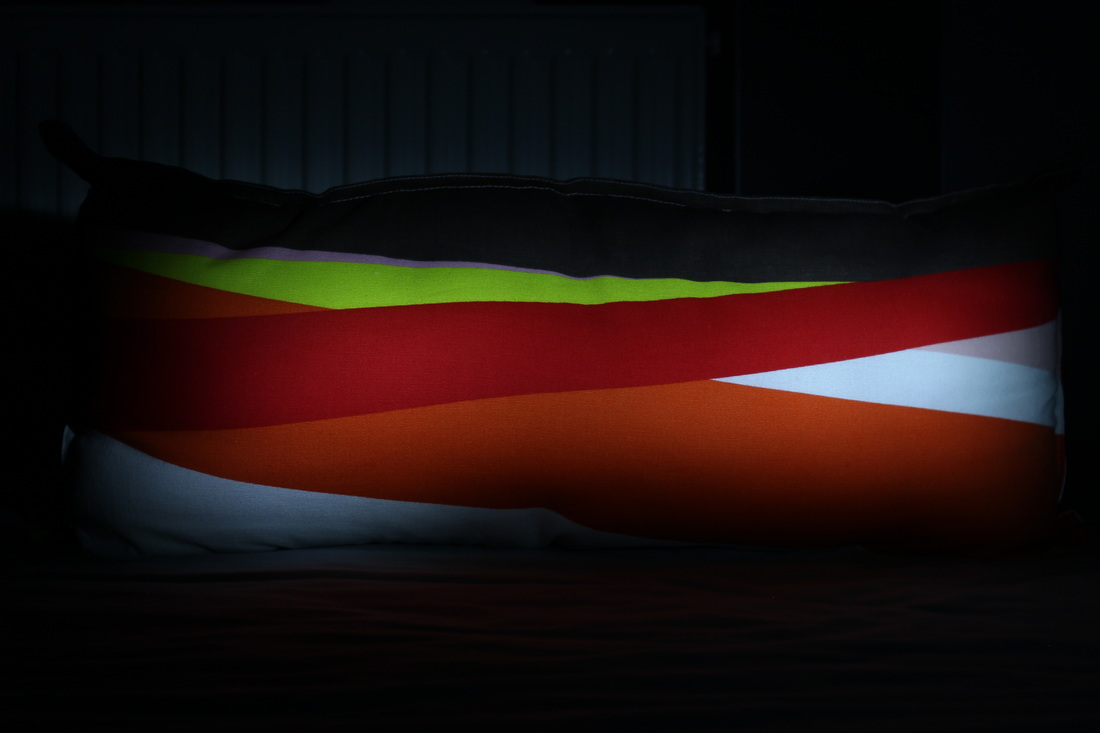
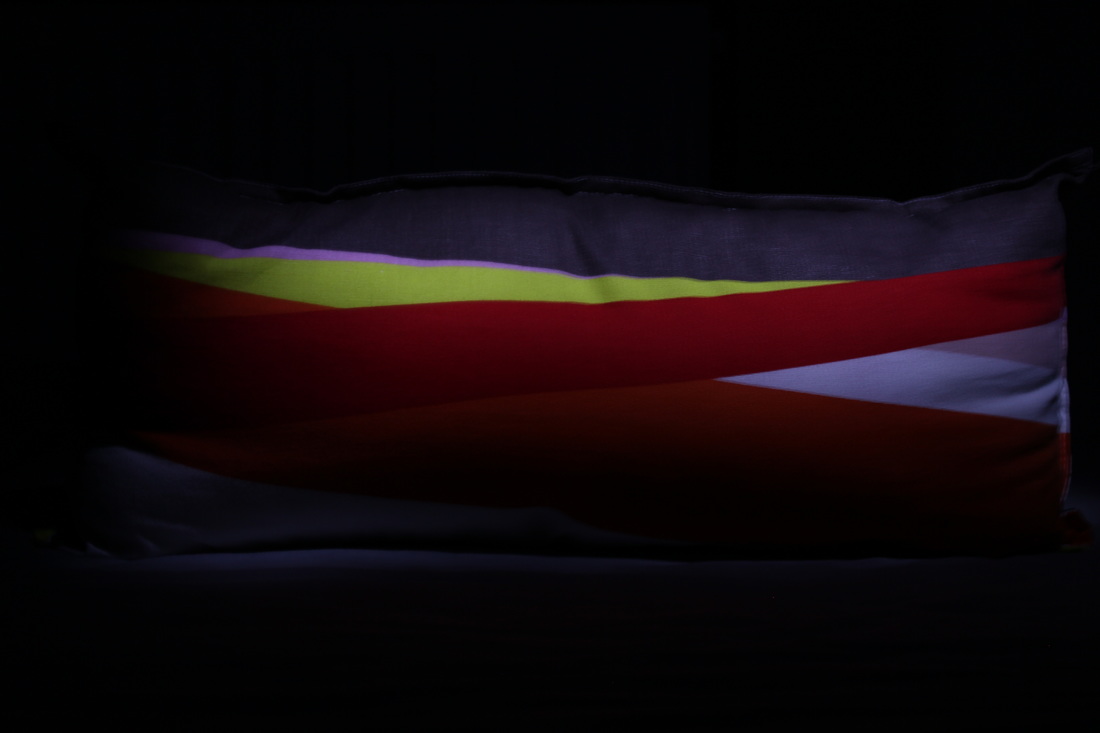
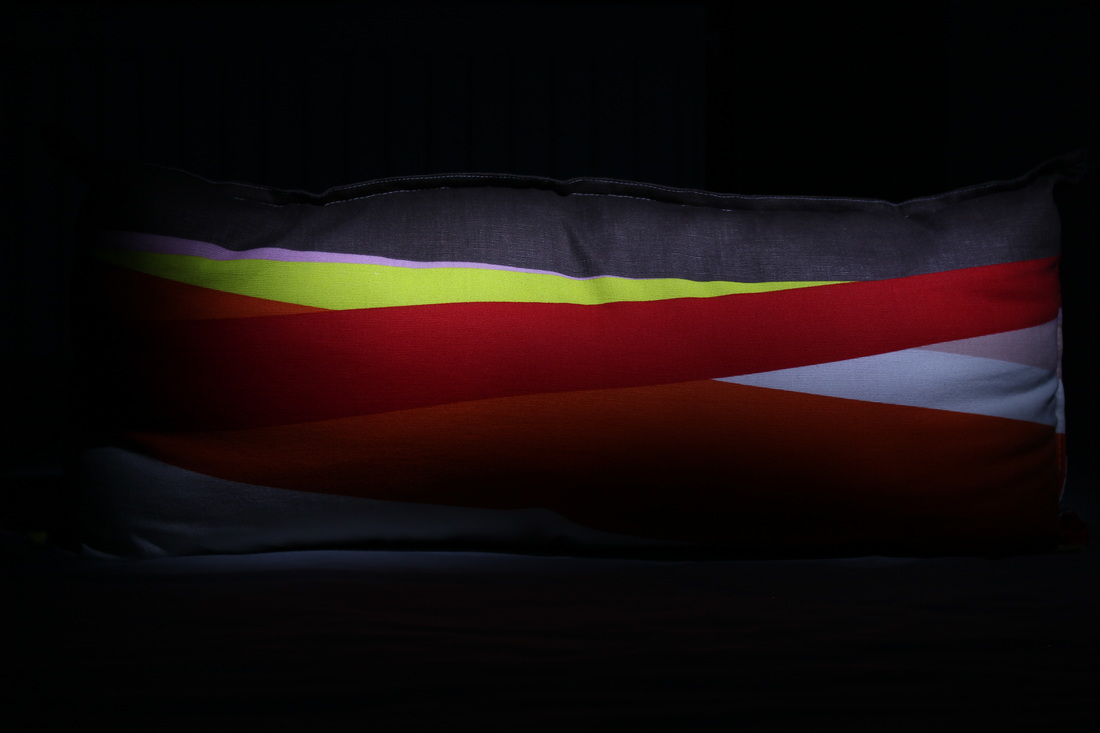
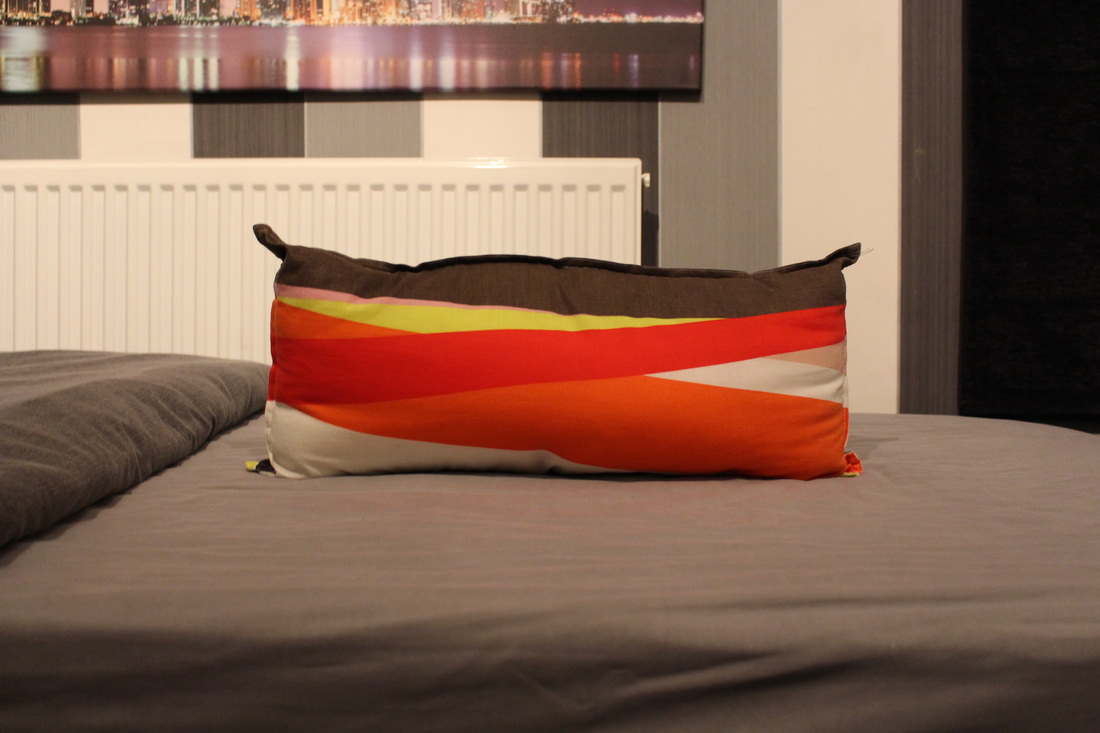
My Best and Worst Photographs from Shoot Five
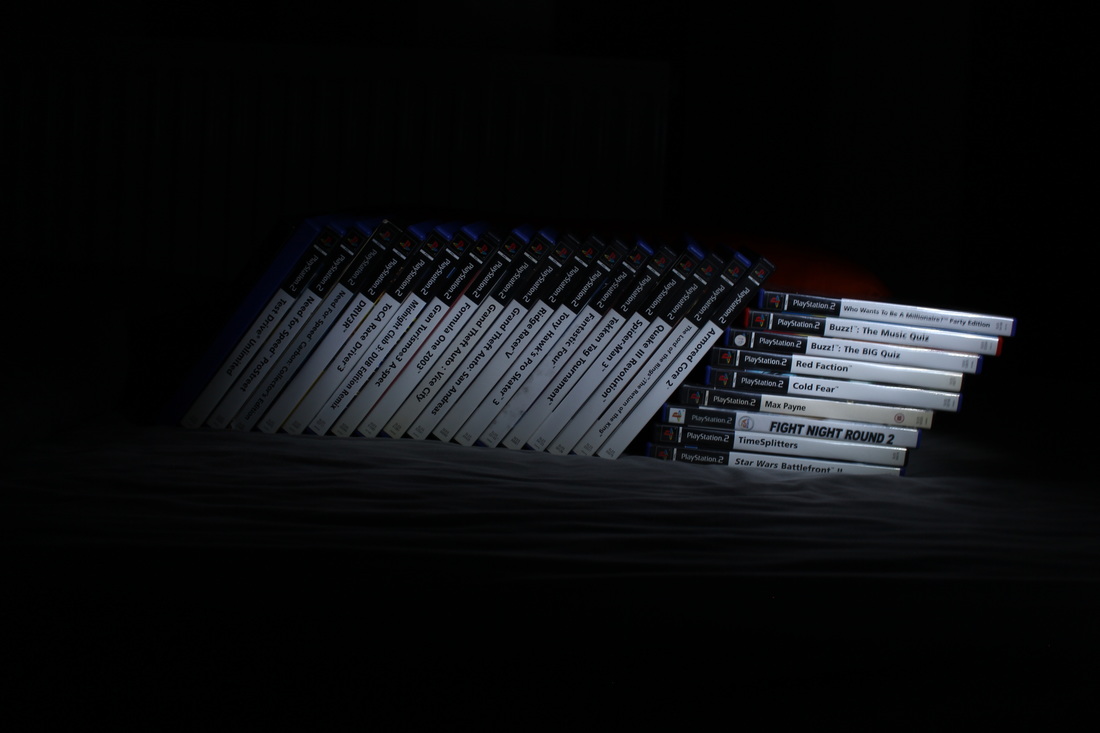
Best

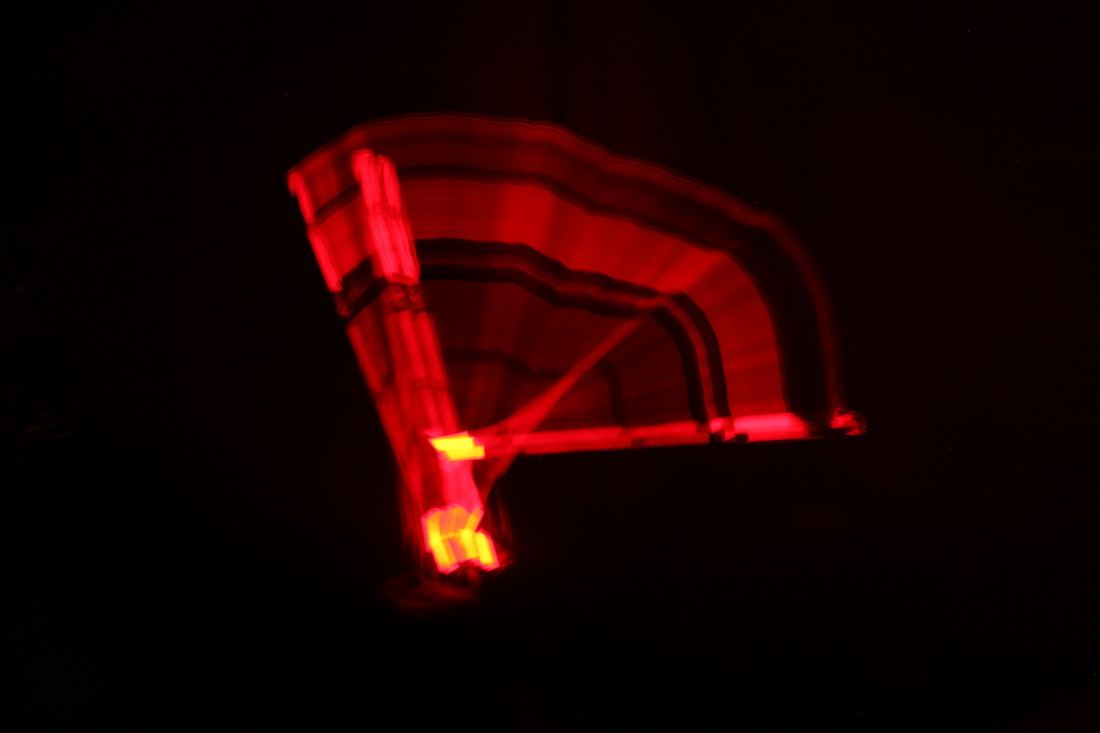
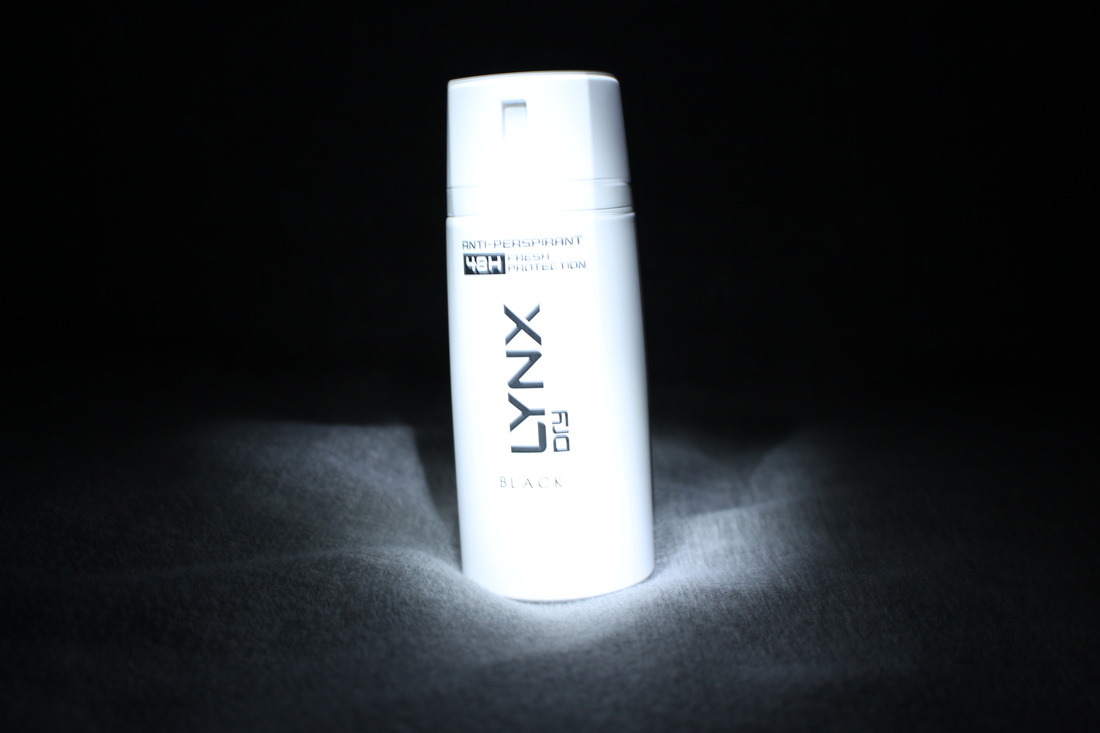
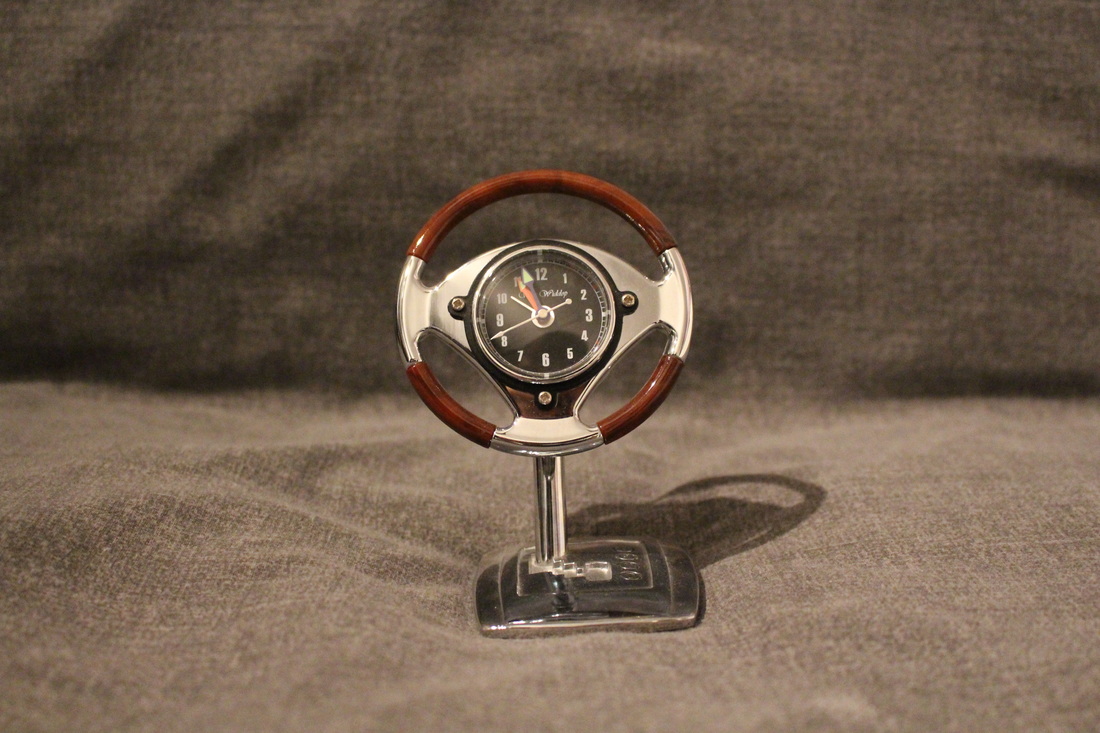
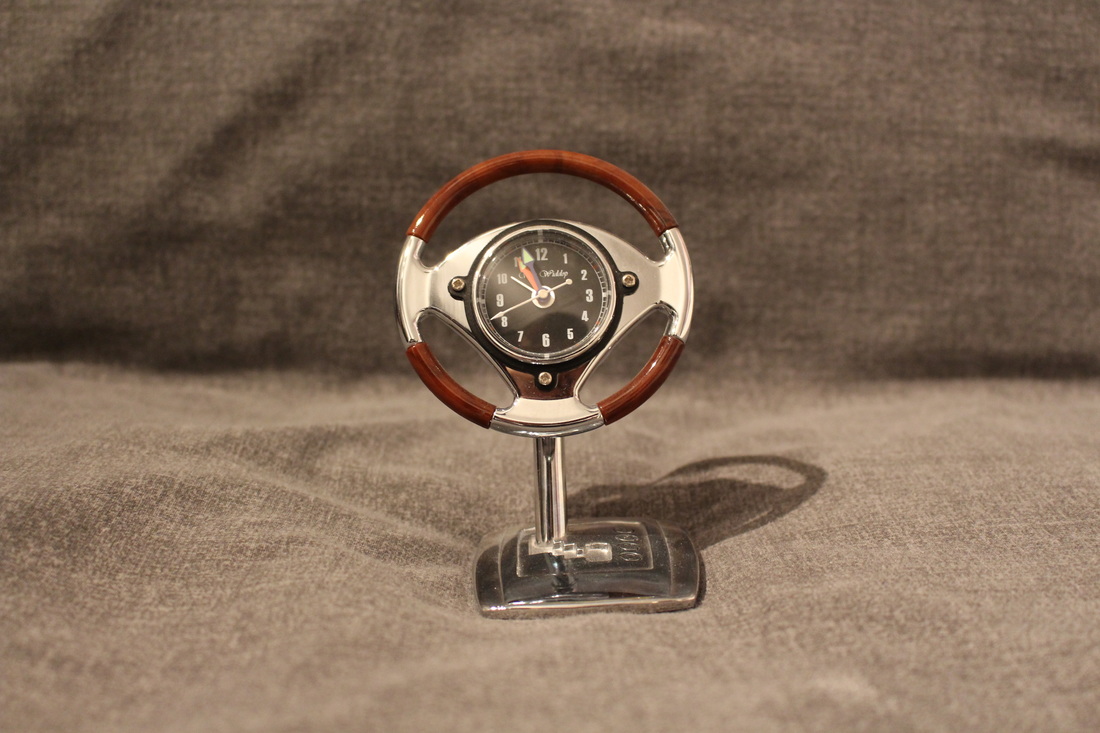
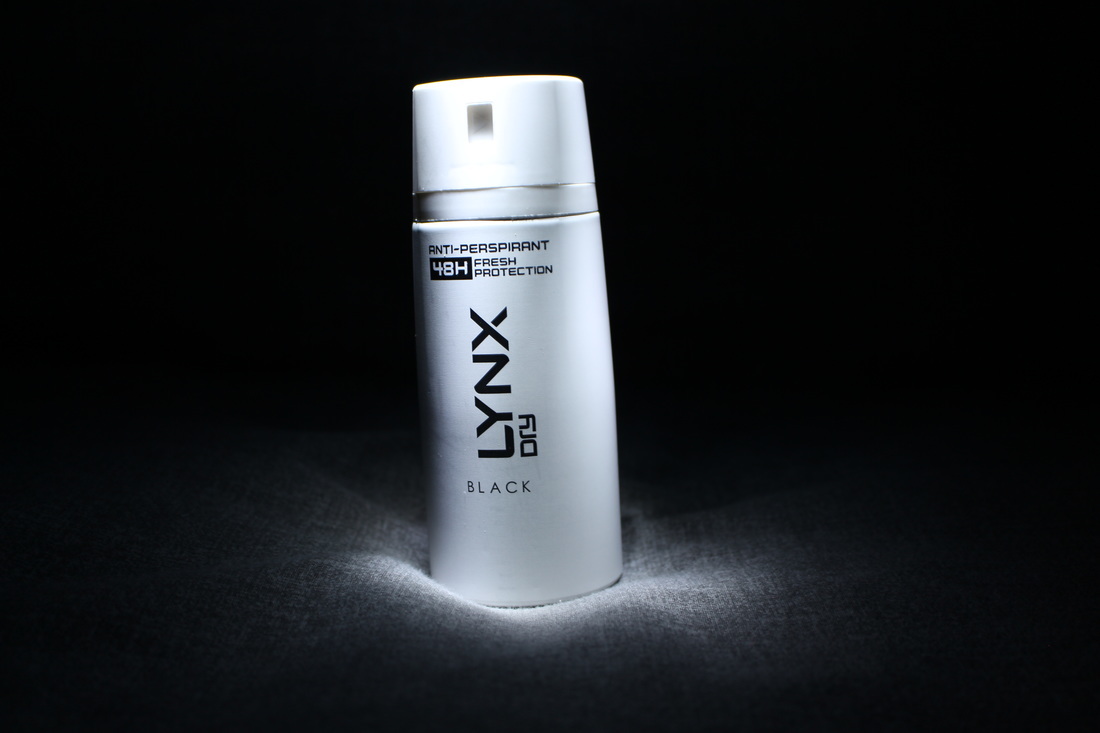
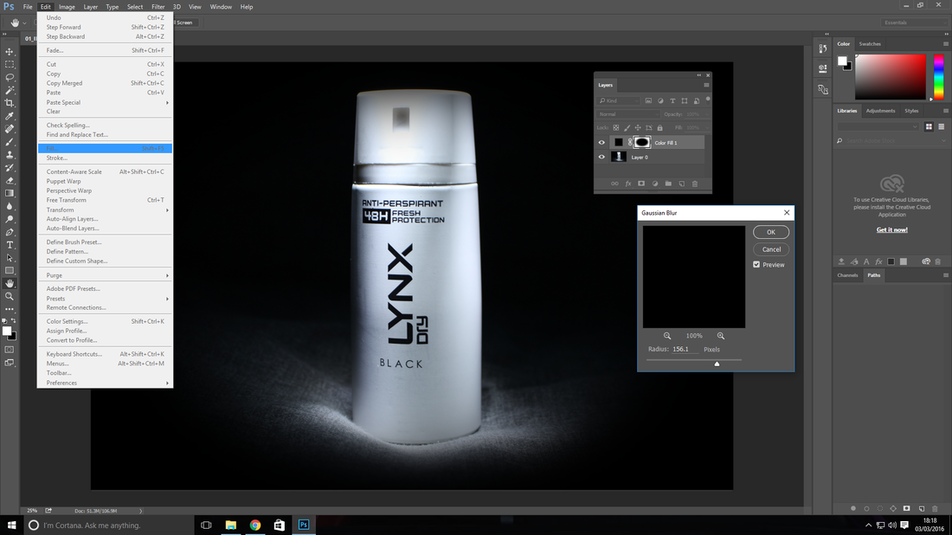
I chose this as my best photo because doing light photography only by shining the light upon the object in the dark can be challenging at times and you wouldn't be able to know what the final photo would look like until you're finished and have actually taken the photo. This is one of the photos where the object had held it's vibrant colours and the light didn't go to far and to beyond the object. Because the photo was taken on a bed the object was tilted and the colour of the back drop was grey and to eliminate the grey but keep the glow around the can I used the Adobe Photoshop application and the using the program I created a vignette effect from scratch.
|
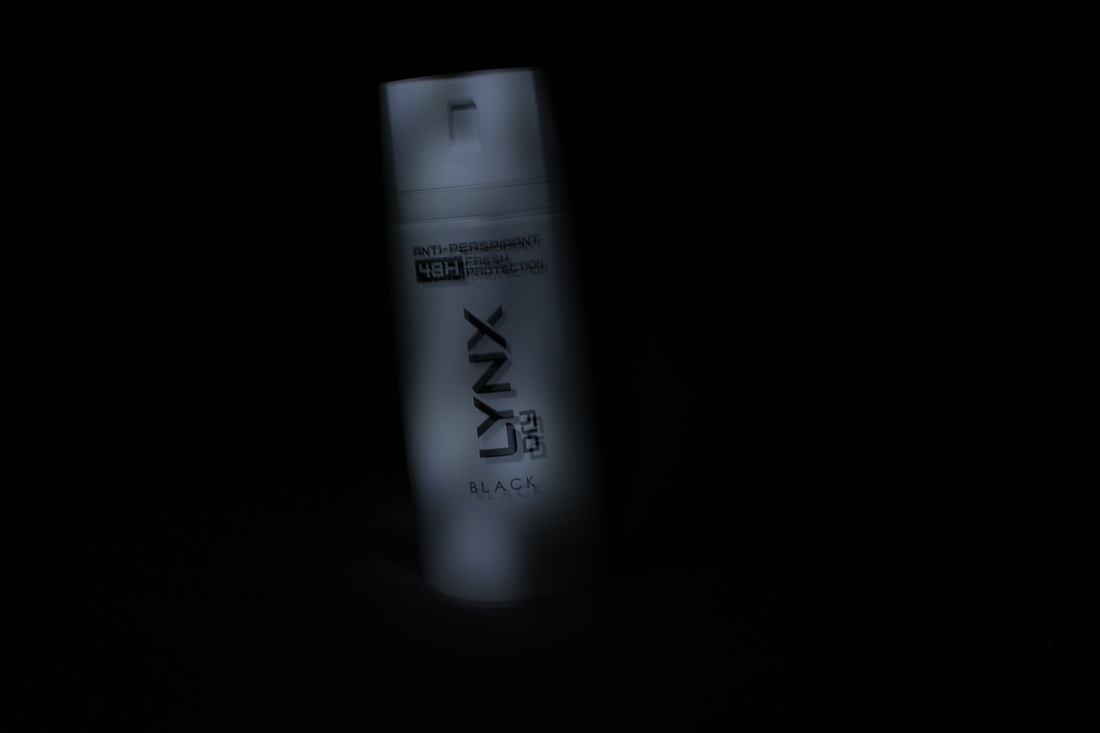
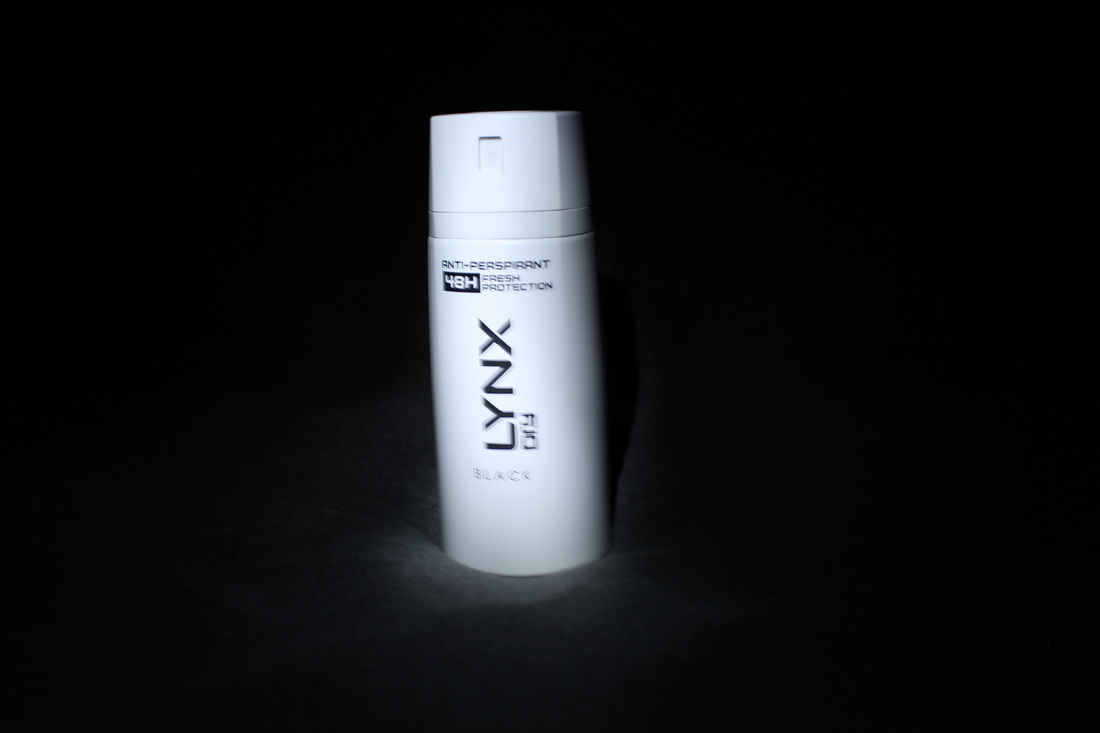
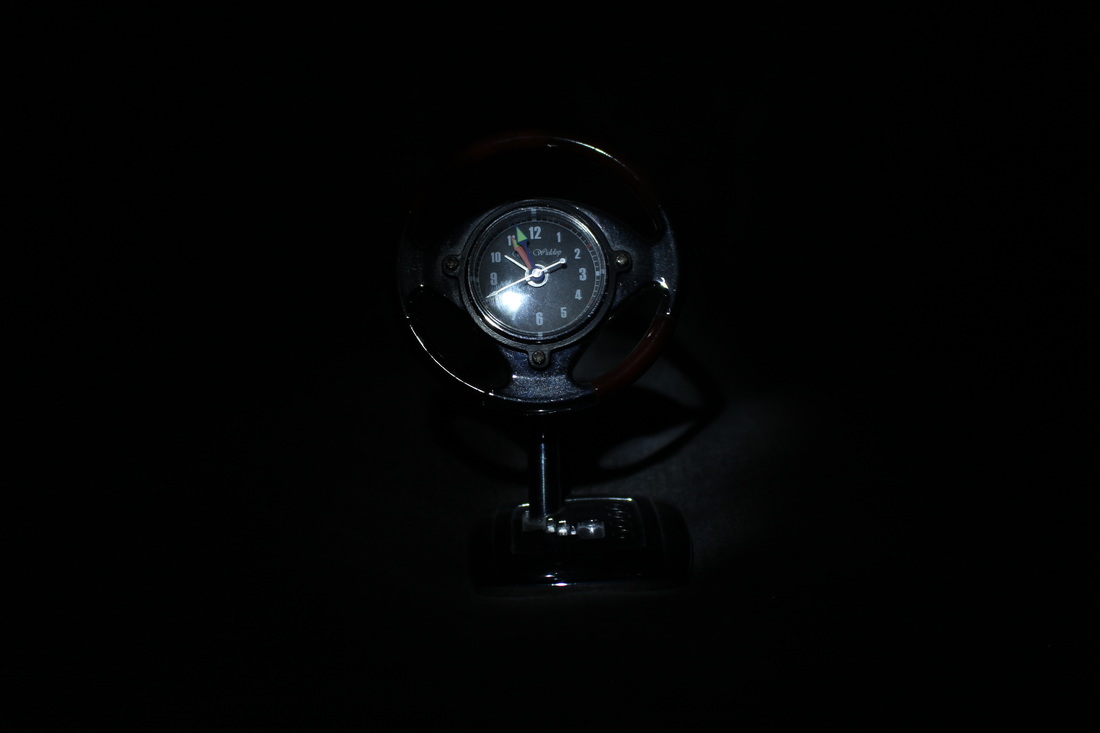
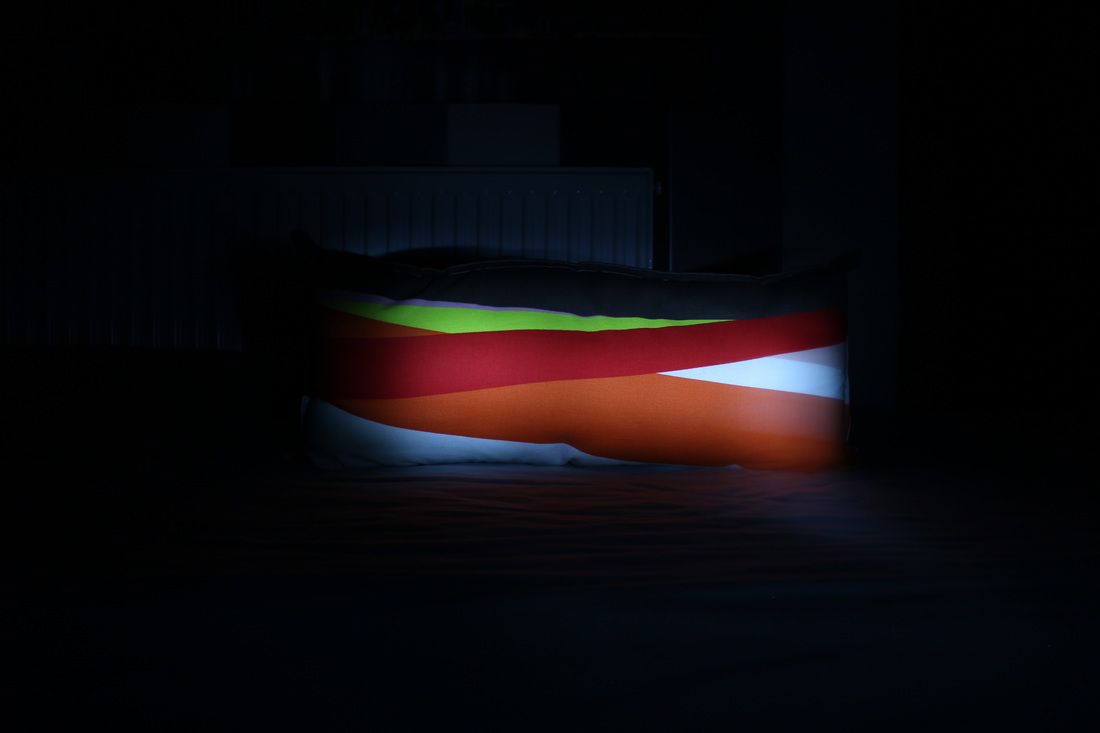
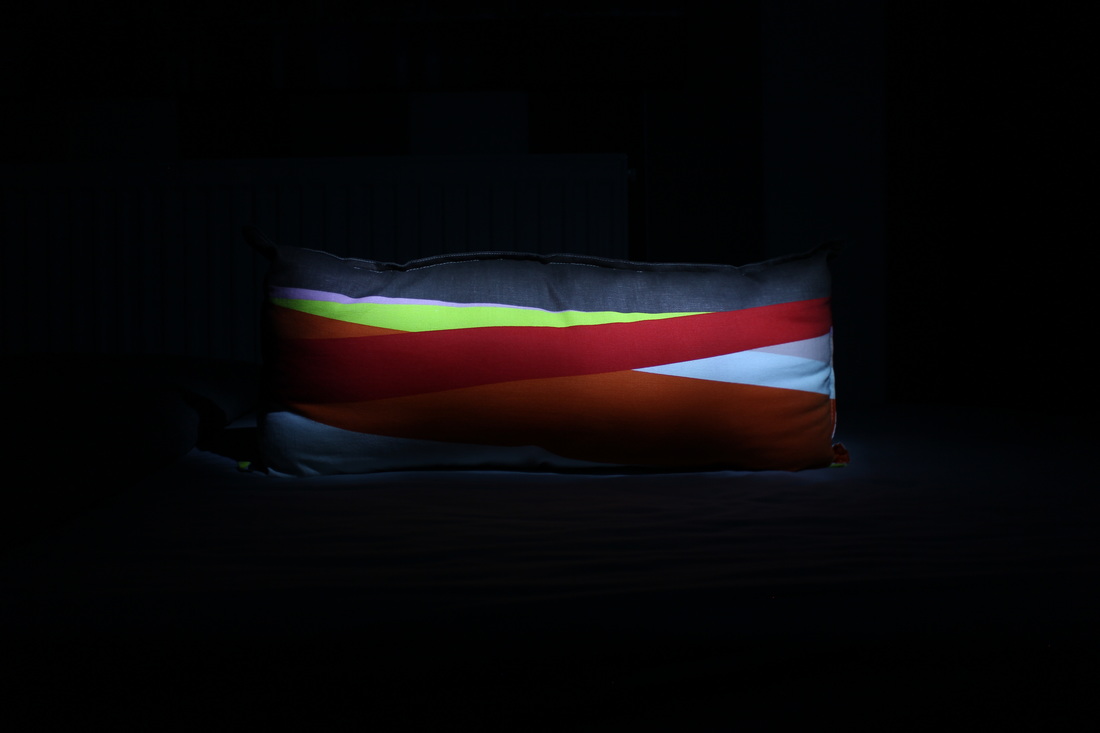
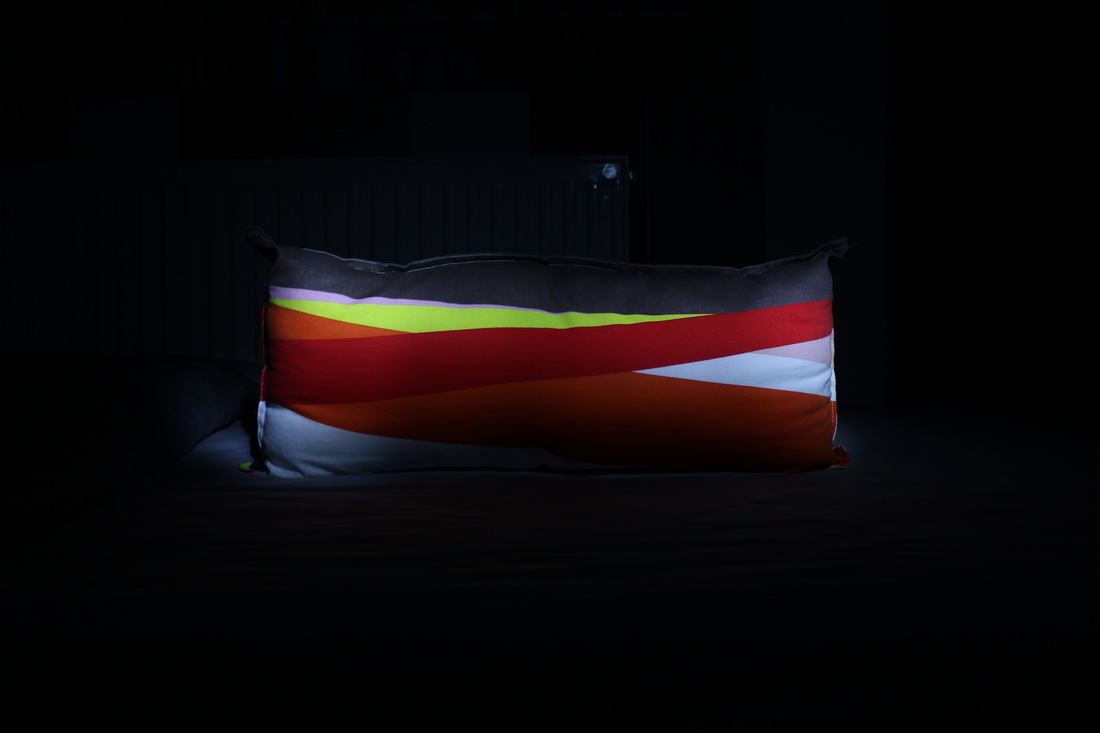
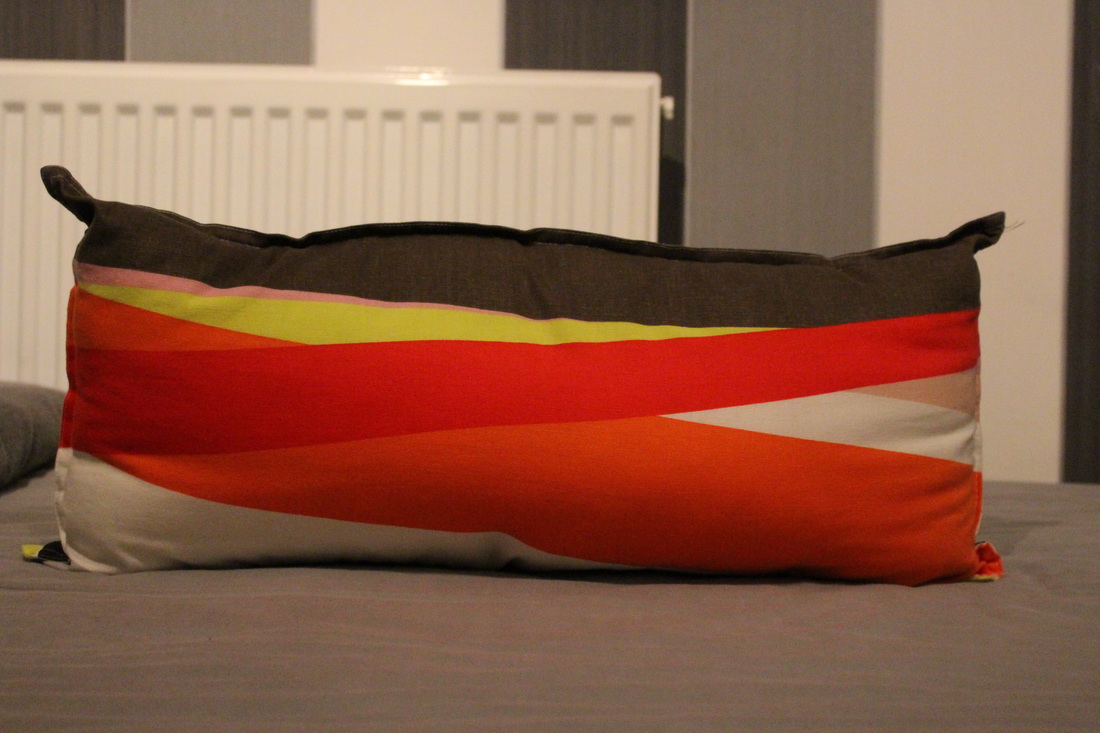
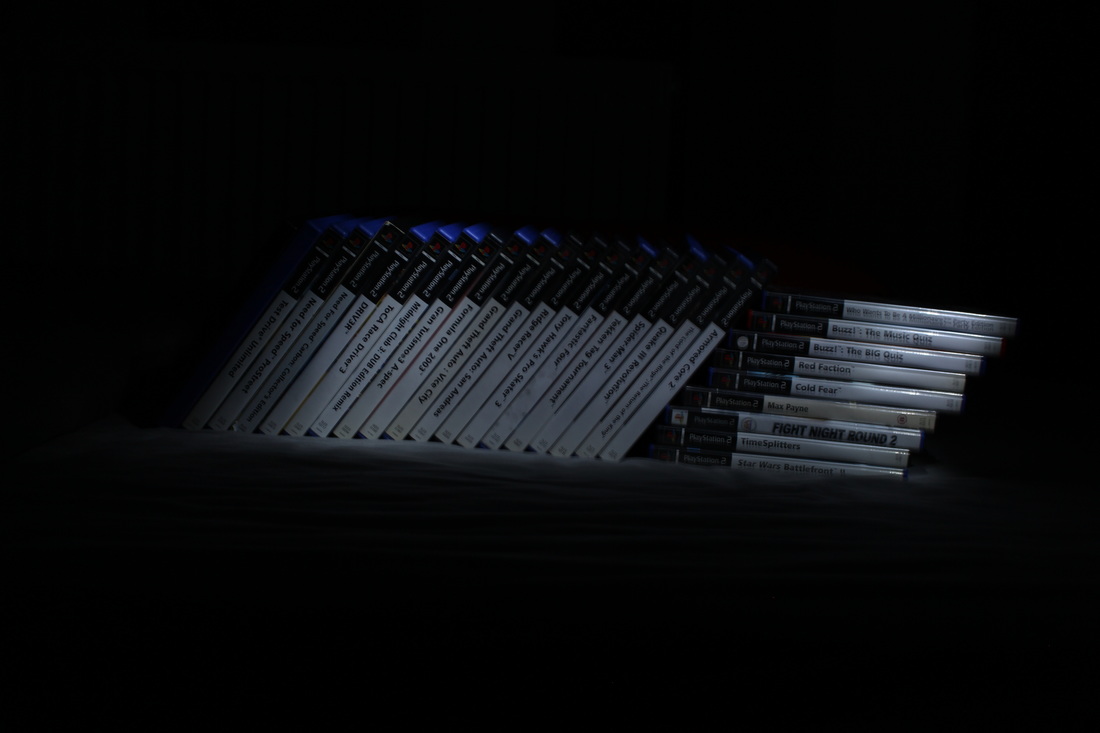
Worst
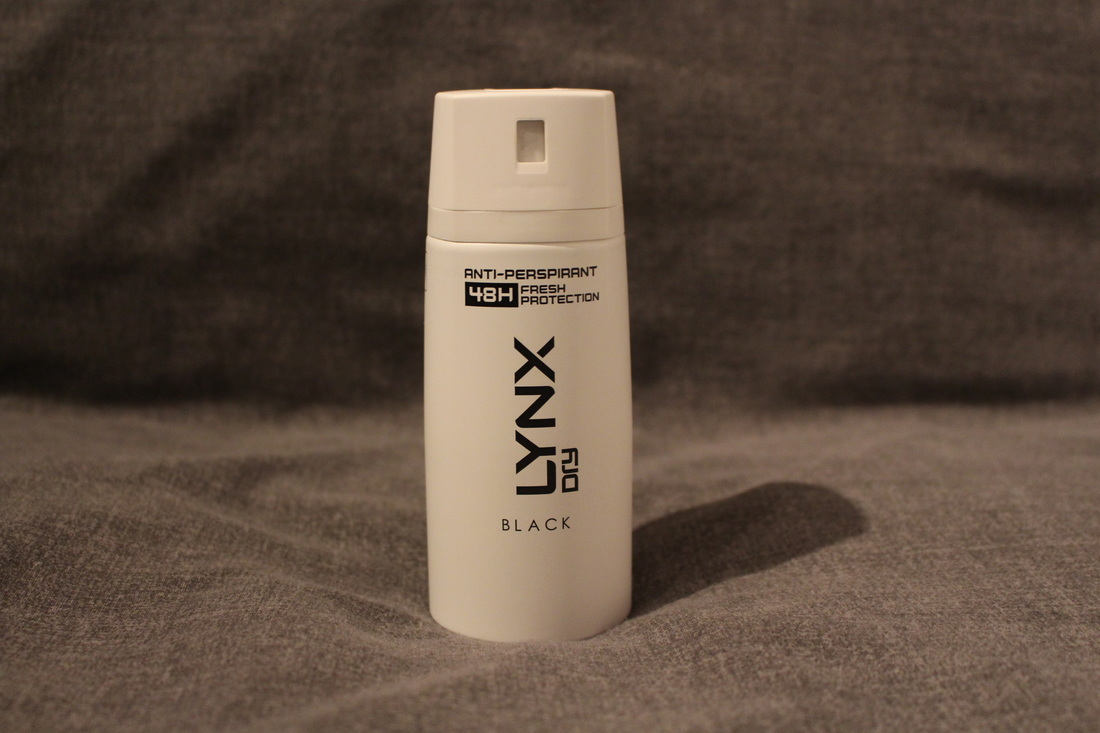
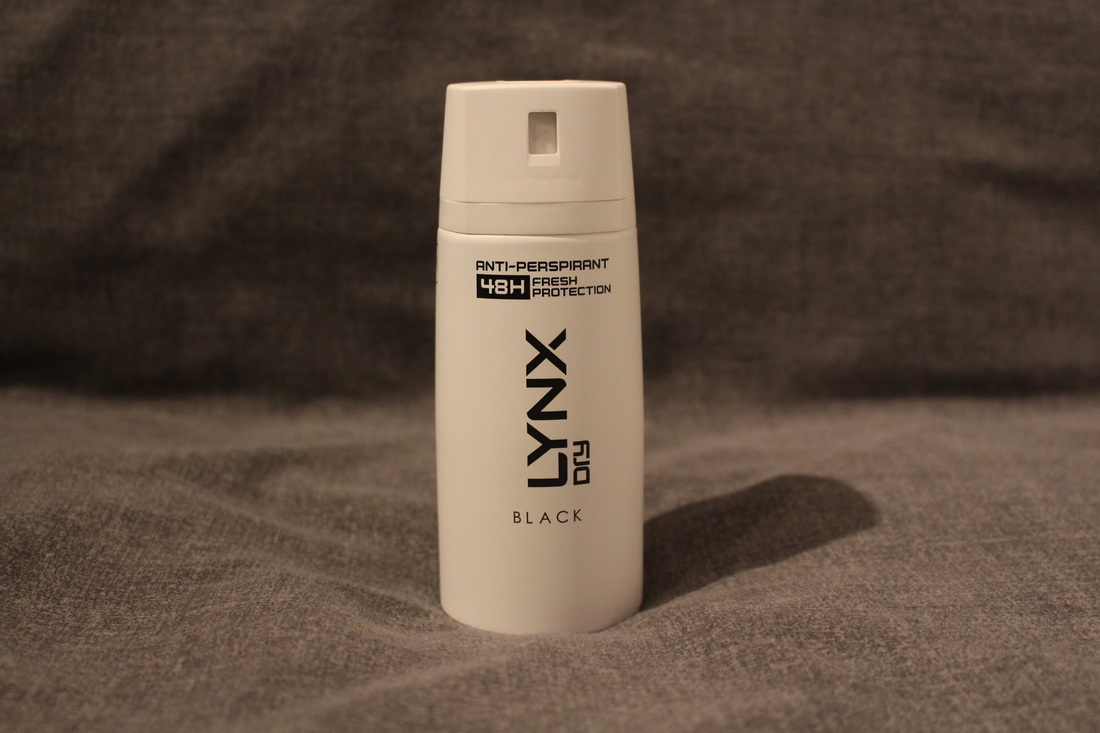
I have chosen this photo as my worst photo because of how it turned out. This was the first photo I took and I had forgotten that I must only shine the light on the object and not have the actual light source in the camera's viewpoint at all otherwise it would create an unwanted effect, that I used in the second light photography photo shoot however I didn't want it in this shoot.
|
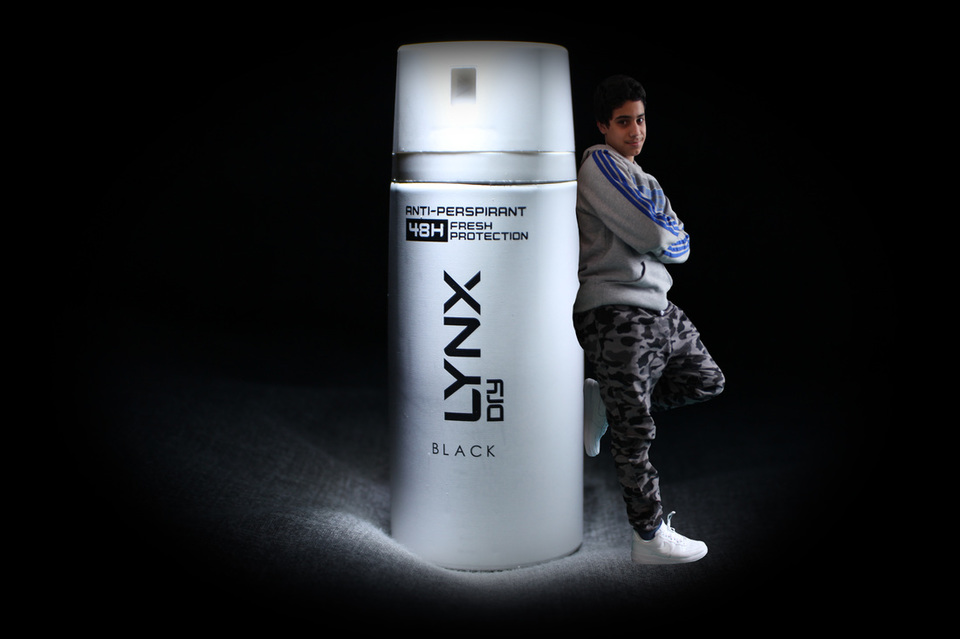
Adding the 'Weird & Wonderful' factor to Shoot Five